האם בדעתך ללמוד כיצד להתקין את IIS ולהפעיל את התכונה Perl CGI במחשב שבו פועל Windows? במדריך זה, אנו הולכים להראות לך כיצד להפעיל את התכונה Perl CGI בשרת IIS.
• Windows 2012 R2
• Windows 2016
• Windows 2019
• IIS
• Perl
ערכת לימוד של Windows:
בדף זה, אנו מציעים גישה מהירה לרשימת ערכות לימוד של Windows.
ערכת לימוד של Windows - התקנת IIS
פתח את היישום מנהל השרת.
גש לתפריט ניהול ולחץ על הוסף תפקידים ותכונות.

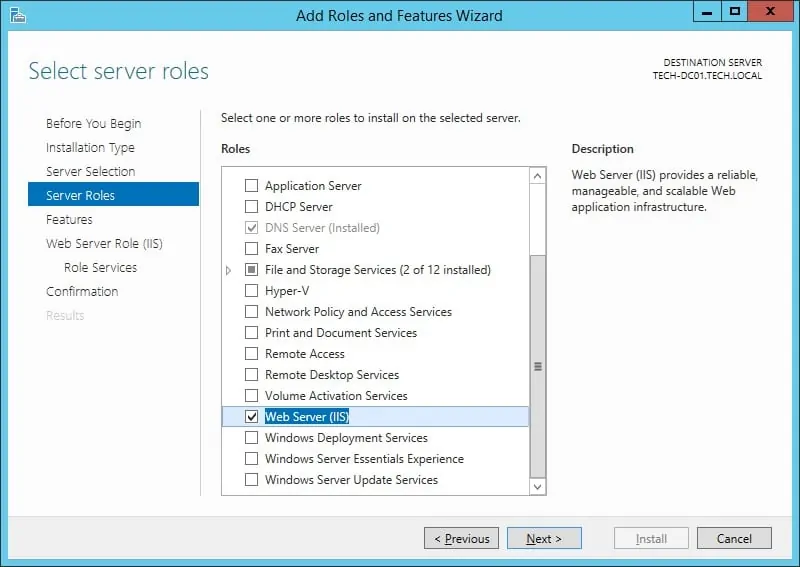
במסך תפקידי שרת, בחר באפשרות בשם: Web Server IIS.
לחץ על לחצן הבא.
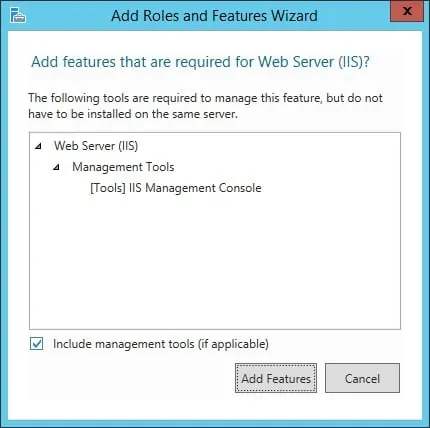
במסך הבא, לחץ על לחצן הוסף תכונות.
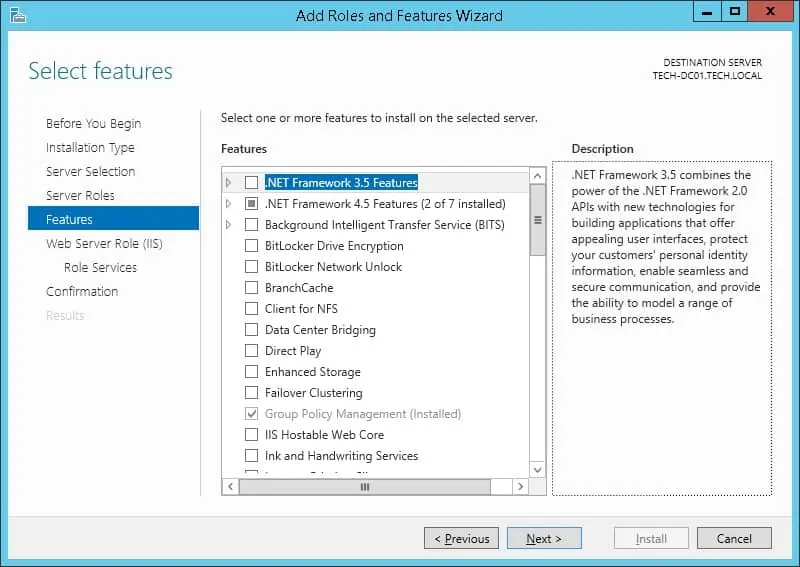
במסך תכונות, לחץ על לחצן הבא.
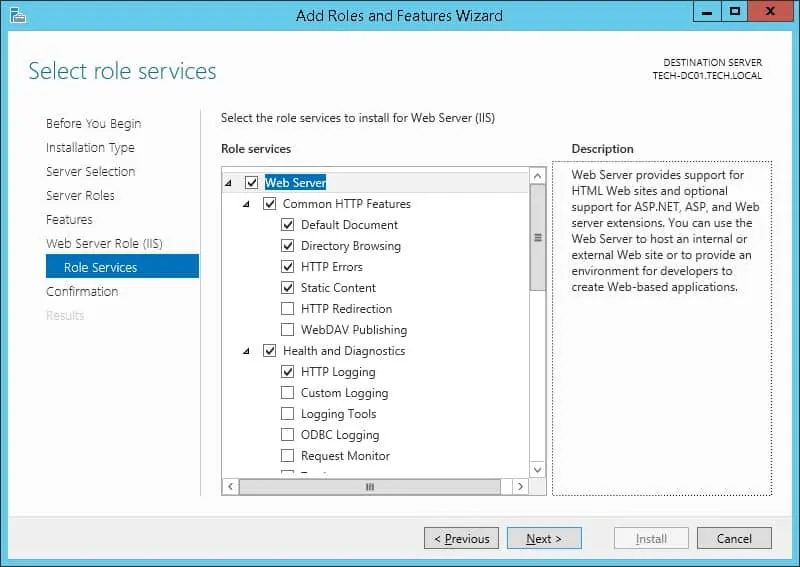
במסך שירות תפקיד, לחץ על לחצן הבא.
במסך סיכום, לחץ על לחצן התקן.
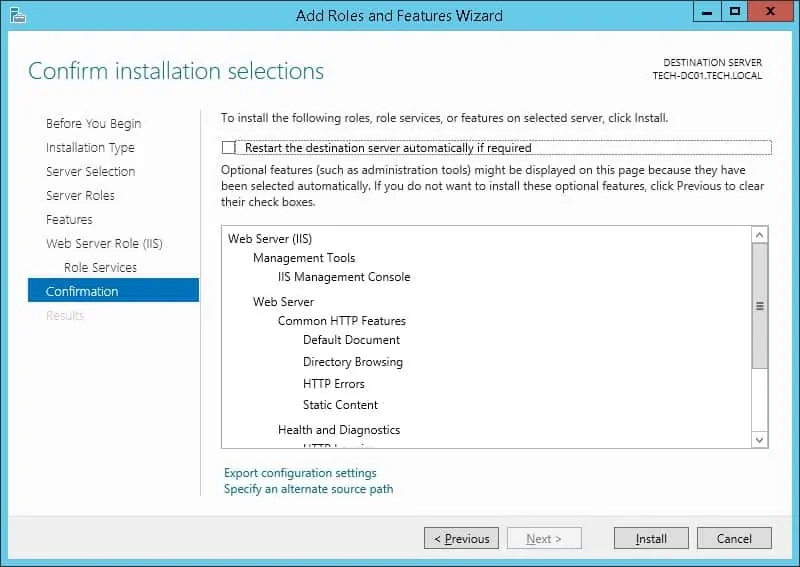
מזל טוב! סיימת את התקנת שירות IIS במחשב שבו פועל Windows.
IIS של ערכת לימוד - הפעלת התכונה CGI
פתח את היישום מנהל השרת.
גש לתפריט ניהול ולחץ על הוסף תפקידים ותכונות.

במסך תפקידי שרת, הרחב את הערך בשם: Web Server IIS.
גישה לתפריט פיתוח יישומים ובחר באפשרות בשם: CGI
לחץ על לחצן הבא.
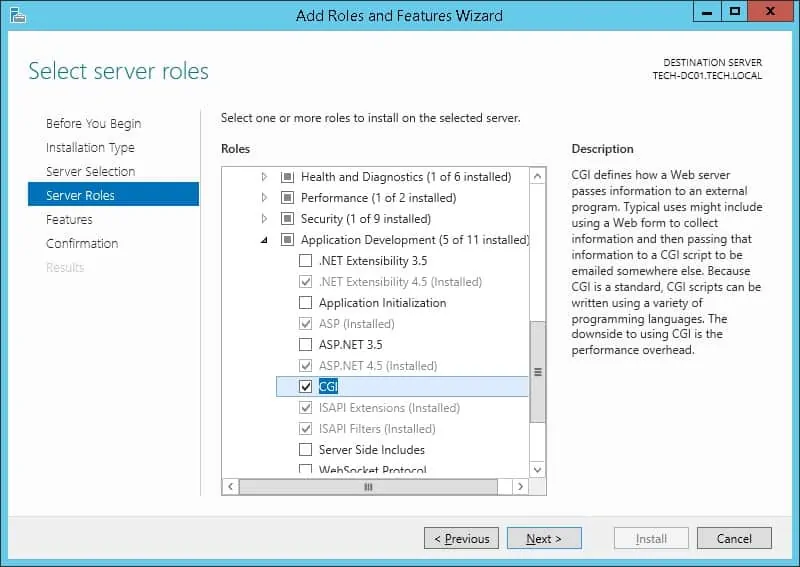
במסך תכונות, לחץ על לחצן הבא.

במסך סיכום, לחץ על לחצן התקן.
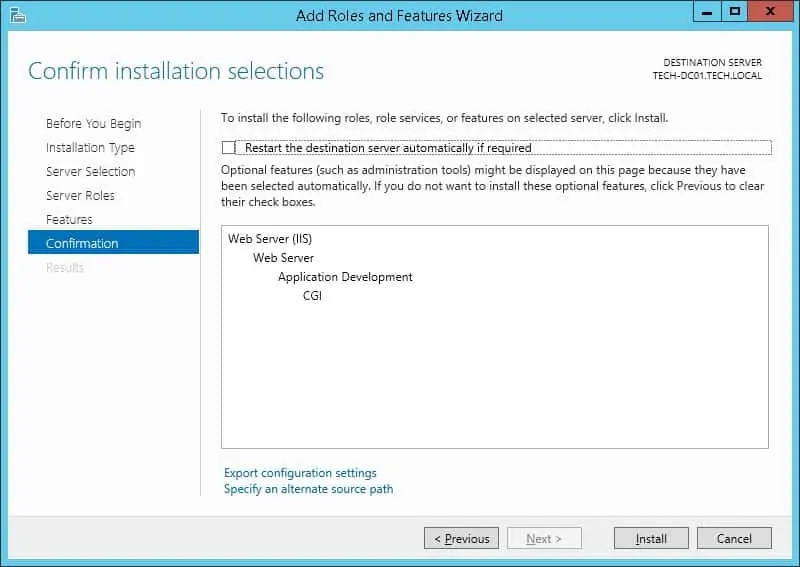
מזל טוב! סיימת את התקנת התכונה CGI ב- IIS.
ערכת לימוד Windows - התקנת פרל
גישה לאתר האינטרנט Perl ולהוריד את הגירסה העדכנית ביותר של מתקין Perl.
בדוגמה שלנו, הורדנו את הקובץ בשם: STRAWBERRY-PERL-5.30.2.1-64bit.msi

כמנהל, הפעל את התקנת Perl.
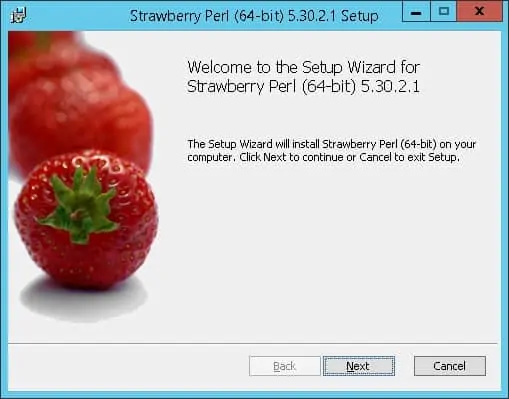
קבל את הסכם הרשיון ולחץ על לחצן הבא.
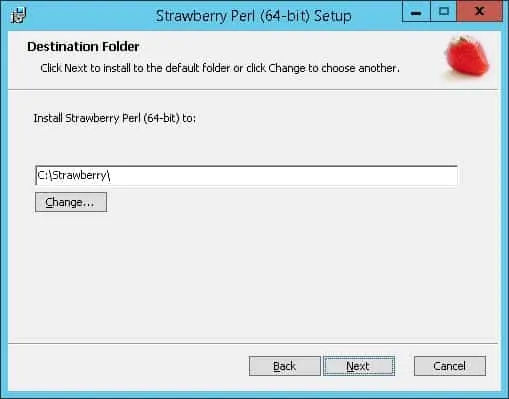
הגדר את נתיב ההתקנה הרצוי ולחץ על לחצן הבא.
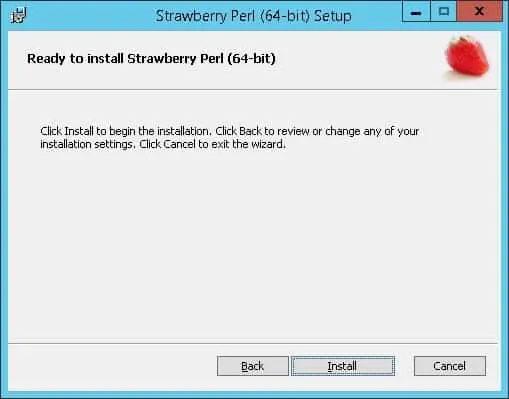
לחץ על לחצן התקן.
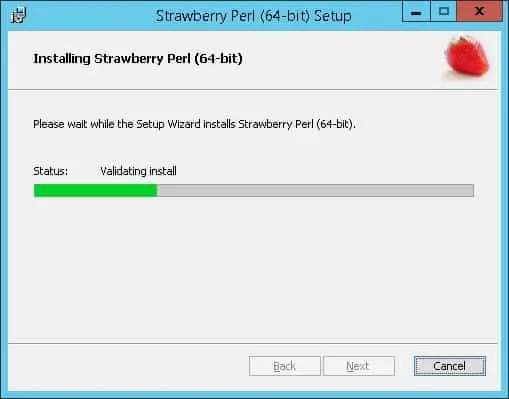
המתן עד שההתקנה Perl תסתיים.
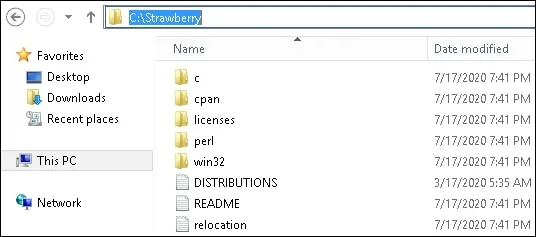
בדוגמה שלנו, Perl הותקן במדריך הבא.
אתחל מחדש את המחשב.
מזל טוב! סיימת את ההתקנה Perl ב- Windows.
ערכת לימוד IIS - אפשר Perl בשרת IIS
הפעל את היישום בשם: מנהל IIS.

ביישום מנהל IIS, בחר את שם שרת IIS שלך.
בחלקו הימני של המסך, גש לאפשרות בשם: מיפויי מטפלים

בחר את האפשרות בשם: הוספת מפת Script

בצע את התצורה הבאה:
• נתיב בקשה - *.pl
• קובץ הפעלה - C:\Strawberry\perl\bin\perl.exe %s %s
• מתורגמן - פרל CGI
לחץ על לחצן אישור.
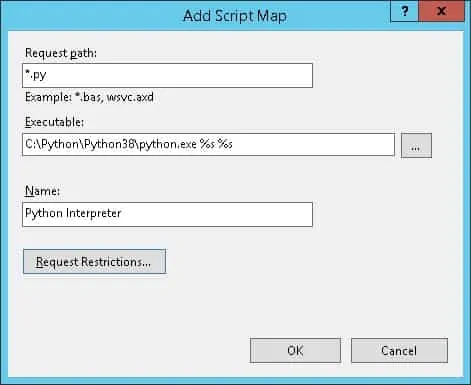
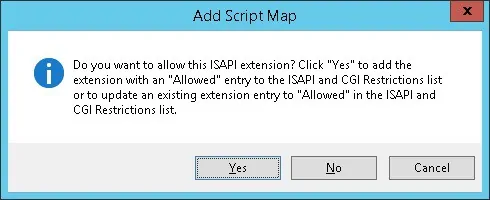
אם ההודעה הבאה מוצגת, לחץ על לחצן כן.
הפעל מחדש את שירות IIS.
מזל טוב! הפעלת בהצלחה את Python בשרת IIS.
ערכת לימוד IIS - יצירת דף פיתון
הפעל שורת פקודה חדשה של DOS.

גש אל ספריית הבסיס של IIS.
צור דף בחינה של Perl.
השתמש ביישום פנקס רשימות כדי לפתוח את דף הבדיקה.
החלף את התוכן שלו בקוד הבא.
פתח את הדפדפן והזן את כתובת ה- IP של שרת האינטרנט שלך בתוספת /test.pl.
בדוגמה שלנו, כתובת ה- URL הבאה הוזנה בדפדפן:
• http://172.31.8.195/test.pl
הדף Perl אמור להציג את ההודעה הבאה.

מזל טוב! ההרחבה Perl הותקנה בהצלחה ב- IIS.
