Would you like to learn how to do a Moodle installation on Ubuntu Linux? In this tutorial, we are going to show you how to install, configure and access Moodle on a computer running Ubuntu Linux.
• Ubuntu 18.04
• Ubuntu 19.04
• Moodle 3.8.1
Moodle Related Tutorial:
On this page, we offer quick access to a list of tutorials related to Moodle.
Tutorial - Moodle Installation on Ubuntu Linux
Install a list of required applications.
Install the MySQL database service.
Install the Apache webserver with PHP support.
Restart the Apache service.
Download and install the Moodle application.
Create a required directory named moodledata.
You have finished the moodle installation.
Tutorial Moodle - Database Configuration
Access the MySQL service command-line.
Create a database named moodle.
Create a MySQl user named moodle.
In our example, the password kamisma123 was set to the MySQl user named moodle.
Give the MySQL user named moodle permission over the database named moodle.
You have finished the moodle database installation.
Tutorial - Moodle Web Installer
Open your browser and enter the IP address of your web server plus /moodle.
In our example, the following URL was entered in the Browser:
• http://192.168.0.10/moodle
The Moodle web installation interface should be presented.
Select the desired language and click on the Next button.

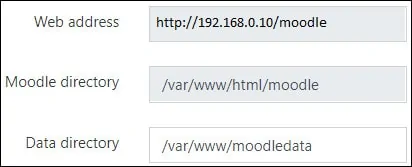
Check the moodle installation URL, directory, data directory and click on the Next button.
Select the Improved MySQL (native/mysqli) and click on the Next button,
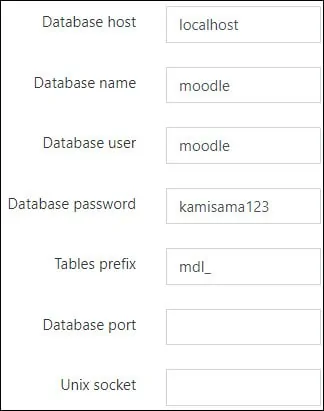
Enter the Database information required to connect to the Moodle database.
• Database host: localhost
• Database name: moodle
• Database password: kamisama123
• Tables prefix: mdl_
On the next screen, read the license agreement and click on the the Next button.

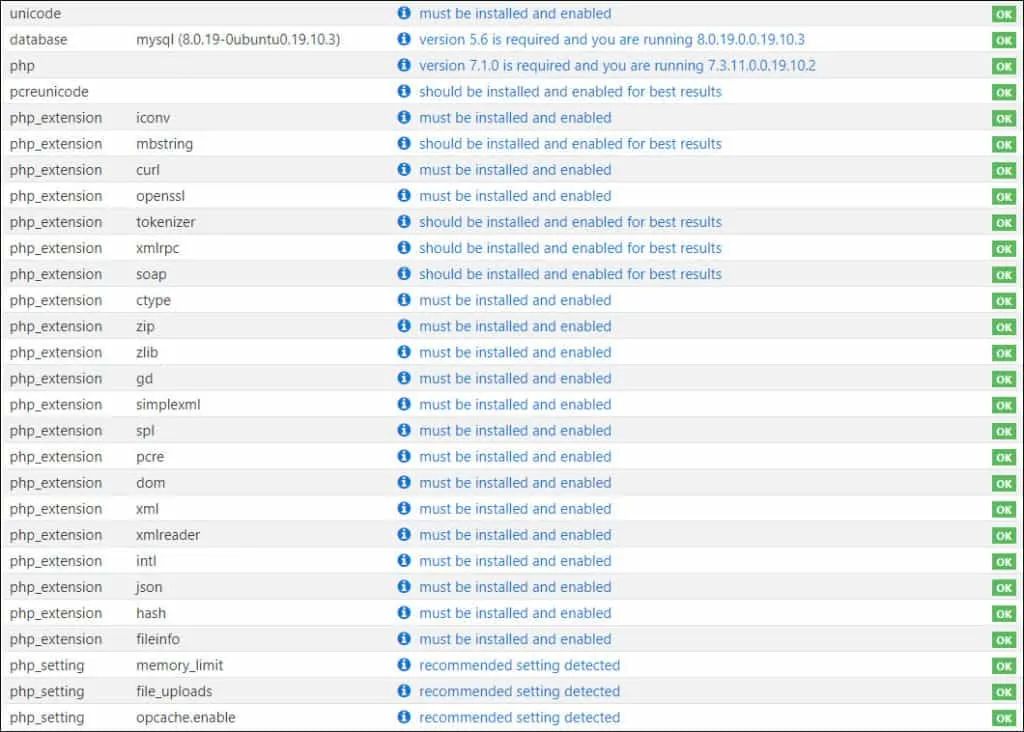
Make sure all PHP requirements are met and click on the Continue button.
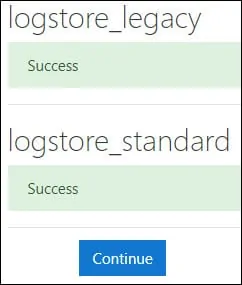
Wait the moodle installation to finish and click on the Continue button.
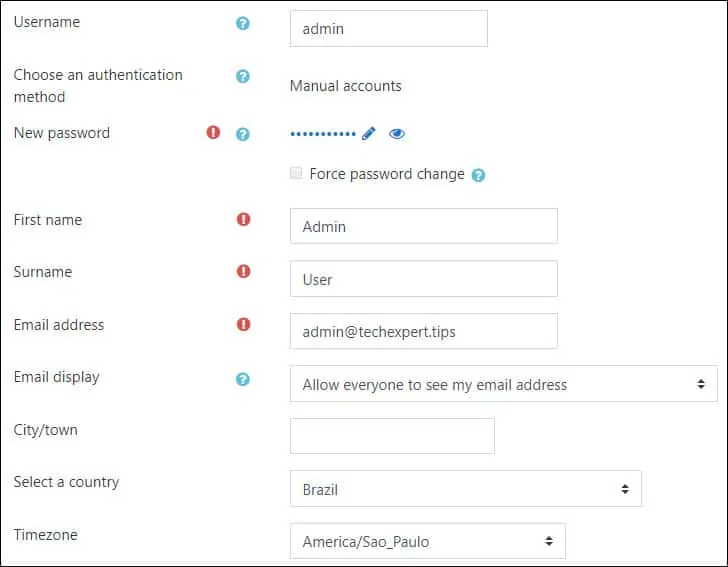
On the next screen, perform the following configuration:
• Username - Enter the administrative user account name desired
• Choose an authentication method - default
• New password - Enter the administrative user password
• First name - The administrator's Name
• Surname - The administrator's Surname
• email address - The administrator's email address
• Select a Country - The administrator's country
• Timezone - Select the desired timezone
Click on the Update Profile button.
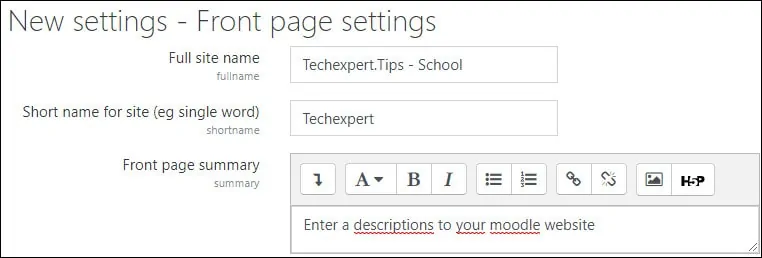
Enter a name and a description to your Moodle website.
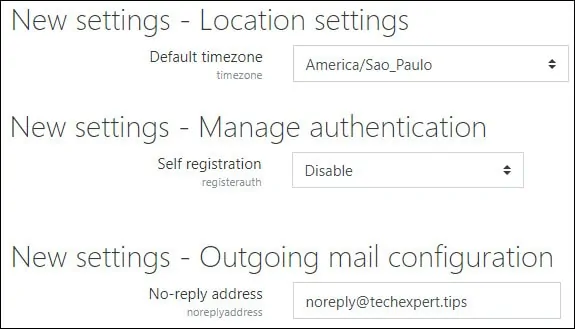
Select the correct timezone, disable the self registration feature and set an outgoing email address.
Click on the Save changes button to access the Moodle dashboard.

Congratulations! The Moodle installation was finished successfully.
