Would you like to learn how to do a Sonarqube installation on Ubuntu Linux? In this tutorial, we are going to show you how to install Sonarqube on a computer running Ubuntu Linux.
• Ubuntu version: 18
• Ubuntu version: 19
• Sonarqube version: 7.9.1
Hardware List:
The following section presents the list of equipment used to create this Sonarqube tutorial.
Every piece of hardware listed above can be found at Amazon website.
Sonarqube Related Tutorial:
On this page, we offer quick access to a list of tutorials related to Sonarqube installation.
Tutorial Sonarqube - Installation on Ubuntu Linux
Use apt-get to install the required packages.
Install the PostgreSQL database service.
Access the Postgres database service command-line.
Create a Postgres user named sonarqube.
Create a Postgres database named sonarqube.
Give the PostgreSQL user named sonarqube permission over the database named sonarqube .
Download the Sonarqube package and move it to the OPT directory.
Create a new Linux account named sonarqube.
Set the correct file permission on the sonarqube directory.
Edit the sonar.sh configuration file.
Configure the following options:
Edit the sonar.properties configuration file.
Configure the following options:
Create a Linux configuration file named 99-sonarqube.conf.
Here is the content of the 99-sonarqube.conf file.
Edit the sysctl.conf configuration file.
Add the following lines at the end of the sysctl.conf file.
Reboot your computer to enable the new configuration
Start the Sonarqube service.
Use the following command to monitor the SonarQube log.
The Sonarqube log should show the following information:
Congratulations! You have finished the Sonarqube installation.
Sonarqube Installation - How to acess the Web interface
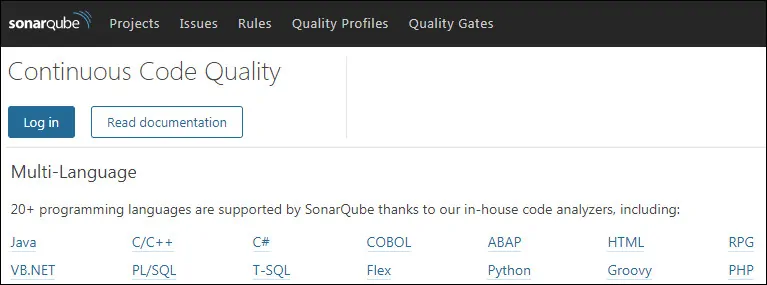
Open your browser and enter the IP address of your web server plus :9000
In our example, the following URL was entered in the Browser:
• http://192.168.15.10:9000

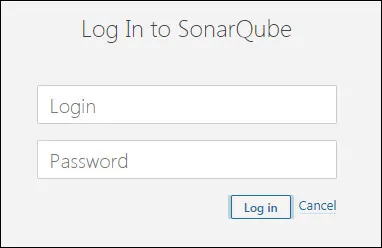
Click on the Login button and use the Sonarqube default username and password.
• Default Username: admin
• Default Password: admin

Congratulations! You have finished the SonarQube installation.
