Would you like to learn how to create a Virtual Machine Snapshot? In this tutorial, we are going to show you how to create an EC2 Virtual Machine Snapshot using the Amazon AWS cloud.
Amazon AWS Playlist:
On this page, we offer quick access to a list of videos related to Amazon AWS.
Don't forget to subscribe to our youtube channel named FKIT.
Amazon AWS Related Tutorial:
On this page, we offer quick access to a list of tutorials related to Amazon AWS.
Tutorial - How to Create an AWS EC2 Virtual Machine
On the EC2 Dashboard, access the Instances menu and click on the Instances option.
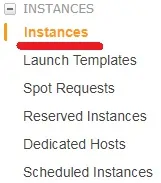
On the EC2 Instance screen, click on the Launch Instance button.

Now, it is time to select the desired Operational system image.
On the list presented, locate and select the Ubuntu Linux image.
In our example, we are going to create a Linux Virtual Machine.

As the second step, you will have to select the type of virtual machine that will run the Ubuntu Linux.
Basically, you will select the number of processors and the amount of RAM that you want.

If you do not want to specify the amount of hard disk available to this virtual machine, click on the Review and Launch button.
If you want to specify the amount of hard disk available to this virtual machine, click on the Configure instance detail button.
On the summary screen, click on the Launch button.

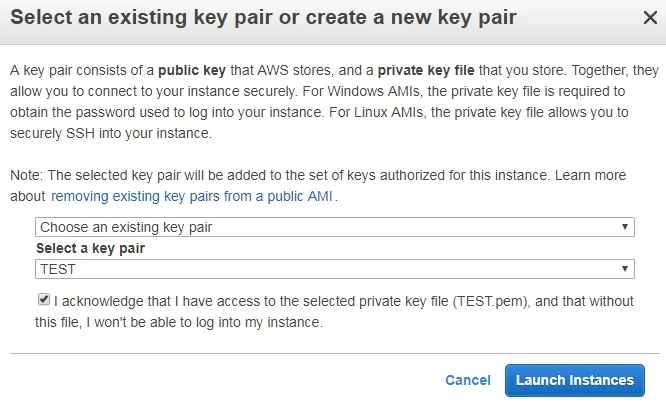
Select the Key pair authorized to connect to the new virtual machine and click on the Launch Instances.
In our example, the key pair named TEST was selected.
On the EC2 Dashboard, access the Instances menu and click on the Instances option.
As you can see a new virtual machine was created.

In our example, the virtual machine got the Dynamic IP address: 34.217.14.140
Tutorial - How to Create an EC2 Snapshot
On the EC2 Instance screen, select the Linux virtual machine that you desire to take a snapshot.
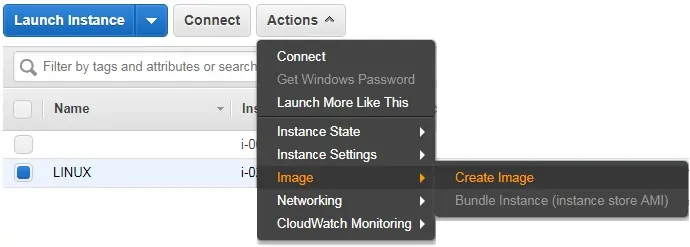
After selecting the virtual machine, the bottom of the screen will show the properties of the virtual machine.
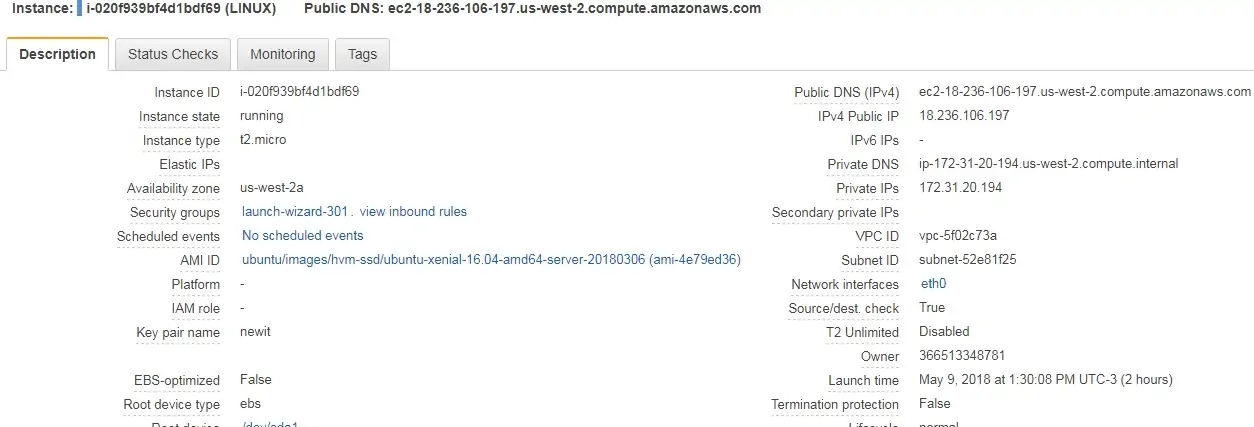
On the bottom of the screen, you need to locate and click on the Root drive of the virtual machine

A new window will appear showing the Root drive information.
Click on the ID of the EBS drive to access the EBS menu.
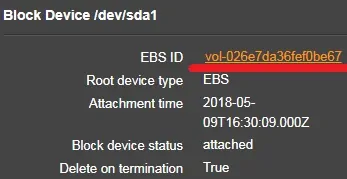
You will be sent to the Volumes option of the Elastic Block Store menu.
Select the Root drive of your virtual machine.
Click on the Action button and select the Create Snapshot option.
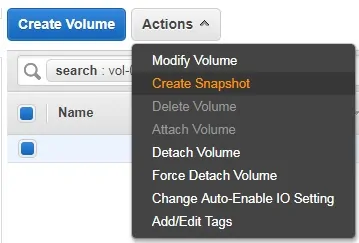
Enter a snapshot identification name.
Wait for the snapshot image creation process to end.
The EC2 image creation process might take minutes or hours.

On the EC2 Dashboard, access the Elastic Block Store menu and click on the Snapshots option.

If you want to restore a Virtual machine from a Snapshot.
Select the Snapshot that you want to restore.
Click on the Action button and select the Create Image option.
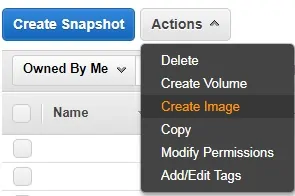
The process is simple, from a snapshot you will create a new image template.
From the new image template, you will start a new virtual machine.
Don't forget to turn off the original virtual machine.
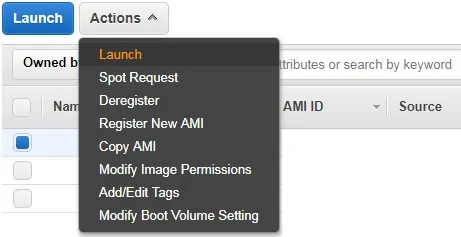
Select the type of virtual machine.
Click on the Review and Launch button.

You have successfully created a Linux Image on Amazon AWS.
