Would you like to learn how to do a MikroTik router initial configuration? In this tutorial, we are going to show you how to configure the initial IP address and access the web interface of a mikroTik router.
MikroTik Tutorial:
On this page, we offer quick access to a list of tutorials related to MikroTik.
Tutorial - MikroTik Router Initial Configuration
First, you need to access the console of your MikroTik router.
On the prompt screen, enter the administrative login information.
Factory default access information:
• Username: admin
• Password: (No password)
After a successful login, the console command-line will be displayed.
Use the following command to list the network interfaces available on the MikroTik router.
In our example, the system found a network interface named: ether1
Configure a static IP address on the MicroTik router.
Use the following command to verify the IP address configuration.
Configure a default route on the MikroTik router.
Use the following command to verify the IP route configuration.
Configure a list of DSN servers to be used by the MikroTik router.
Use the following command to verify the DNS server configuration.
You have finished the initial configuration of a MikroTik router.
MikroTik Web Interface Access
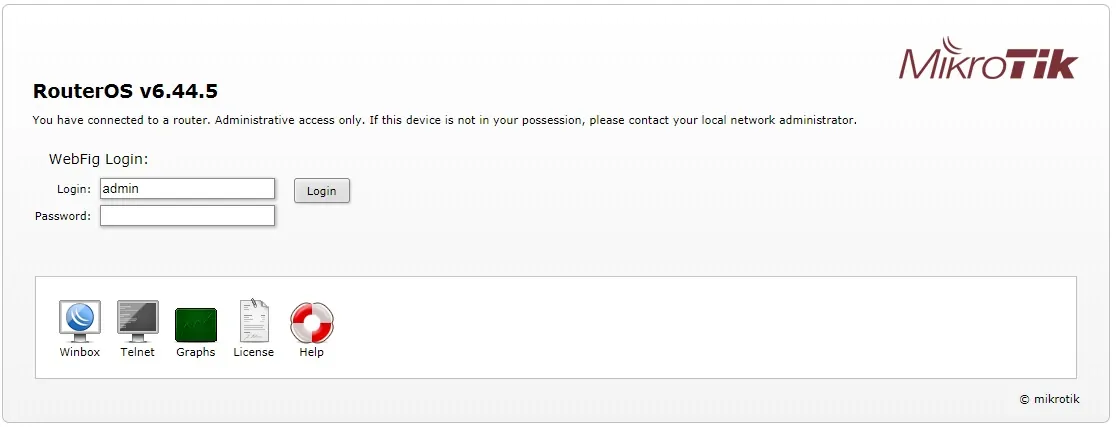
Open your browser and enter the IP address of your Mikrotik router.
In our example, the following URL was entered in the Browser:
• http://192.168.0.10
The MikroTik web interface should be presented.

On the prompt screen, enter the MikroTik default password login information.
• Username: admin
• Password: (empty)
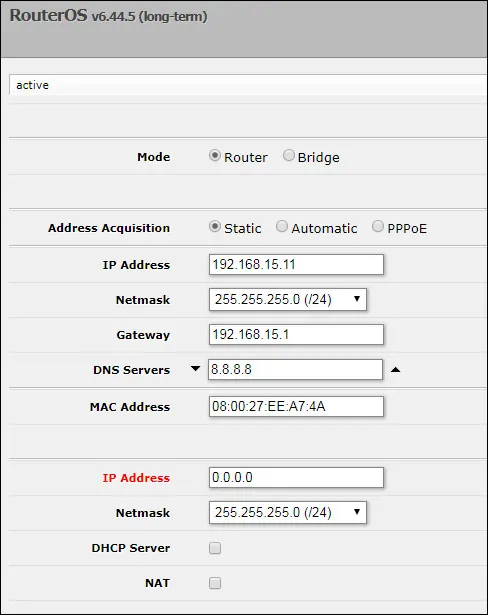
After a successful login, the MikroTik Ethernet Quick Set page will be displayed.
Quickset is a configuration wizard page that alows you to prepare a router in a few clicks.

To access the MikroTik web interface, click on the WebFig option available on the top right part of the screen.
After clicking on the WebFig option the MikroTik dashboard will be displayed.

You have successfully configured the initial IP address configuration of your MikroTik router.
