Would you like to learn how to create and access an Amazon AWS EC2 Windows virtual Machine? In this tutorial, we are going to show you how to create a new account at Amazon AWS, how to create a Windows virtual machine instance and how to access the new virtual machine remotely using Rdesktop.
Amazon AWS Playlist:
On this page, we offer quick access to a list of videos related to Amazon AWS.
Don't forget to subscribe to our youtube channel named FKIT.
Amazon AWS Related Tutorial:
On this page, we offer quick access to a list of tutorials related to Amazon AWS.
Tutorial - How to Create a Key Pair
To access a Windows Virtual Machine on AWS, first, you need to create a private Key.
Open your browser, access the Amazon AWS website and enter your login information.
After a successful login, you will be sent to the AWS Dashboard.
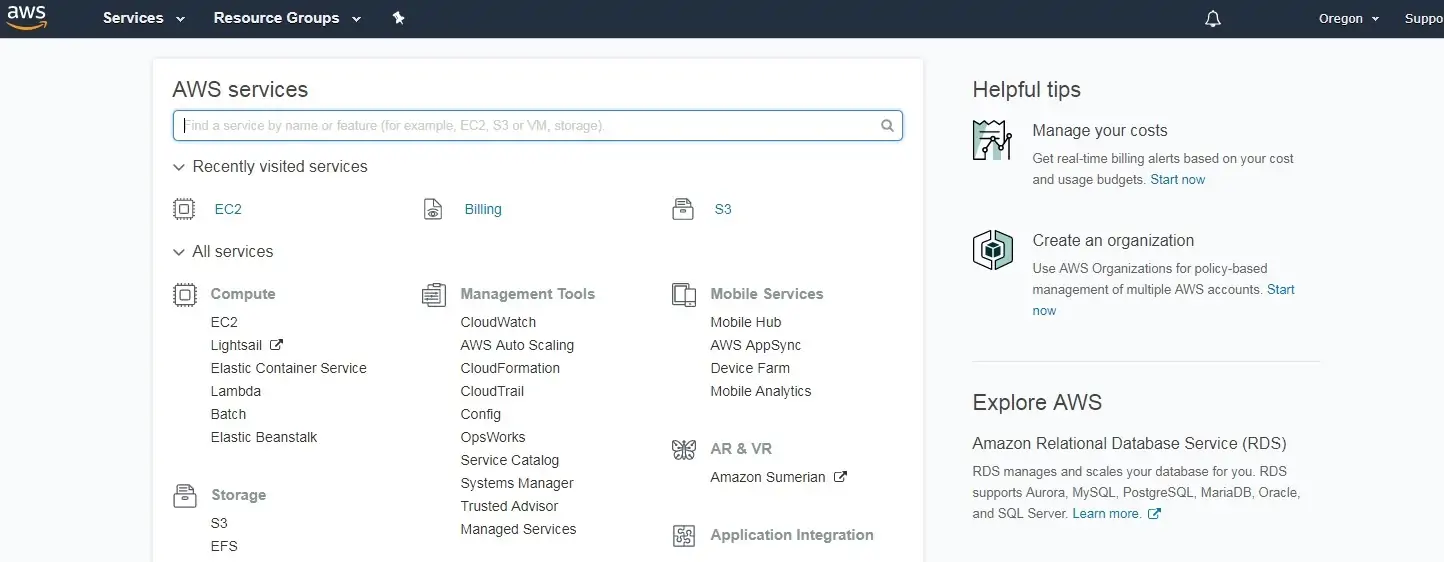
Access the COMPUTE menu and select the EC2 option.
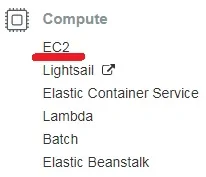
On the EC2 Dashboard, access the Network & Security menu and click on the Key Pairs option.
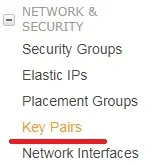
On the Key Pairs screen, click on the Create Key Pair button.
You will have to enter a name to the new Key Pair.
You will have to save locally your private key.
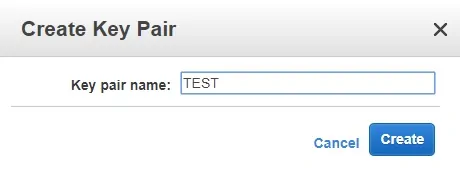
In our example, we created a key pair named TEST.
In our example, we saved a file named TEST.PEM.
Tutorial - How to Create an AWS EC2 Windows
On the EC2 Dashboard, access the Instances menu and click on the Instances option.
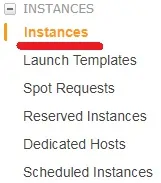
On the EC2 Instance screen, click on the Launch Instance button.

Now, it is time to select the desired Operational system image.
On the list presented, locate and select the Windows image.

As the second step, you will have to select the type of virtual machine that will run Windows.
Basically, you will select the number of processors and the amount of RAM that you want.

If you do not want to specify the amount of hard disk available to this virtual machine, click on the Review and Launch button.
If you want to specify the amount of hard disk available to this virtual machine, click on the Configure instance detail button.
On the summary screen, click on the Launch button.

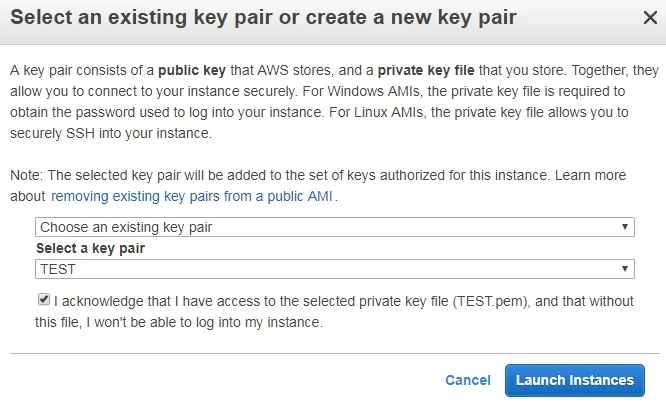
Select the Key pair authorized to connect to the new virtual machine and click on the Launch Instances.
In our example, the key pair named TEST was selected.
On the EC2 Dashboard, access the Instances menu and click on the Instances option.
As you can see a new virtual machine was created.

In our example, the virtual machine got the Dynamic IP address: 34.217.14.140
Tutorial - How to Access an AWS EC2 Windows
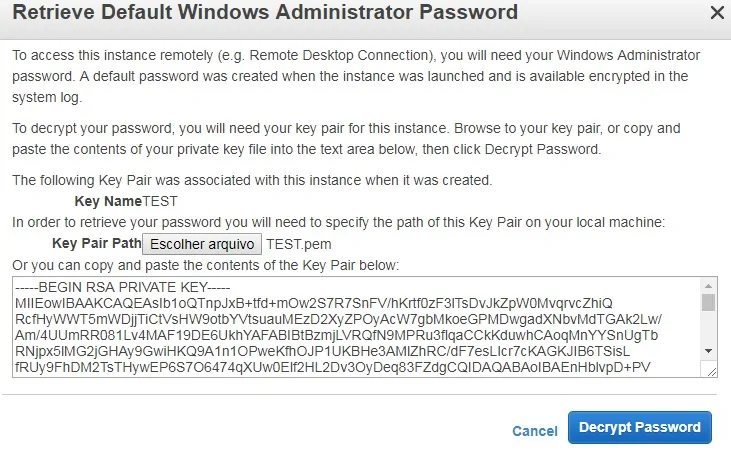
To access the EC2 Windows virtual machine you will have to right click on the Virtual machine and select the Get Windows password option.

To retrieve the default administrator password you will have to click on the Browse button, locate the private key file and click on the Decrypt password button.
In our example, a file named TEST.PEM was selected.
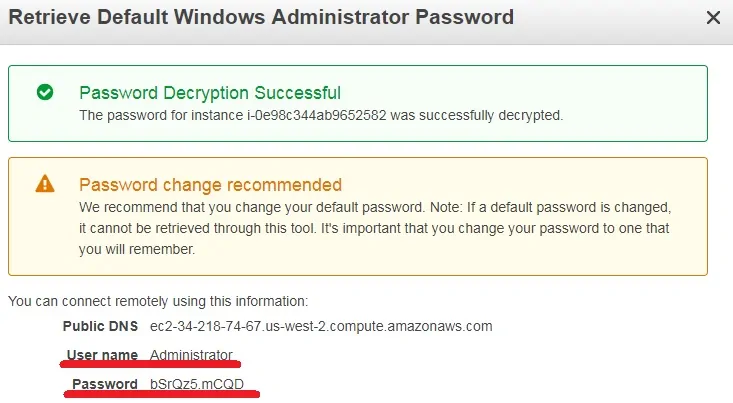
The new screen will show you the default administrator password.
In our example, the password presented was: bSrQz5.mCQD
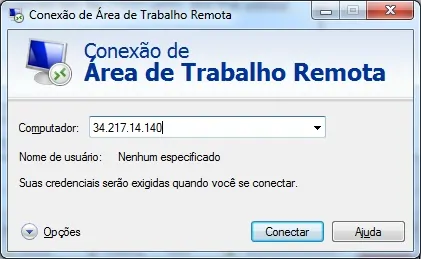
Open the remote desktop client and enter the IP address of your EC2 Windows virtual machine.
In our example, the username administrator was used.
In our example, the password bSrQz5.mCQD was used.
In our example, the IP 34.217.14.140 address was used.
You have successfully created an EC2 Windows virtual Machine on Amazon AWS.
