Would you like to learn how to enable the HTTP2 protocol of Apache on Ubuntu Linux? In this tutorial, we are going to show you all the steps required to enable the HTTP2 protocol on a computer running Ubuntu Linux.
• Ubuntu 20
• Ubuntu 19
• Ubuntu 18
• Apache 2.4.41
• PHP 7.4.3
Copyright © 2018-2021 by Techexpert.tips.
All rights reserved. No part of this publication may be reproduced, distributed, or transmitted in any form or by any means without the prior written permission of the publisher.
Equipment list
The following section presents the list of equipment used to create this tutorial.
As an Amazon Associate, I earn from qualifying purchases.
Apache - Related Tutorial:
On this page, we offer quick access to a list of tutorials related to Apache.
GoDaddy Account
First, you need to access the GODADDY WEBSITE and create an account.
This account will be used to create your HTTPS certificate.
The HTTP2 feature requires an HTTPS certificate.
The HTTP2 feature does not work using HTTP only.
Tutorial - HTTPS Certificate Creation
Install the required packages.
Generate your KEY file and your CSR file.
The system will ask some questions to fulfill your certificate request.
• Country Name - Enter the 2 letter code for your country
• State or Province Name - Enter the name of your State or Province.
• Locality Name - Enter the name of your City
• Organization Name - Enter your organization name or your personal name.
• Organizational Unit Name - Optional
• Common Name - Enter your website hostname
• Email Address - Optional
• A challenge password - Optional.
• An optional company name - optional.
In our example, we are creating a certificate request for the website techexpert.tips.
The CSR contains your Certificate Sign Request and will be sent to GoDaddy to create your Public certificate.
Here is the content of the CSR file:
The KEY file contains your Certificate private key and must be kept in a safe place all the time.
Here is the content of the KEY file:
Go back to the GODADDY WEBSITE and purchase the SSL certificate.
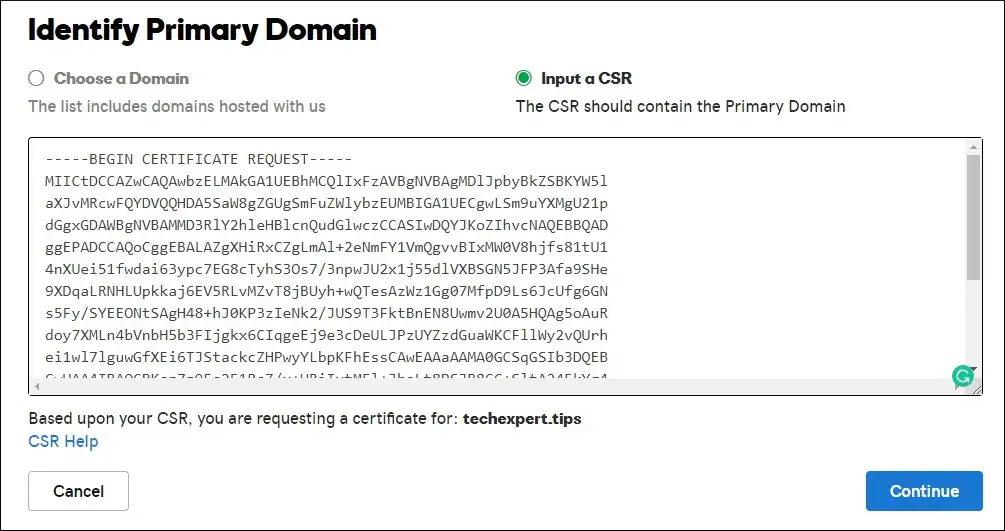
You will be required to paste the content of the CSR file on the website.

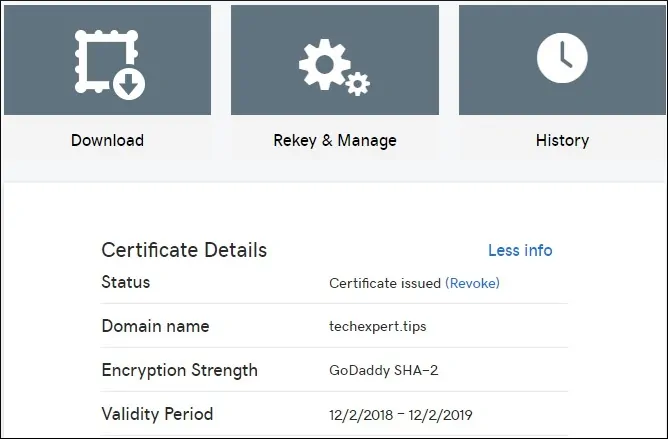
After 10 minutes, GoDaddy will finish the creation of your certificate and allow you to download a ZIP file.
In our example, the ZIP file was named: techexpert.tips.zip

Copy the ZIP file to your Linux server.
In our example, I will assume that you did copy the ZIP file to the following directory: /downloads/certificate
Here is the command output.
Let's list the files available inside the certificate directory.
• 1c9ad5b95b2ac0fb.crt
• gd_bundle-g2-g1.crt
• techexpert.csr
• techexpert.key
• techexpert.tips.zip
You should have similar files inside your certificate directory.
Optional. If you want to look inside the certificate files sent from Godady, use the following commands.
Don't forget to change the file names to reflect your environment.
Tutorial Apache - HTTP2 Installation
Install the Apache server with HTTP2 and PHP support.
Enable the required modules and configuration files.
If you had PHP installed in your Apache installation, you need to disable the standard Apache PHP module.
Enable the new PHP module.
Disable the Apache default MPM.
Enable the new Apache MPM.
Apache 2 introduced Multi-Processing Modules or MPMs.
The MPMs change how Apache handles requests from clients.
Enable the Apache HTTP2 module.
Edit the Apache configuration file.
Enable the HTTP2 support on Apache by adding the following line at the end of the configuration file.
Restart the PHP-FPM service.
Restart the Apache service.
You have finished the installation of HTTP2 on Apache.
Apache - Testing the HTTP2 Support
Now, we are going to test if our Apache installation really supports HTTP2.
Install the required software to test the Apache HTTP/2 support.
Use the following command to test the Apache HTTP2 support using WGET.
Keep in mind that you need to change 200.200.200.200 to your server IP address.
Here is the command output.
Congratulations, you have successfully tested the HTTP2 support on Apache.
Tutorial Apache - Configure a Virtualhost using HTTP2
Now, let' use the HTTPS certificate that we purchased from GoDaddy and create an HTTP2 website.
Use the folowing command to create the required folders.
Create your virtual host configuration file to also offer your website over HTTPS:
Keep in mind that your virtual host file name and location may not be the same as mine.
As an example, here is our VirtualHost configuration file.
This virtual host file has the HTTPS and HTTP2 enabled.
This file was also configured to redirect any HTTP connection to the HTTPS version of the website.
Set the correct file permission on all certificate and key files.
Enable the virtual host configuration.
Restart the Apache service.
You have finished the HTTP2 configuration on the Apache server.
Apache - Testing an HTTP2 connection using Chrome
Now, we are going to test our Apache HTTP2 installation.
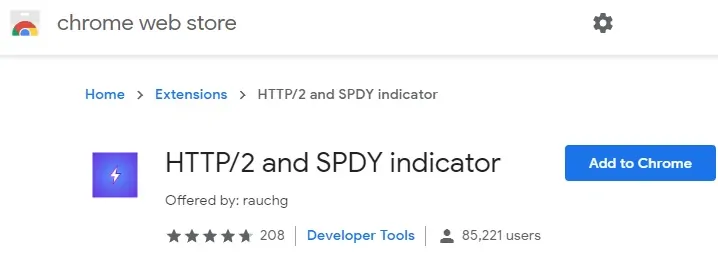
We are going to use the Chrome HTTP/2 and SPDY Indicator extension to detect the HTTP2 support.
Access the Google web store and install the Chrome HTTP/2 and SPDY Indicator extension.

The HTTP/2 extension will add an indicator button on the top-right part of the screen.
The indicator button is in the shape of a lightning.
If the lightning indicator is gray, it means that the website does not support HTTP2
If the lightning indicator is gray, it means that the website does not support HTTP2.

If the lightning indicator is blue, it means that the website does support HTTP2.

If the lightning indicator is green, it means that the website does support HTTP2, SPDY and the QUIC protocol

Now, you are able to quickly detect which website has HTTP/2 support enabled.
Try to access your website and verify if the lightning indicator is blue.
Keep in mind that you need to change the website https://techexpert.tips to your website name.
