Would you like to learn how to install Apache and PHP-FPM? In this tutorial, we are going to configure the Apache server and enable the PHP support using PHP-FPM on a computer running Ubuntu Linux.
• Ubuntu 20
• Ubuntu 19
• Ubuntu 18
• Apache 2.4.41
• PHP 7.4.3
Copyright © 2018-2021 by Techexpert.tips.
All rights reserved. No part of this publication may be reproduced, distributed, or transmitted in any form or by any means without the prior written permission of the publisher.
Equipment list
The following section presents the list of equipment used to create this tutorial.
As an Amazon Associate, I earn from qualifying purchases.
Apache - Related Tutorial:
On this page, we offer quick access to a list of tutorials related to Apache.
Tutorial Apache - PHP-FPM installation
Install the Apache server.
Install the PHP-FPM package.
Enable the required Apache modules.
If you had PHP previously installed, you need to disable the standard PHP module.
Enable the MPM_EVENT feature.
Restart the PHP-FPM service.
Restart the Apache service.
In our example, the PHP-FPM version 7.4 was installed on the Apache server.
Create a file to test the PHP installation.
Here is the file content.
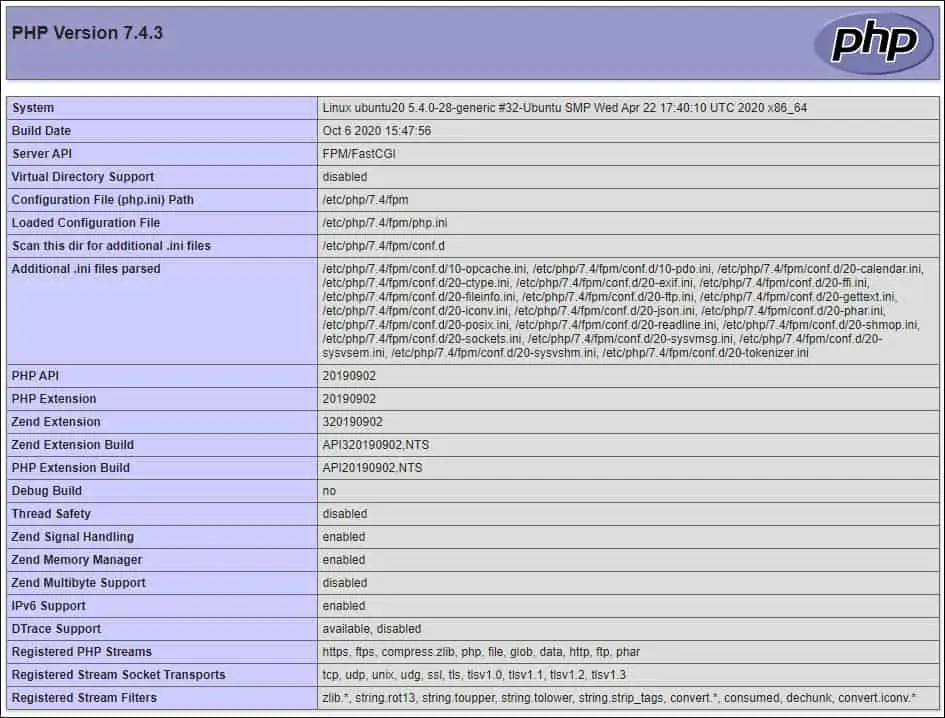
Open the browser and access the PHP test page.
In our example, the following URL was entered in the Browser:
• http://192.168.2.222/test.php
The Apache server will display the PHP information.

Congratulations! You installed Apache and PHP-FPM on Ubuntu Linux.
