Would you like to learn how to install PhpPgAdmin on a computer running Ubuntu Linux? In this tutorial, we are going to install and configure PhpPgAdmin using the Apache server on a computer running Ubuntu Linux.
• Ubuntu 18
• Ubuntu 19
• Ubuntu 20
• Apache 2.4.41
• PhpPgAdmin 7.12.1
Apache - Related Tutorial:
On this page, we offer quick access to a list of tutorials related to Apache.
Tutorial PhpPgAdmin - PostgreSQL installation
Install the PostgreSQL database service.
Access the PostgreSQL service command-line.
Set a password to the PostgreSQL user.
In our example, we set the PostgreSQL password: Kamisama123
Locate and edit the PostgreSQL configuration file named: PG_HBA.CONF.
Your configuration file location may not be the same as ours.
Here is the original file, before our configuration.
Here is the new file with our configuration.
Restart the PostgreSQL service.
Try to access the PostgreSQL service using the new password.
PostgreSQL will request the user password.
Download the PHPPGADMIN installation package.
You have finished the PostgreSQL service installation.
Tutorial PhpPgAdmin - Apache installation
Install the Apache web server and all the required packages.
Enable the Apache module named: Mod_rewrite
Edit the Apache configuration file.
Add the following lines at the end of this file.
Enable the PHP support on Apache.
Restart the Apache service.
You have finished the Apache service installation with PHP support.
Tutorial PhpPgAdmin - Installation on Ubuntu
Move the PHPPGADMIN directory to the Apache root directory.
Edit the configuration file.
Enable and configure the following items of the configuration file.
Open your browser and enter the IP address of your web server plus /phppgadmin.
In our example, the following URL was entered in the Browser:
• http://172.31.8.195/phppgadmin
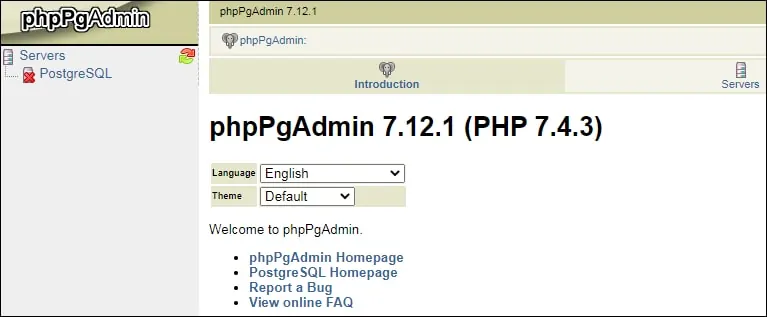
The PHPPGADMIN initial screen will be displayed.

To access the PHPPGADMIN login screen, select the option named Server.
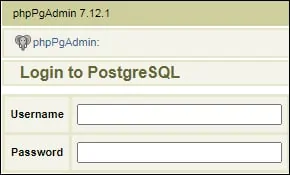
On the Login screen, enter the POSTGRES account password.

After a successful login, The PHPPGADMIN dashboard will be displayed.

Congratulations! You have finished the installation of PHPPGADMIN.
Tutorial PhpPgAdmin - Basic authentication
The PHPPGADMIN software provides a direct interface to the PostgreSQL service.
We are going to configure an extra layer of authentication to protect the initial access to PHPPGADMIN.
Create the password file and add the first user account.
The system will request you to enter the password to the new user account.
Here is the file content.
To create additional user accounts, use the following command.
Edit the Apache configuration file for the default website.
Insert the following line in the area named: VirtualHost.
Here is the file content.
Restart the Apache service.
Open your browser and enter the IP address of your web server plus /phppgadmin.
In our example, the following URL was entered in the Browser:
• http://172.31.8.195/phppgadmin
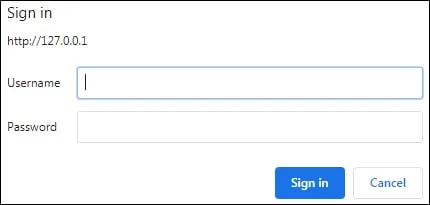
The Apache server will require you to perform the user authentication.

After a successful login, The PHPPGADMIN initial screen will be displayed.

After a successful login, The PHPPGADMIN dashboard will be displayed.

Congratulations! You have finished the installation of PHPPGADMIN.
