Would you like to learn how to do a Sonarqube Scanner installation on Ubuntu Linux? In this tutorial, we are going to show you how to install the Sonarqube scanner on a computer running Ubuntu Linux.
• Ubuntu version: 18
• Ubuntu version: 19
• Sonarqube version: 7.9.1
Hardware List:
The following section presents the list of equipment used to create this Sonarqube tutorial.
Every piece of hardware listed above can be found at Amazon website.
Sonarqube Related Tutorial:
On this page, we offer quick access to a list of tutorials related to Sonarqube installation.
Tutorial - Sonarqube Scanner Installation on Ubuntu Linux
Use apt-get to install the required packages.
Download the Sonarqube scanner package and move it to the OPT directory.
Edit the sonar-scanner.properties file.
Configure the Sonarqube scanner to connect to your Sonarqube server.
We need to add the sonar-scanner command to the PATH variable.
Let’s create a file to automate the required environment variables configuration
Here is the sonar-scanner.sh file content.
Reboot your computer or use the source command to add the sonar scanner command to the PATH variable.
Use the following command to verify if the PATH variable was changed as expected.
Here is the command output:
In our example, the /opt/sonar-scanner/bin directory was added to the PATH variable.
Use the following to verify the Sonarqube scanner version installed.
Here is the command output.
Congratulations! You have finished the Sonarqube scanner installation.
Sonarqube - How to Scan a Static Code
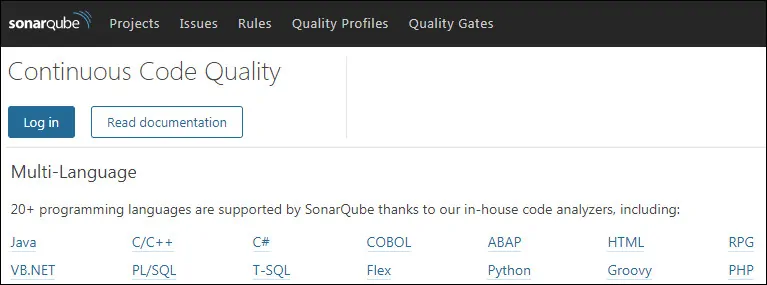
First, you need to access the Sonarqube web interface and create a new project.
Open your browser and enter the IP address of your web server plus :9000
In our example, the following URL was entered in the Browser:
• http://192.168.15.10:9000

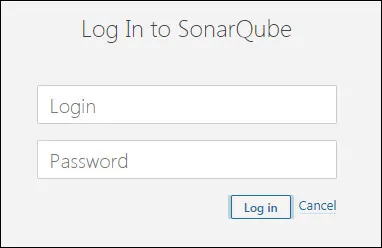
Click on the Login button and use the Sonarqube default username and password.
• Default Username: admin
• Default Password: admin

After a successful login, you will be sent to the Sonarqube Dashboard.

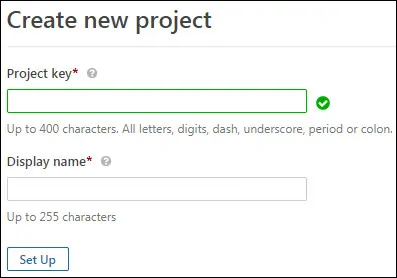
Create a new project.
In our example, we are going to analyse a popular open source project named: Zabbix

Set a project key and a display name.

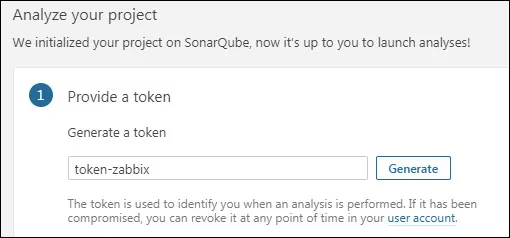
Enter a string for the project token name and click on the Generate button.
In our example, we entered the token name Zabbix.
The token is used to identify you when an analysis is performed.
If it has been compromised, you can revoke it at any point of time in your user account.
In our example, the toke generated was zabbix: 47c300fa4d7b9e8a3e7c953e77c250477f3617e5
Click on the Continue button.
On the Next screen, select your project language.
In our example, we selected the option: Other (JS, TS, Go, Python, PHP, ...)

Select the Linux operational system.
The system will show you the command-line that you should use to scan the Zabbix project.
Get a local copy of the Static code that you want to analyse.
In our example, we are going to analyse a popular open source project named: Zabbix
Access the project directory and run the Sonarqube scanner.
In our example, the Sonarqube server and scanner are installed on the same computer.
Wait the code Scanner to finish and upload automatically the results to the Sonarqube server.
On The Sonarqube dashboard, you will be able to access the scan results.

Congratulations! You have learned how to use Sonar scanner.
