Would you like to learn how to install Squid 4 on Ubuntu Linux? In this tutorial, we are going to show you how to install and configure the Proxy server Squid on Ubuntu Linux.
• Ubuntu 18
• Ubuntu 19
• Ubuntu 20
Equipment list
Here you can find the list of equipment used to create this tutorial.
This link will also show the software list used to create this tutorial.
Tutorial SQUID 4 - Installation on Ubuntu Linux
Install the required packages.
Search for the proxy server configuration file.
Edit the Squid configuration file.
Here is the file content, before our configuration.
Here is the file content, after our configuration.
Change the access list named LOCALNET to your internal network address.
Change the local cache size from 1GB (1000) to the desired amount.
Stop the Squid service.
Create the local cache directories.
Here is the command output.
Configure the correct file permissions.
Start the proxy service.
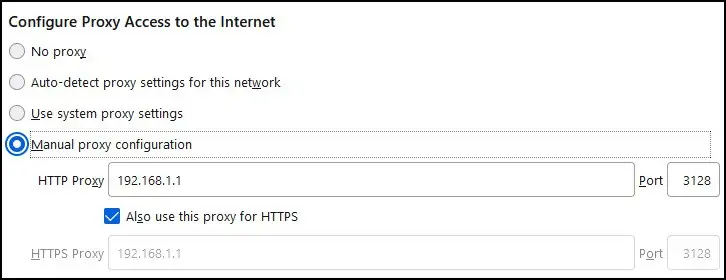
In our example, we configured the Proxy server on the TCP port 3128.
Verify the status of the proxy service.
On a local computer, configure the browser proxy settings.

Congratulations! You have learned how to install the Squid proxy server on Ubuntu Linux.
