Would you like to learn how to configure Ubuntu Radius authentication using Freeradius? In this tutorial, we are going to show you how to authenticate Ubuntu users using the Radius protocol and the Freeradius service on a computer running Ubuntu Linux.
• Ubuntu 18.04
• Ubuntu 19.10
• Freeradius 3.0.16
Ubuntu Related Tutorial:
On this page, we offer quick access to a list of tutorials related to Ubuntu.
Tutorial - FreeRadius Server Installation on Ubuntu Linux
• IP - 192.168.15.10
• Operacional System - Ubuntu 19
• Hostname - FREERADIUS
On the Linux console, use the following commands to install the FreeRadius service.
Now, we need to add FreeRadius clients to the clients.conf;.
Locate and edit the clients.conf.
Add the following lines at the end of the clients.conf file.
In our example, we are adding 1 client device:
The device was named LINUX and has the IP address 192.168.15.11.
Now, we need to add FreeRadius users to the USERS configuration file.
Locate and edit the Freeradius users configuration file.
Add the following lines at the end of the file
Restart the Freeradius server.
Test your radius server configuration file.
You have finished the Freeradius installation on Ubuntu Linux.
Tutorial Ubuntu - Radius Authentication using Freeradius
• IP - 192.168.15.11
• Operacional System - Ubuntu 19
• Hostname - LINUX
Install the required packages to enable the Radius authentication.
Edit the configuration file named pam_radius_auth.conf.
Here is the pam_radius_auth.conf file, before our configuration.
Here is the pam_radius_auth.conf file, after our configuration.
We performed the following configuration:
• Radius Server IP - 192.168.15.10
• Radius Secret - kamisama123
You need to change the IP address to your Freeradius server IP.
You need to change the Radius secret to your radius password.
Create a local account to the Radius user.
In order to authenticate using Radius the user must have a local account.
In our example, we created a user account to the Radius user named admin.
Test your Radius authentication using the following command.
You need to change the IP address to your Freeradius server IP.
You need to change the Radius secret to your radius password.
You need to change the admin user account and the password 123qwe.. to reflect your user account.
Here is the command output:
Edit the /etc/pam.d/sshd configuration file.
Insert the following line in the begining of this file.
Here is the /etc/pam.d/sshd file, before our configuration.
Here is the /etc/pam.d/sshd file, after our configuration.
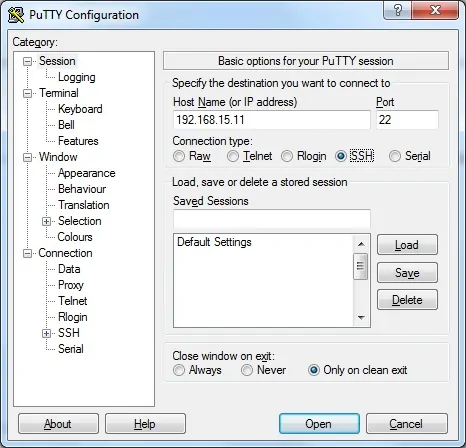
To test the Radius SSH configuration from a computer running Windows:
Download the last version of the PUTTY application, and test the communication using the Radius account.

Congratulations! You have configured the Ubuntu authentication to use a Radius database.
