This tutorial will show you how to install IPFS on Windows.
IPFS is a peer-to-peer hypermedia protocol to make the web faster, safer, and more open.
Go is a programming language developed by Google's team which offers a robust set of libraries and is becoming very popular. In this tutorial, we are going to show you how to install GO and IPFS on Windows.
Hardware List:
The following section presents the list of equipment used to create this Windows tutorial.
Every piece of hardware listed above can be found at Amazon website.
Windows Playlist:
On this page, we offer quick access to a list of videos related to Windows.
Don't forget to subscribe to our youtube channel named FKIT.
Windows Related Tutorial:
On this page, we offer quick access to a list of tutorials related to Windows.
Tutorial - GO Installation on Windows
First, you need to access the golang.org website and download the last version of the GO software.
In our example, we downloaded the software GO version 1.10.2.
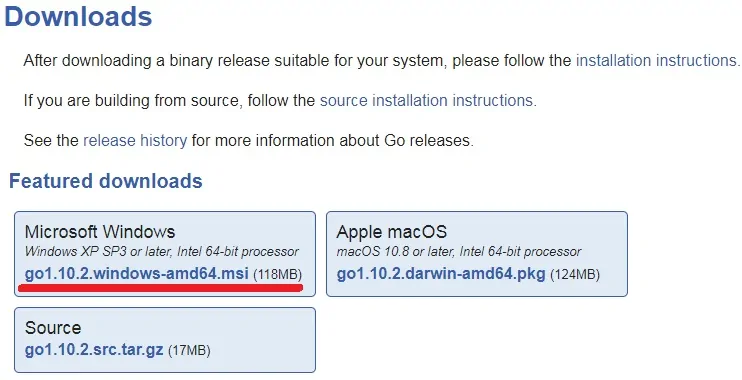
Double-click the package to start the GO software installation.
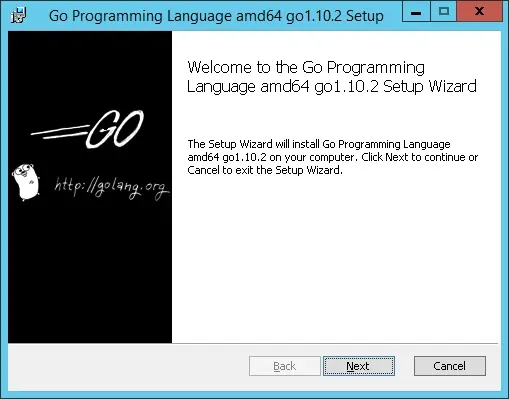
In our example, the Go software was installed under the C:\GO folder.
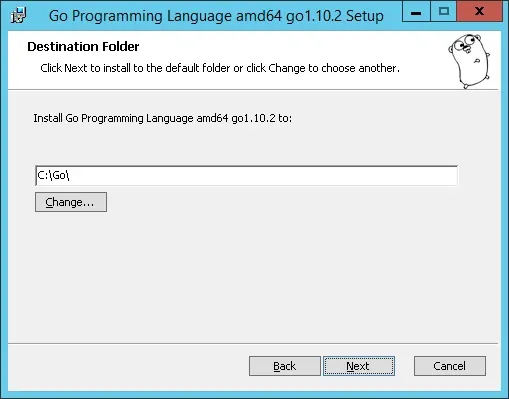
Press Next, Next and Finish to complete the installation.
In order to work properly, the Go software expect the system to have a set of environment variables.
Let’s verify if the installation package did create the required environment variables.
Open a DOS prompt and use the following command to verify the required environment variables.
# set | find "GO"
GOPATH=C:\Users\Administrator\go
GOROOT=C:\Go\
We also need to verify it the GO software commands were added to the PATH variable.
# echo %path%
C:\Windows\system32;C:\Windows;C:\Windows\System32\Wbem;C:\Windows\System32\Wind
owsPowerShell\v1.0\;C:\Program Files\Amazon\cfn-bootstrap\;C:\Go\bin;C:\Users\Administrator\go\bin
The PATH variable includes the directory C:\Go\bin which is the location of the GO language commands.
Close all open DOS prompt and open a new DOS prompt.
Use the following command to test your GO software installation.
# go version
go version go1.10.2 windows/amd64
In our example, the Go software version 1.10.2 was successfully installed on a Windows server.
Tutorial - GIT Installation on Windows
Second, you need to access the git-scm.com website and download the last version of the GIT software.
In our example, we downloaded the software GIT version 2.17.0.
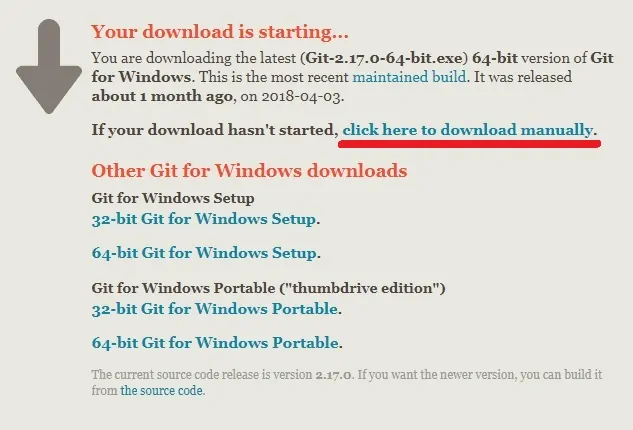
Double-click the package to start the GIT software installation.
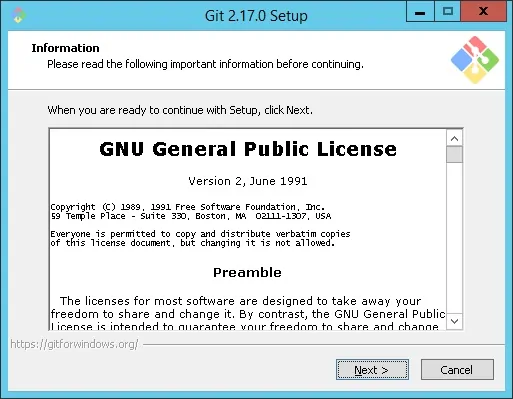
On the GIT installation screen, make sure you select the option:
Use GIT from the Windows command prompt.
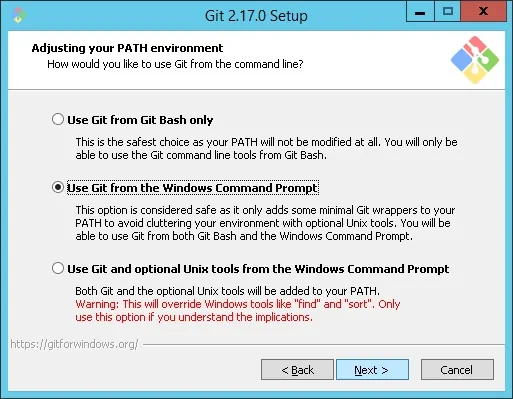
Press Next, Next and Finish to complete the installation.
Open a new DOS prompt and use the following command to test your GIT software installation.
# git version
git version 2.17.0.windows.1
In our example, the GIT software version 2.17.0 was successfully installed on a Windows server.
Tutorial - Install IPFS on Windows
As our last step, we need to install the IPFS software on our Windows server.
Close all open DOS prompt and open a new DOS prompt.
Use the following commands to install the IPFS-UPDATE software.
# go get -u github.com/ipfs/ipfs-update
# ipfs-update versions
Use the IPFS-UPDATE command to list the IPFS versions available.
# ipfs-update versions
v0.3.2
v0.3.4
v0.3.5
v0.3.6
v0.3.7
v0.3.8
v0.3.9
v0.3.10
v0.3.11
v0.4.0
v0.4.1
v0.4.2
v0.4.3
v0.4.4
v0.4.5
v0.4.6
v0.4.7
v0.4.8
v0.4.9
v0.4.10
v0.4.11
v0.4.12
v0.4.13
v0.4.14-rc1
v0.4.14-rc2
v0.4.14-rc3
v0.4.14
v0.4.15-rc1
Use the IPFS-UPDATE command to install the last IPFS versions available.
# ipfs-update install latest
Start your IPFS node.
# ipfs init
initializing IPFS node at C:\Users\Administrator\.ipfs
generating 2048-bit RSA keypair...done
peer identity: QmYPZFLgY77CqNcymGMSS3AYbG7wEBgvh8P66t7oNV63Nb
to get started, enter:
Take note of you IPFS node ID.
In our example the IPFS node ID is: QmYPZFLgY77CqNcymGMSS3AYbG7wEBgvh8P66t7oNV63Nb
Start the IPFS service.
# ipfs daemon
Initializing daemon...
Swarm listening on /ip4/127.0.0.1/tcp/4001
Swarm listening on /ip4/172.31.34.135/tcp/4001
Swarm listening on /ip6/::1/tcp/4001
Swarm listening on /p2p-circuit/ipfs/QmYPZFLgY77CqNcymGMSS3AYbG7wEBgvh8P66t7oNV6
3Nb
Swarm announcing /ip4/127.0.0.1/tcp/4001
Swarm announcing /ip4/172.31.34.135/tcp/4001
Swarm announcing /ip6/::1/tcp/4001
API server listening on /ip4/127.0.0.1/tcp/5001
Gateway (readonly) server listening on /ip4/127.0.0.1/tcp/8080
Daemon is ready
Open a new DOS prompt.
Create a folder named ipfs on the root of drive C.
Create a folder named test inside the ipfs folder.
# C:
# cd \
# mkdir ipfs
# cd ipfs
# mkdir test
Open the notepad and create a simple HTML file named test.html with the following content.
<html>
<body>
<h1> TEST PAGE 01</h1>
<h2> TEST PAGE 01</h2>
</body>
</html>
Open a DOS prompt and publish the test.html file on IPFS.
# C:
# cd \
# cd ipfs
# ipfs add -w test/test.html
80 B / 80 B [==================================] 100.00% 0s
added QmeMdufPxieuMDcbaJQnN3UA2Bx6kEDkUpyRQdE9tj5YUW test.html
added QmNSqkyWYMNKKZHNp5N8cW8rXWcMztj7trTE9KiGfGcHwU
Now, you can open your browser and try to access the file that we just published:
https://gateway.ipfs.io/ipfs/QmeMdufPxieuMDcbaJQnN3UA2Bx6kEDkUpyRQdE9tj5YUW
In our example, QmeMdufPxieuMDcbaJQnN3UA2Bx6kEDkUpyRQdE9tj5YUW was the ID that IPFS gave to the test.html file.
You have successfully installed IPFS on Windows.
You are now the proud owner of an IPFS node on Windows.