Would you like to learn how to install the NTP server on Windows? In this tutorial, we are going to show you how to configure an NTP server on a computer running Windows.
• Windows 2012 R2
• Windows 2016
• Windows 2019
• Windows 10
• Windows 7
Equipment list
Here you can find the list of equipment used to create this tutorial.
This link will also show the software list used to create this tutorial.
Windows - Related Tutorial:
On this page, we offer quick access to a list of tutorials related to Windows.
Tutorial Windows - NTP server installation
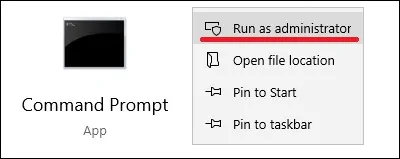
As Administrator, start an elevated command-line.

Create a backup of the Windows registry entries.
Configure the Windows time service as an NTP server.
Configure the list of NTP servers.
Configure the NTP poll interval.
Configure the Windows time service to start automatically.
Start the Windows time service.
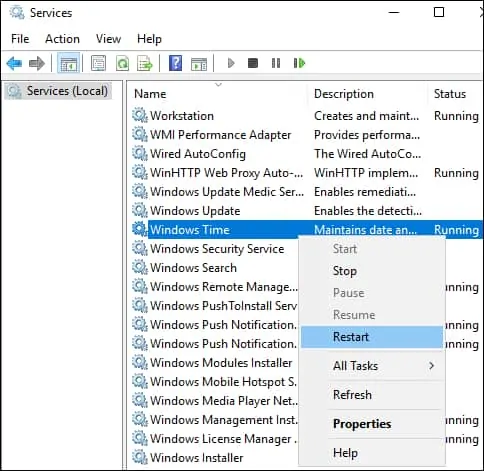
Optionally, restart the Windows time service using the graphical interface.

Create a Firewall rule to allow the input of packets on the NTP port.
Verify the NTP server configuration.
Here is the command output.
Congratulations! You have finished the installation of the NTP server on Windows.
Tutorial Windows - NTP server verification
Verify the NTP server peer list.
Verify the NTP service communication.
From a remote computer, test your NTP server.
Here is the command output.
In our example, the NTP server IP address is 172.31.0.84.
From a computer running Linux, test your NTP server.
Here is the command output.
Congratulations! You have finished the NTP server configuration on Windows.
