Would you like to learn how to do an iTOP installation on Ubuntu Linux? In this tutorial, we are going to show you how to install, configure and access iTOP on a computer running Ubuntu Linux version 17.
Hardware List:
The following section presents the list of equipment used to create this iTOP tutorial.
Every piece of hardware listed above can be found at Amazon website.
iTOP Playlist:
On this page, we offer quick access to a list of videos related to iTOP installation.
Don't forget to subscribe to our youtube channel named FKIT.
iTOP Related Tutorial:
On this page, we offer quick access to a list of tutorials related to iTOP installation.
Tutorial - NTP on Ubuntu Linux
First, we are going to configure the system to use the correct date and time using NTP.
On the Linux console, use the following commands to set the correct timezone.
# dpkg-reconfigure tzdata
Install the Ntpdate package and set the correct date and time immediately.
# apt-get update
# apt-get install ntpdate
# ntpdate pool.ntp.br
The Ntpdate command was used to set the correct date and time using the server: pool.ntp.br
Let's install the NTP service.
# apt-get install ntp
NTP is the service that will keep our server updated.
Use the command date to check the date and time configured on your Ubuntu Linux.
# date
If the system shown the correct date and time, this means that you followed all the steps correctly.
Tutorial - MariaDB on Ubuntu Linux
Now, we can proceed to the installation of the database service.
On the Linux console, use the following commands to install the required packages.
# apt-get update
# apt-get install software-properties-common
# apt-key adv --recv-keys --keyserver hkp://keyserver.ubuntu.com:80 0xF1656F24C74CD1D8
# add-apt-repository 'deb [arch=amd64,i386] http://nyc2.mirrors.digitalocean.com/mariadb/repo/10.2/ubuntu artful main'
# apt-get update
# apt-get install mariadb-server mariadb-client
The installation wizard will ask you for a password to the root user.
After finishing the installation, use the following command to access the MariaDB database server.
To access the database server, enter the password set on the MariaDB server installation wizard.
# mysql -u root -p
Use the following SQL command to create a database named itop.
CREATE DATABASE itop CHARACTER SET UTF8 COLLATE UTF8_BIN;
Use the following SQL command to create a database user named itop.
CREATE USER 'itop'@'%' IDENTIFIED BY 'kamisama123';
Give the sql user named itop permission over the database named itop.
GRANT ALL PRIVILEGES ON itop.* TO 'itop'@'%';
quit;
Tutorial - Installing Apache on Linux
Now, we need to install the Apache web server and all the required software.
On the Linux console, use the following commands to install the required packages.
Now, you should find the location of the php.ini file on your system.
After finding, you need to edit the php.ini file.
Keep in mind that your PHP version and the location of the file may not be the same of mine.
Here is the original file, before our configuration.
file_uploads = On
max_execution_time = 30
memory_limit = 128M
post_max_size = 8M
max_input_time = 60
; max_input_vars = 1000
; date.timezone =
Here is the new file with our configuration.
file_uploads = On
max_execution_time = 300
memory_limit = 256M
post_max_size = 32M
max_input_time = 60
max_input_vars = 4440
date.timezone = America/Sao_Paulo
In our example, the timezone configured was America/Sao_Paulo.
Keep in mind that you must set the correct timezone for your location
You should also restart apache manually and verify the service status.
# service apache2 stop
# service apache2 start
# service apache2 status
Here is an example of the Apache service status output.
● apache2.service - LSB: Apache2 web server
Loaded: loaded (/etc/init.d/apache2; bad; vendor preset: enabled)
Drop-In: /lib/systemd/system/apache2.service.d
└─apache2-systemd.conf
Active: active (running) since Mon 2018-04-23 00:02:09 -03; 1min 4s ago
Tutorial - iTOP Installation on Ubuntu
Now, we need to install the iTOP Ubuntu Linux.
On the Linux console, use the following commands to download the iTOP package.
Move all the iTOP files to the root directory of your Apache installation.
Set the correct file permission on all moved files.
Open your browser and enter the IP address of your web server plus /itop.
In our example, the following URL was entered in the Browser:
• http://35.162.85.57/itop
The iTOP web installation interface should be presented.
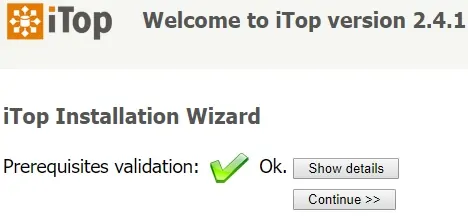
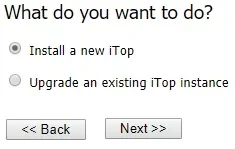
On the next screen, you need to select the option to create a new iTOP installation.
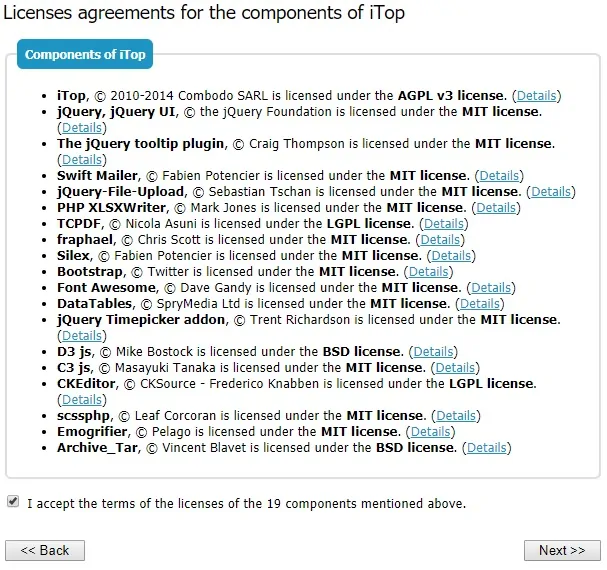
On the next screen, you will have to accept the iTOP license agreement.
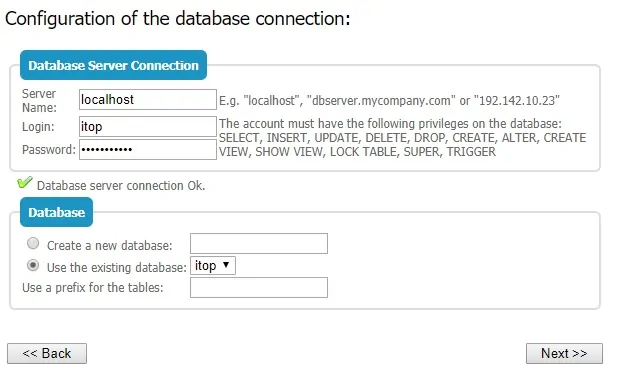
On the next screen, you will have to enter the Database information required to connect to the iTOP database.
• Host: localhost
• Database Username: itop
• Database Password: *****
• Use the existing database: itop
On the next screen, you will have to set the administrative account username and password.
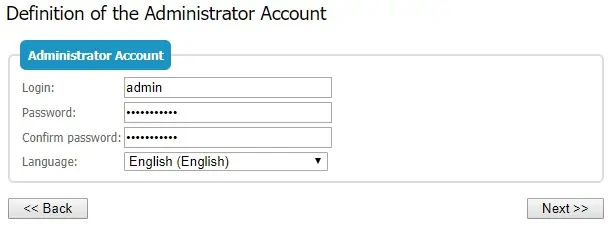
In our example, we set the username admin, the password kamisama123, and the English language.
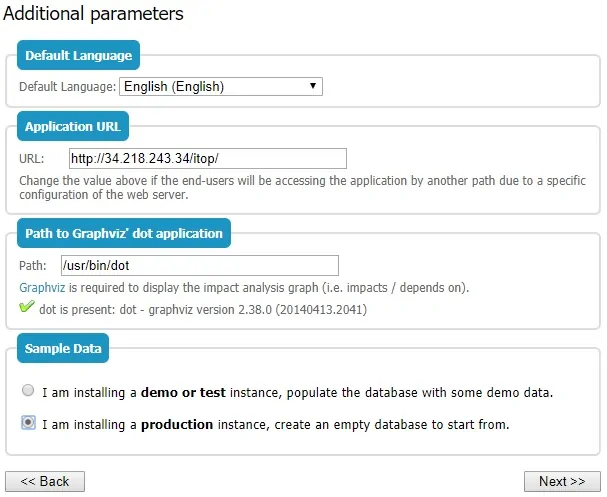
On the next screen, you will have to set additional parameters.
Select the default language desired.
Select the option to install a production instance of iTOP.
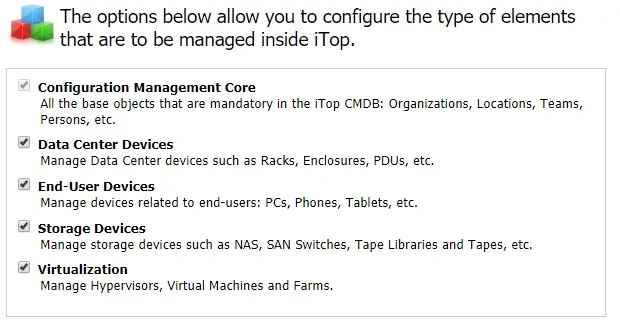
On the next screen, you will have to select all the type of elements.
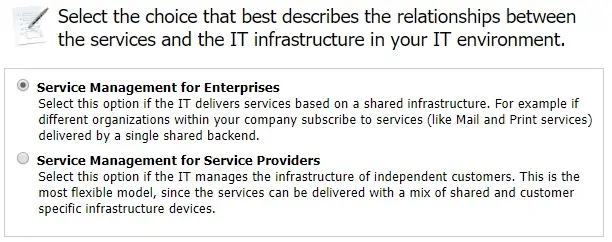
On the next screen, you will have to select the option: Service Management for Enterprises.
On the next screen, you will have to select the type of tickets that you want to use.
In order to be ITIL compliant, we are going to select the option: ITIL Compliant Ticket Management.
You should also check the following checkboxes:
User Request Management.
Incident Management.
Enhanced Customer portal.
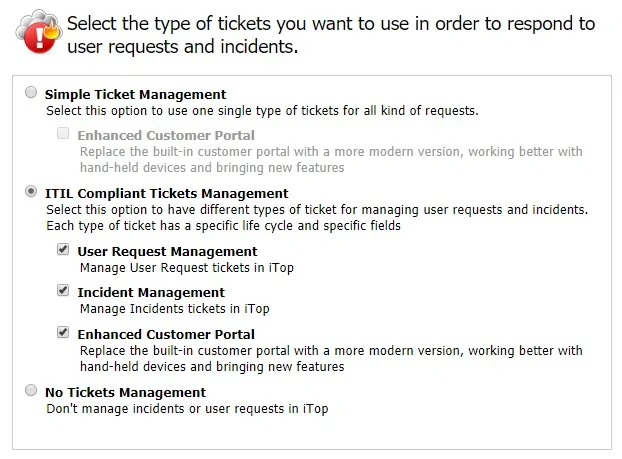
On the next screen, you will have to select the type of Change management tickets that you want to use.
In order to be ITIL compliant, we are going to select the option: ITIL Change Management.
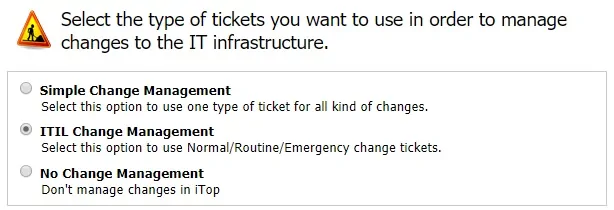
On the next screen, you will have to enable the following ITIL processes.
Known Error Management.
Problem Management.

Finally, you will be presented with the iTOP summary installation screen.
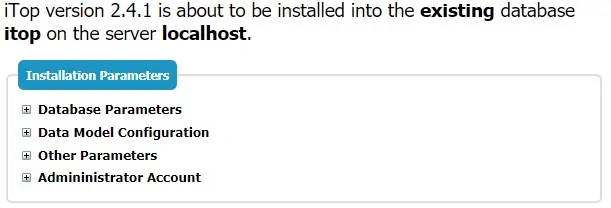
After finishing the installation, the following screen will be presented.

Click on the Enter iTOP button to be sent to the iTOP dashboard.
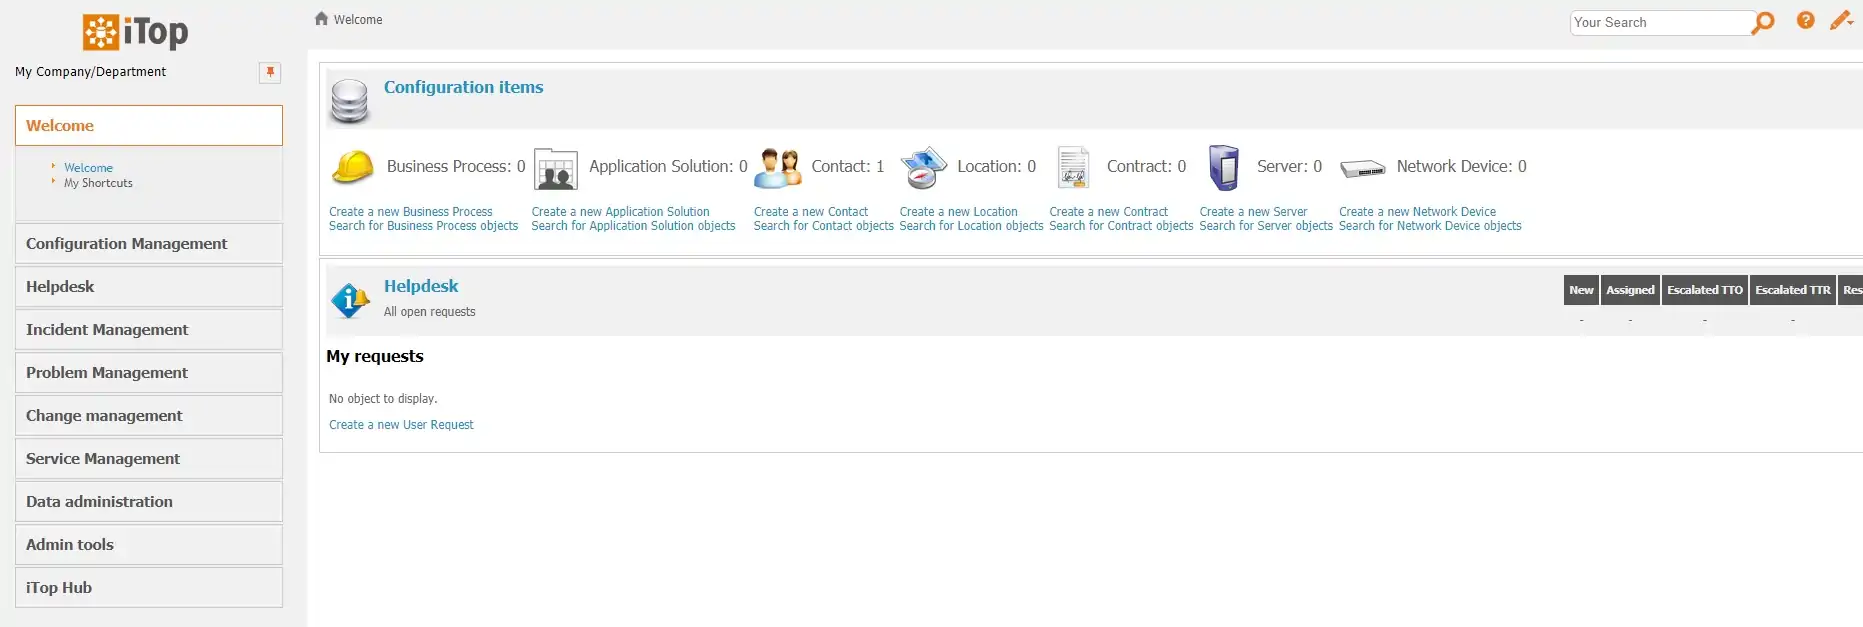
Congratulations, you have installed the iTOP system on Ubuntu Linux.
