Would you like to learn how to configure iTOP LDAP authentication on Active directory? In this tutorial, we are going to show you how to authenticate iTOP users using the Microsoft Windows database Active directory and the LDAP protocol.
• Ubuntu 18.04
• Ubuntu 19.04
• iTOP 2.6.1
Hardware List:
The following section presents the list of equipment used to create this iTOP tutorial.
Every piece of hardware listed above can be found at Amazon website.
iTOP Related Tutorial:
On this page, we offer quick access to a list of tutorials related to iTOP.
Tutorial - Windows Domain Controller Firewall
First, we need to create a Firewall rule on the Windows domain controller.
This firewall rule will allow the iTOP server to query the Active directory database.
On the domain controller, open the application named Windows Firewall with Advanced Security
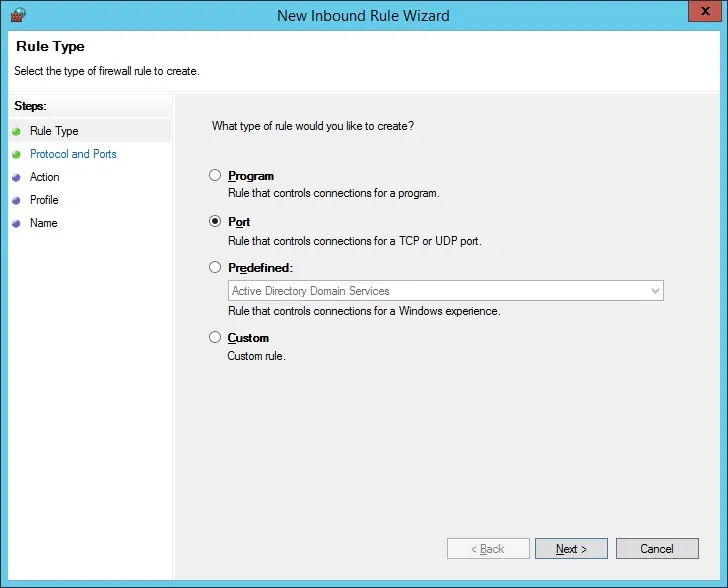
Create a new Inbound firewall rule.

Select the PORT option.
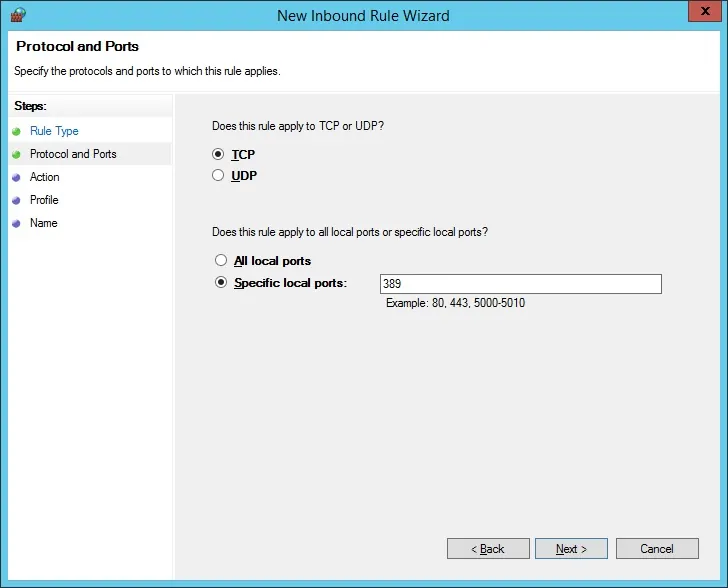
Select the TCP option.
Select the Specific local ports option.
Enter the TCP port 389.
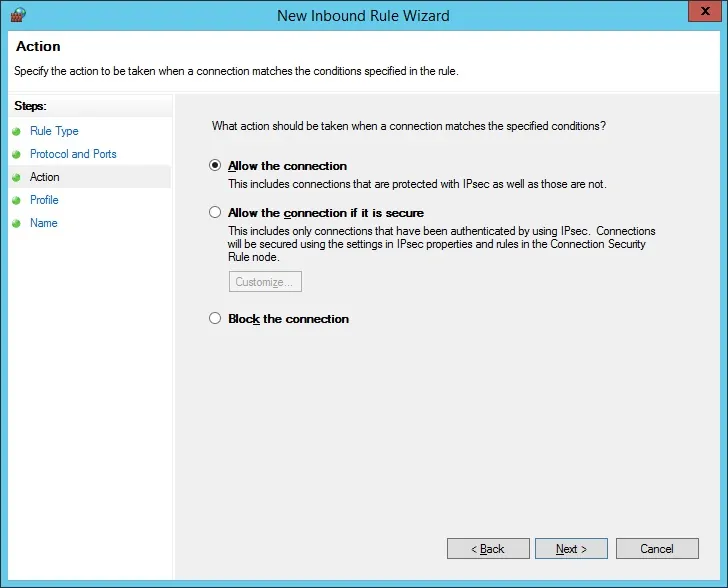
Select the Allow the connection option.
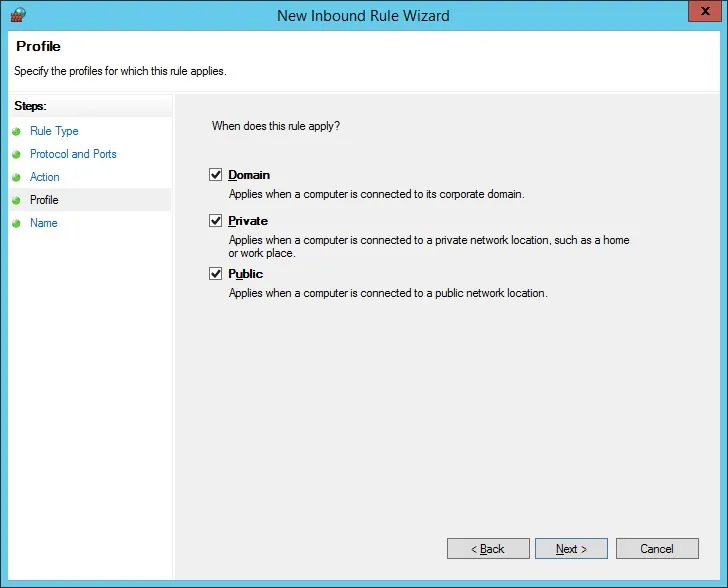
Check the DOMAIN option.
Check the PRIVATE option.
Check the PUBLIC option.
Enter a description to the firewall rule.
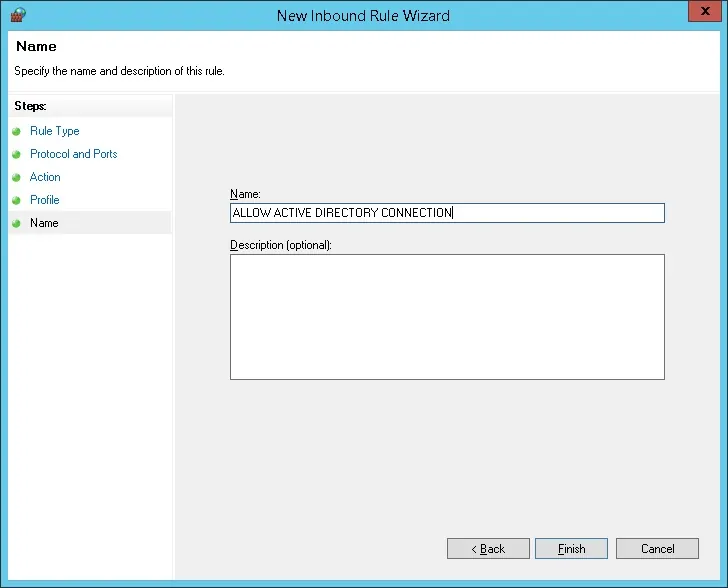
Congratulations, you have created the required firewall rule.
This rule will allow iTOP to query the Active directory database.
Tutorial - Windows Domain Account Creation
Next, we need to create at least 2 accounts on the Active directory database.
The BIND account will be used to query the Active Directory database.
The BRUNO account will be used to login on the iTOP web interface.
On the domain controller, open the application named: Active Directory Users and Computers
Create a new account inside the Users container.
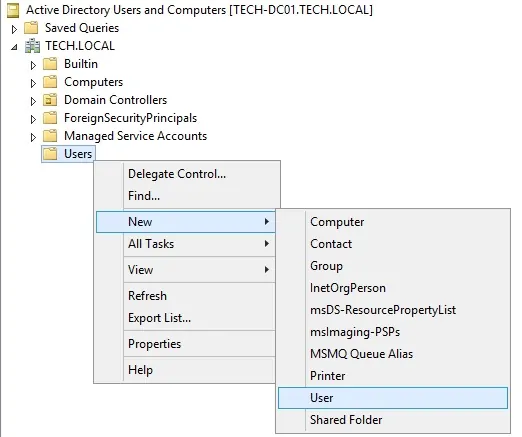
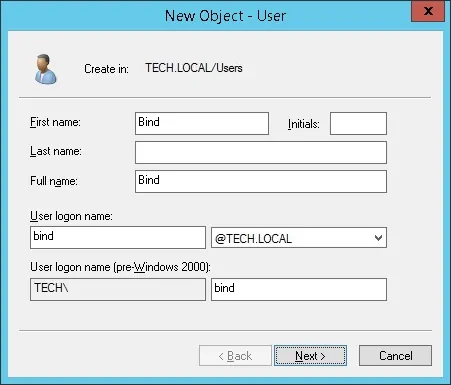
Create a new account named: bind
Password configured to the BIND user: 123qwe..
This account will be used to query the passwords stored on the Active Directory database.
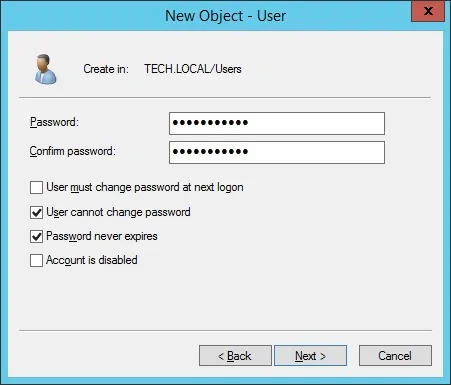
Create a new account named: bruno
Password configured to the BRUNO user: 123qwe..
This account will be used as an example to authenticate on the iTOP web interface.
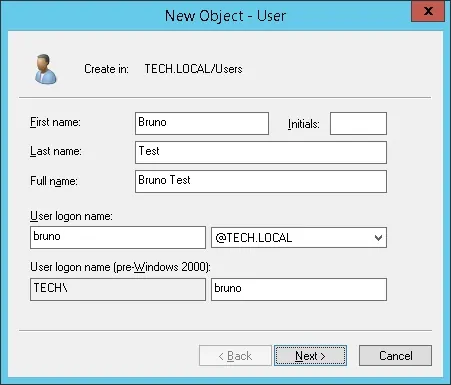
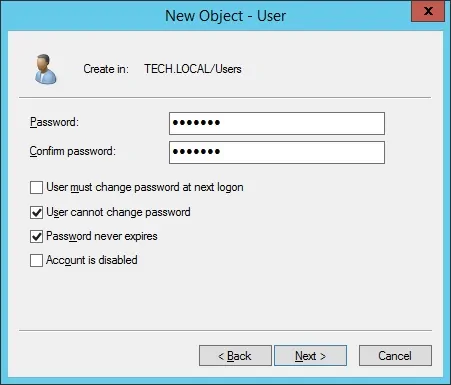
Congratulations, you have created the required Active Directory accounts.
Tutorial - Configure iTOP Communication to Active Directory
Access the iTOP server command-line and locate the configuration file: config-itop.php
Edit the config-itop.php file.
Locate the LDAP configuration section within the config-itop.php file.
Here is the default LDAP configuration section.
Here is our configuration:
You need to change the IP address to your domain controller IP.
You need to change the domain information to reflect you Network environment.
Enter the correct user name and password to the BIND user account.
Do not forget to change this '(&(uid=%1$s)(inetuserstatus=ACTIVE))' to this '(samaccountname=%1$s)'
Tutorial iTOP - LDAP Authentication on Active Directory
Open your browser and enter the IP address of your web server plus /itop.
In our example, the following URL was entered in the Browser:
• http://192.168.15.11/itop
The iTOP web interface should be presented.

On the prompt screen, enter the iTOP Default Password login information.
• Username: admin
• Password: admin
After a successful login, you will be sent to the iTOP Dashboard.
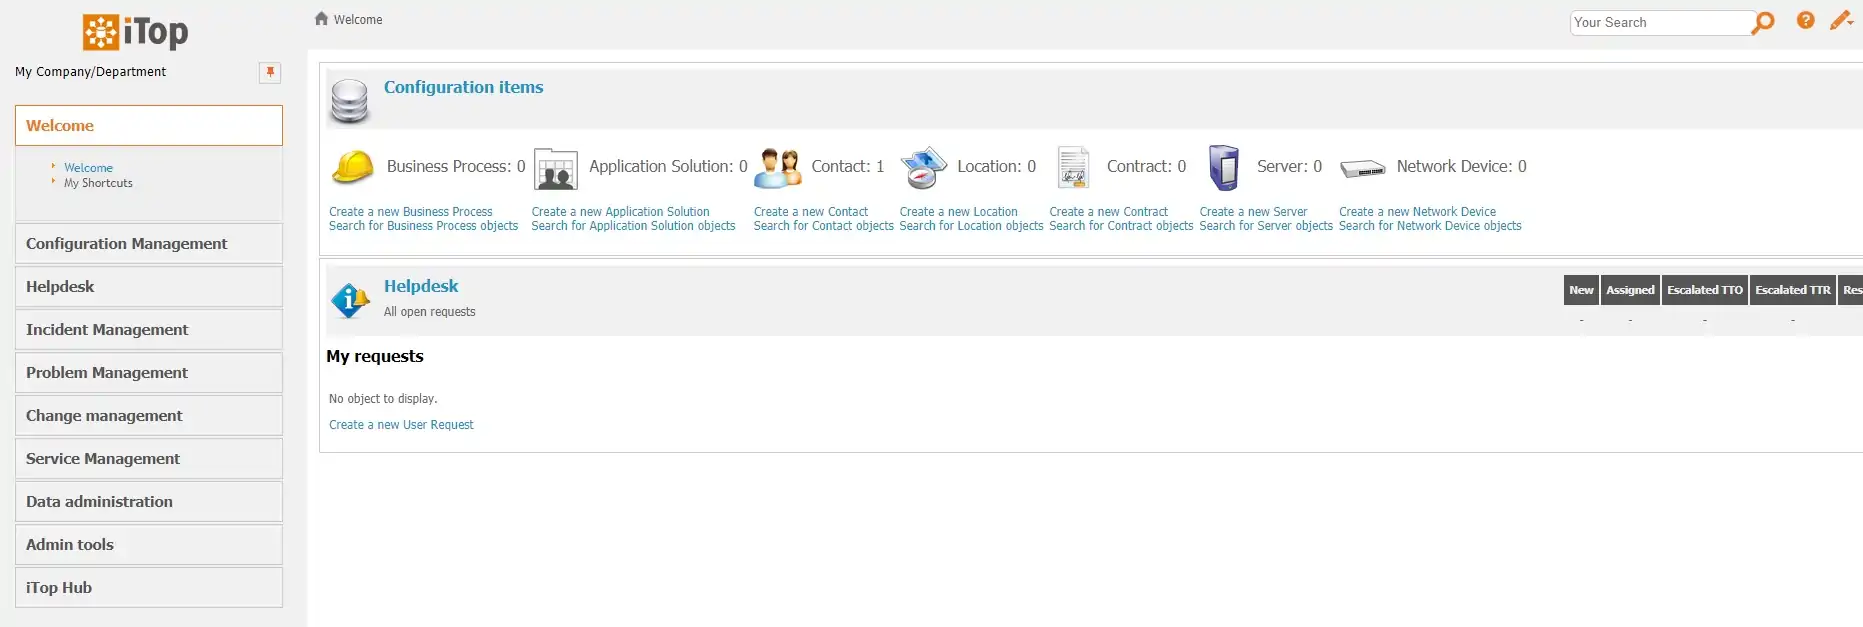
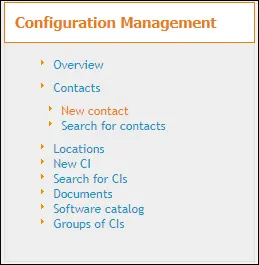
Access the Configuration management menu, the Contacts sub-menu and select the New contact option.
Select the Person type of contact and click on the Apply button.
Fill the new user form with the Name and contact information from this person.

In our example we created a Contact named Bruno.
Now, we need to create a new user account.
Access the Admin tools menu and select the user accounts option.
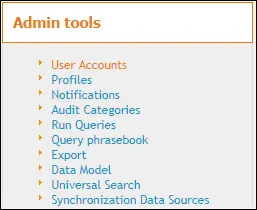
Select the LDAP user type and click on the Apply button.

Select the contact information from the desired user.
On the login option, you must enter the same username from the account created on the Active Directory
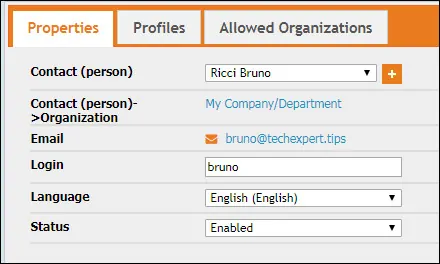
Access the Profile tab and associate the level of permission desired to this account.
In our example, we create a LDAP user account named bruno and set the Administrative access level.
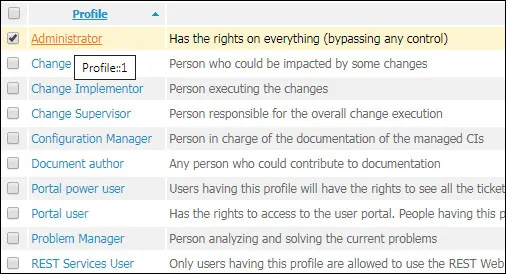
After finishing your configuration, you should log off the iTOP web interface.
Try to login using the Active directory user and the password.
• Username: bruno
• Password: Enter the Active directory password.

Congratulations! You have configured the iTOP LDAP authentication on Active Directory using LDAP.
