Would you like to learn how to install the Kubernetes Dashboard on Ubuntu Linux? In this tutorial, we are going to show you how to install the Kubernetes Dashboard on a computer running Ubuntu Linux.
• Ubuntu 20
• Ubuntu 19
• Ubuntu 18
• Kubernetes 1.18
This tutorial assumes that you have a Kubernetes master node installed.
In our example, The Kubernetes node IP address is 192.168.15.200.
Kubernetes - Tutorials
On this page, we offer quick access to a list of tutorials related to Kubernetes.
Tutorial Kubernetes Dashboard - Installation on Ubuntu Linux
Install the list of required packages.
Download the required YAML file.
Install the required Kubernetes Dashboard configuration.
Here is the command output.
Create a service account for the Dashboard.
Configure the Cluster admin role to the Dashboard service account.
List the secrets available on the Kubernetes server.
Here is the command output.
Notice that your secret's name will not be the same as ours.
Get the secret token value.
Here is the command output.
Take note of the token value.
In our example, this is the token value:
Start the proxy to enable access to the Kubernetes Dashboard.
Important! Access to the Kubernetes dashboard over HTTP is only allowed to the Localhost.
If this computer has a graphical interface, open your browser and access the following URL:
• http://127.0.0.1:8001/api/v1/namespaces/kubernetes-dashboard/services/https:kubernetes-dashboard:/proxy/
The Kubernetes Dashboard login interface should be displayed.

Select the Token option and enter the Kubernetes secret token.
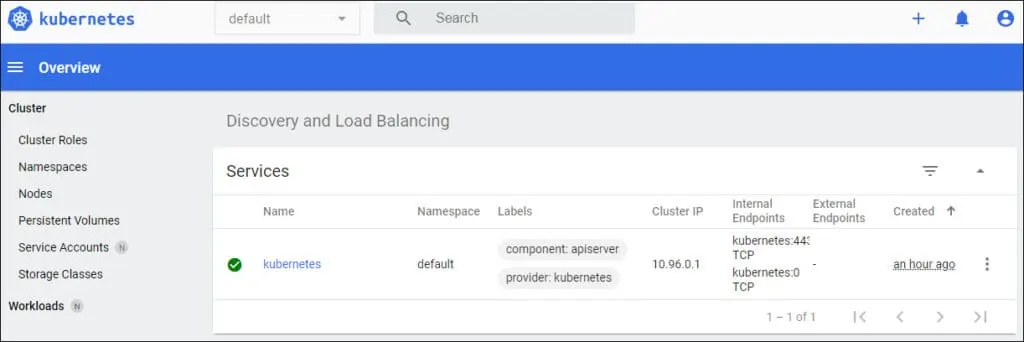
After a successful login, the Kubernetes Dashboard should be presented.

Congratulations! You successfully finished the installation of the Kubernetes Dashboard.
Kubernetes Dashboard - Remote access using Apache proxy
Access to the Kubernetes dashboard over HTTP is only allowed to the Localhost.
Let's use Apache as a proxy to allow remote access on the Kubernetes Dashboard.
On the Master node, install the Apache server.
Enable the required Apache modules.
Edit the Apache configuration file.
Add the following lines at the end of this file.
Create a private key and the certificate using the OpenSSL command.
Enter the requested information.
On the option named COMMON_NAME, you need to enter the IP address or hostname.
In our example, we used the IP address: 192.168.15.200
Edit the Apache configuration file for the default website.
Here is the file, before our configuration.
Here is the file, after our configuration.
In our example, we redirected HTTP users to the HTTPS version of the website.
In our example, the Apache server will work as a proxy and send all requests to the Kubernetes proxy.
In our example, we used self-signed certificates.
Restart the Apache service.
Start the proxy to enable access to the Kubernetes Dashboard.
Open your browser and enter the IP address of your web server.
In our example, the following URL was entered in the Browser:
• https://192.168.15.200/api/v1/namespaces/kubernetes-dashboard/services/https:kubernetes-dashboard:/proxy/#/login
The Apache server will work as a proxy and display the Kubernetes Dashboard.

Select the Token option and enter the Kubernetes secret token.
After a successful login, the Kubernetes Dashboard should be presented.

Congratulations! You successfully finished the configuration of Apache as a proxy to the Kubernetes Dashboard.
