Would you like to learn how to configure Kubernetes LDAP authentication in Active Directory? In this tutorial, we are going to show you how to authenticate Kubernetes Dashboard users using Windows Active Directory and the LDAP protocol.
• Ubuntu 20
• Ubuntu 19
• Ubuntu 18
• Kubernetes 1.18
This tutorial will install a single-node Kubernetes cluster.
In our example, the IP address of the Kubernetes master node is 192.168.15.200.
In our example, the IP address of the domain controller is 192.168.15.10.
Kubernetes - Tutorials
On this page, we offer quick access to a list of tutorials related to Kubernetes.
Tutorial Windows - Domain Controller Firewall
• IP - 192.168.15.10
• Operacional System - WINDOWS 2012 R2
• Hostname - TECH-DC01
First, we need to create a Firewall rule on the Windows domain controller.
This firewall rule will allow the Kubernetes server to query the Active directory.
On the domain controller, open the application named Windows Firewall with Advanced Security
Create a new Inbound firewall rule.
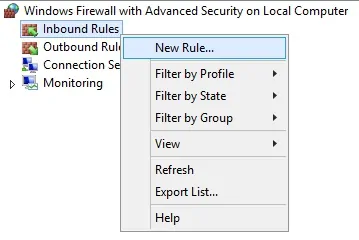
Select the PORT option.
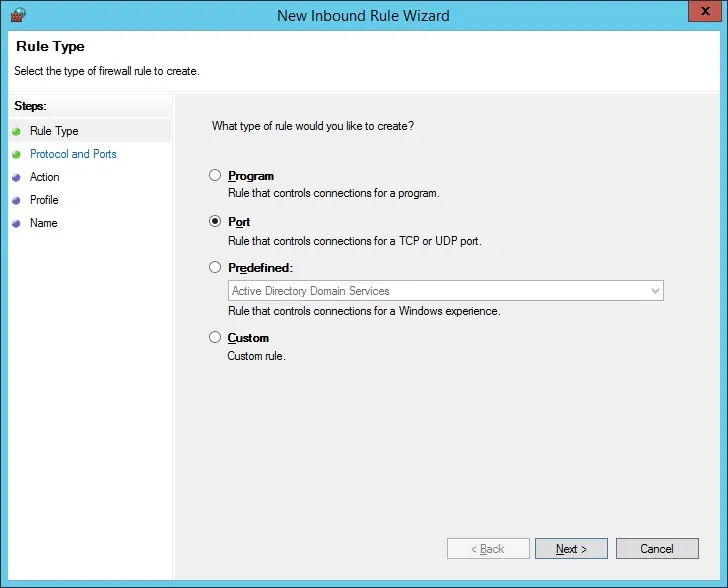
Select the TCP option.
Select the Specific local ports option.
Enter the TCP port 389.
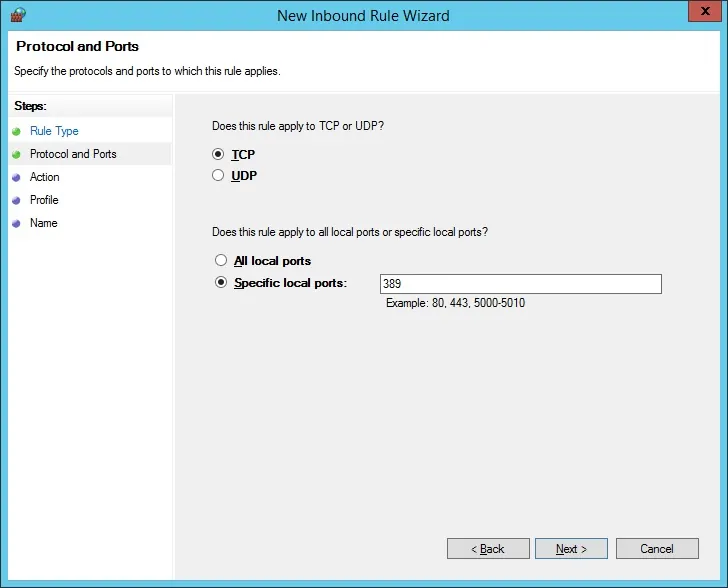
Select the Allow the connection option.
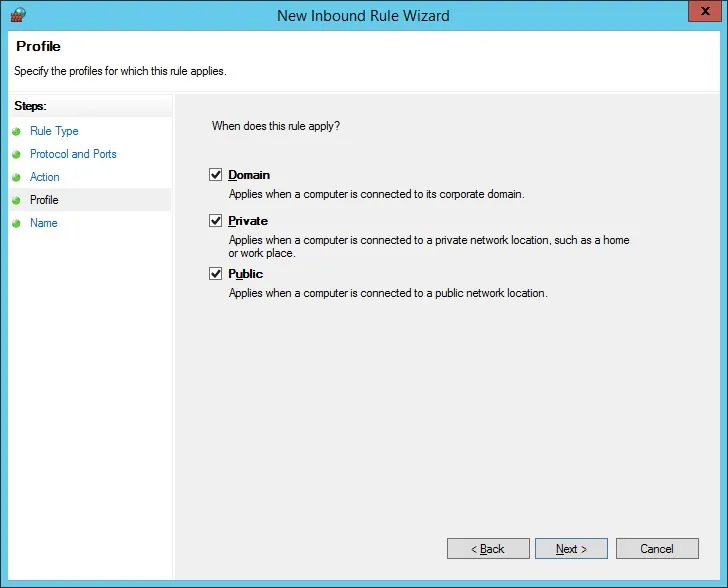
Check the DOMAIN option.
Check the PRIVATE option.
Check the PUBLIC option.
Enter a description to the firewall rule.
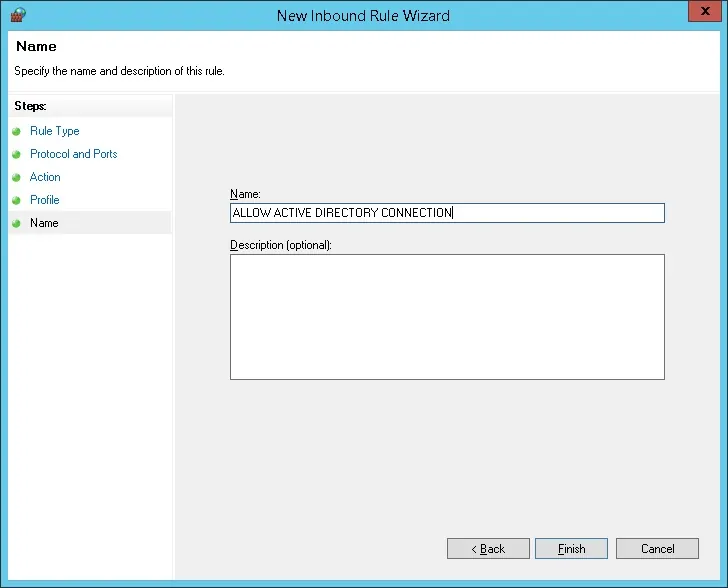
Congratulations, you have created the required firewall rule.
This rule will allow the Kubernetes server to query the Active Directory database.
Tutorial Windows - Domain Account Creation
Next, we need to create at least 2 accounts on the Active Directory database.
The ADMIN account will be used to log into the Kubernetes Dashboard.
The BIND account will be used to query the Active Directory database.
On the domain controller, open the application named: Active Directory Users and Computers
Create a new account inside the Users container.
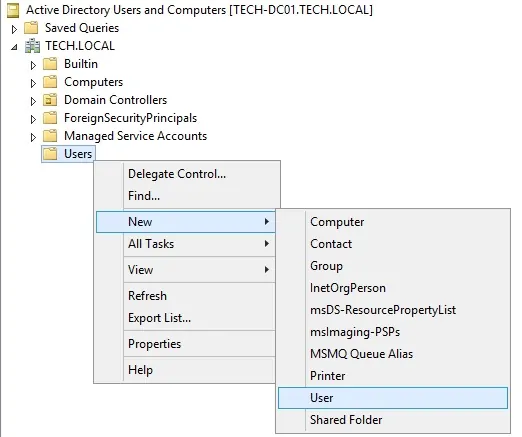
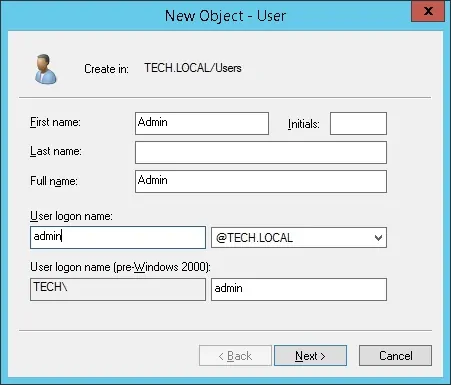
Create a new account named: admin
Password configured to the ADMIN user: 123qwe..
This account will be used to authenticate on the Kubernetes web interface.
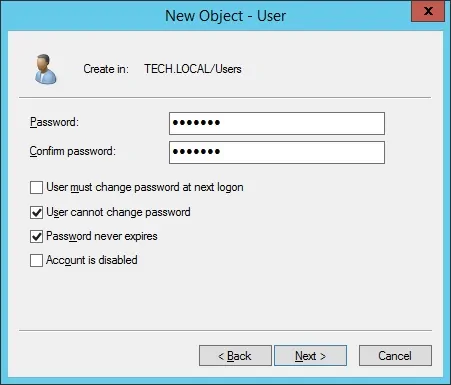
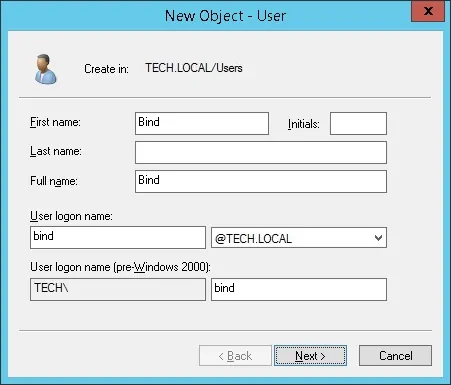
Create a new account named: bind
Password configured to the BIND user: kamisama123..
Kubernetes will use this account to query Active Directory.
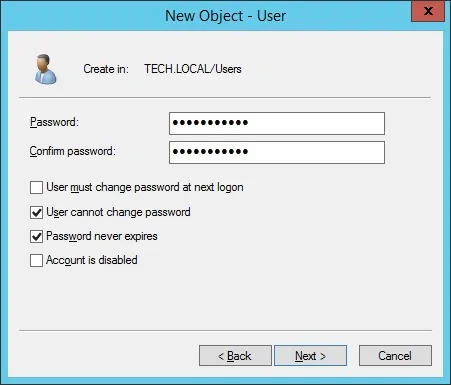
Congratulations, you have created the required Active Directory accounts.
Tutorial Windows - Domain Group Creation
Next, we need to create a group on the Active Directory.
On the domain controller, open the application named: Active Directory Users and Computers
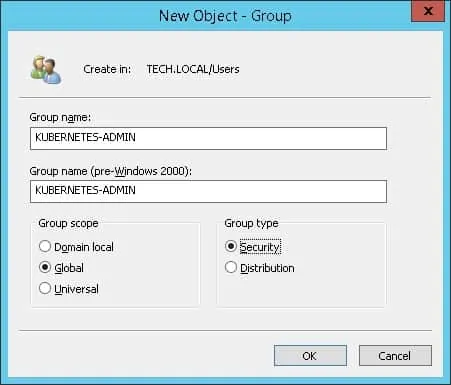
Create a new group inside the Users container.
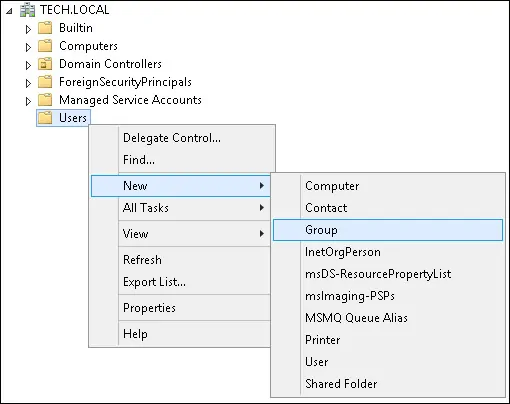
Create a new group named: KUBERNETES-ADMIN.
Members of this group will have administrative permission on the Kubernetes Dashboard.
Important! Add the ADMIN user as a member of the KUBERNETES-ADMIN.
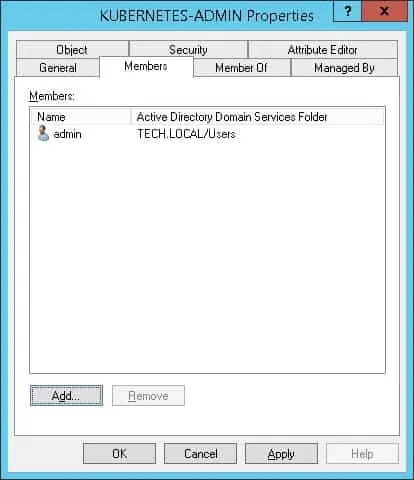
Congratulations, you have created the required Active Directory group.
Tutorial Kubernetes - Master node Installation
Install the list of required packages.
Install the Docker service.
Enable the Docker service during boot.
Edit the Docker service configuration file.
Add the following configuration at the end of the item named: EXECSTART
Here is the file before our configuration.
Here is the file after our configuration.
Create a System configuration file.
Here is the file content.
Enable the System configuration file.
Edit the configuration file named: MODULES.CONF
Add the following configuration at the end of this file.
Edit the FSTAB configuration file and disable the use of Swap memory.
Here is the file before our configuration.
Here is the file after our configuration.
Set a unique hostname.
Create a file to configure the required environment variables.
Here is the file content.
Reboot the computer.
Download and install the Kubernetes repository key.
Add the official Kubernetes repository.
Install the Kubernetes packages.
Download the required Kubernetes images.
Here is the command output.
Initialize the Kubernetes cluster.
Here is the command output.
Take note of the command to add nodes to the Kubernetes cluster.
Set the correct file permission on the Kubernetes configuration file.
Install the required network configuration.
By default, the Kubernetes master node is not allowed to run PODS.
Optionally, enable the Kubernetes master node to run PODS.
In our example, we are using a single-node Kubernetes cluster.
Tutorial - Kubernetes Dashboard installation
Install the list of required packages.
Download the required YAML file.
Install the Kubernetes Dashboard.
Here is the command output.
Create a service account for the Dashboard.
Configure the Cluster admin role to the Dashboard service account.
Create a service account for the Apache proxy.
Configure the Cluster admin role to the Apache proxy account.
List the Apache secret available on the Kubernetes server.
Here is the command output.
Notice that your secret's name will not be the same as ours.
Get the value of the Apache secret token.
Here is the command output.
Take note of the Apache token value.
In our example, this is the token value:
List the Dashboard service cluster IP address.
Here is the command output.
Take note of the cluster IP address and TCP port.
In our example, the Dashboard cluster is using the TCP port 443 and the IP address 10.107.55.24.
You have finished the required Dashboard configuration.
Kubernetes Proxy - Basic user authentication using Apache
On the Master node, install the Apache server.
Enable the required Apache modules.
Edit the Apache configuration file.
Add the following lines to the end of this file.
Create a private key and certificate using the OpenSSL command.
Enter the requested information.
In the option named COMMON_NAME, you must enter the IP address or the hostname.
In our example, we use the IP address: 192.168.15.200
Convert your existing Kubernetes proxy certificate and the key to a single file in the PEM format.
Edit the Apache configuration file for the default website.
Here is the file, before our configuration.
Here is the file, after our configuration.
Change the IP address of the configuration items named AUTHLDAPURL to the IP address of the domain controller.
Change all domain information in Active Directory to reflect your environment.
Change the IP address of the configuration items named PROXYPASS and PROXYPASSREVERSE to the IP address of the Dashboard cluster.
Change the token value of the CI named REQUESTHEADER to the Apache secret token value created earlier.
In our example, we enabled the use of HTTPS using self-signed certificates.
In our example, we configured the use of LDAP authentication.
Apache will represent HTTPS communication between the user and the Dashboard cluster IP address.
Apache will use a certificate and key created automatically during the Kubernetes server installation to perform mutual TLS authentication on the Dashboard.
The Apache server will add a header to all packets sent to the Dashboard.
This header is named AUTHORIZATION BEARER and contains the secret token created earlier in the Apache proxy.
Apache will also redirect HTTP users to the HTTPS version of the requested URL.
Restart the Apache service.
Open your browser and access the HTTPS version of the Apache server's IP address.
In our example, the following URL was entered in the browser:
• https://192.168.15.200
The Apache server will require you to perform user authentication.
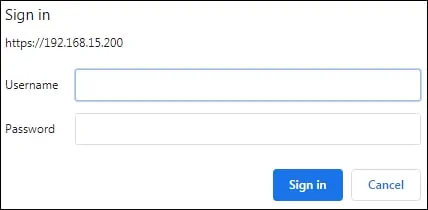
After a successful login, the Kubernetes Dashboard should be presented.
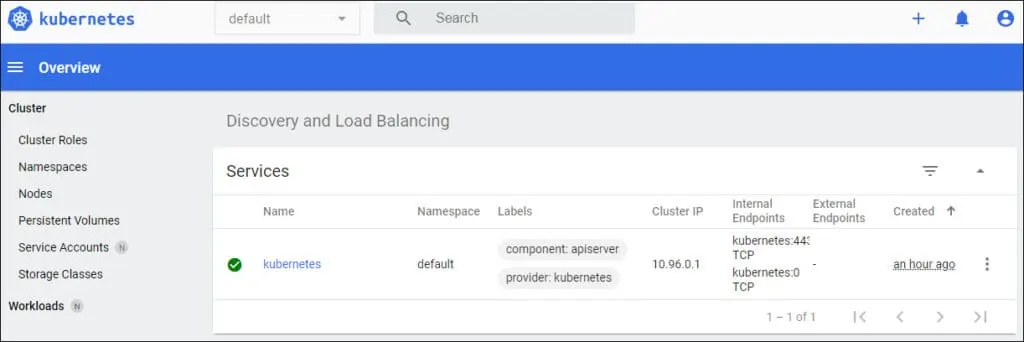
The Apache proxy will automatically authenticate to the Kubernetes Dashboard using the feature named: AUTH HEADER.

You have successfully completed the configuration of Apache as a proxy for the Kubernetes Dashboard.
