Would you like to learn how to use Powershell to perform CIM queries? In this tutorial, we are going to show you how to perform a CIM query using the Powershell command-line on a computer running Windows.
• Windows 2012 R2
• Windows 2016
• Windows 2019
• Windows 10
• Windows 7
Equipment list
The following section presents the list of equipment used to create this tutorial.
As an Amazon Associate, I earn from qualifying purchases.
Windows Related Tutorial:
On this page, we offer quick access to a list of tutorials related to Windows.
Tutorial Powershell - Perform a CIM query
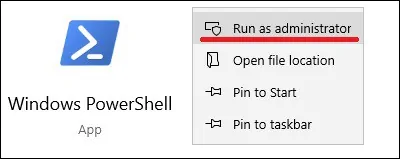
As an Administrator, start an elevated Powershell command-line.

List the Powershell CMDLETS available for work with CIM.
Here is the command output.
Query all available Namespaces.
Here is the command output.
Get a complete recursive view of all namespaces available on your system.
Here is the command output.
Get all the class definitions from a Namespace.
If no namespace is specified, the system uses CIMV2 as the default.
Here is the command output.
Classes that start with CIM follow the original concept of the COMMON INFORMATION MODEL.
Here is the command output.
Classes that start with WIN32 usually are Microsoft extended implementations of a CIM class.
Here is the command output.
Classes that start with MSFT are Microsoft exclusive classes that do not inherit from CIM.
Here is the command output.
List all properties name from a WMI class.
Here is the command output.
List all properties from a class.
Here is the command output.
Query a specific property from a WMI class.
Here is the command output.
Get only the value of a property from a WMI class.
Here is the command output.
There are multiple ways to query only the value of a WMI property.
List multiple properties from a class.
Here is the command output.
Display the WMI query result as a list instead of a table.
Here is the command output.
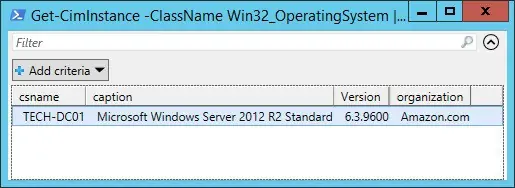
Optionally, format the output as a grid.
Here is the command output.

Congratulations! You are able to perform CIM queries using Powershell.
