Would you like to learn how to do a RabbitMQ installation on Ubuntu Linux? In this tutorial, we are going to show you how to install RabbitMQ on a computer running Ubuntu Linux.
• Ubuntu 20
• Ubuntu 19
• Ubuntu 18
• RabbitMQ 3.8.4
RabbitMQ - Related Tutorial:
On this page, we offer quick access to a list of tutorials related to RabbitMQ.
Tutorial RabbitMQ - Installation on Ubuntu Linux
Use apt-get to install the required packages.
Download and install the RabbitMQ repository key.
Add the RabbitMQ repository to your Ubuntu Linux.
Update the APT-GET database and install the RabbitMQ package.
Configure the RabbitMQ service to start automatically
Start the RabbitMQ service.
Use the NETSTAT command to verify if the service is running on ports 5672 and 25672.
In our example, the RabbitMQ service is running on ports 5672 and 25672.
Congratulations! You have finished the RabbitMQ installation on Ubuntu Linux.
Tutorial RabbitMQ - Web interface
Create a new administrator account.
In our example, we created an account named Admin using the password kamisama123.
Enable the required RabbitMQ plugin.
Here is the command output.
The RabbitMQ web interface will be available on the TCP port 15672.
Open your browser and enter the IP address of your RabbitMQ server plus :15672
In our example, the following URL was entered in the Browser:
• http://192.168.15.10:15672
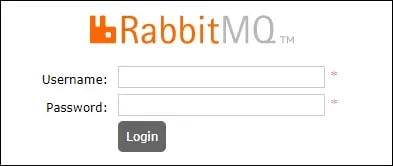
The RabbitMQ web interface should be displayed:

On the login screen, use the administrator account created.
• Username: Admin
• Password: kamisama123
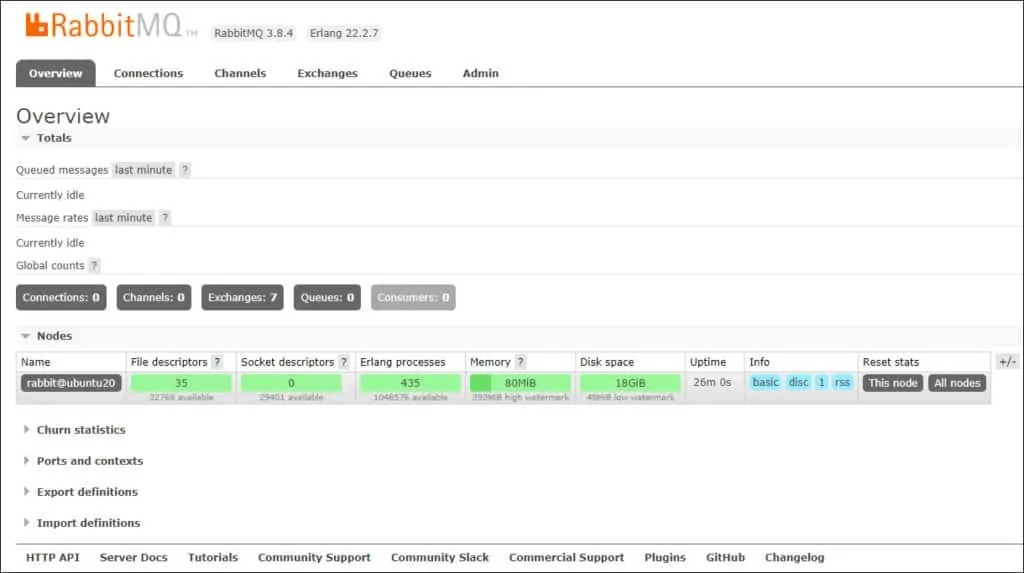
After a successful login, you will be sent to the RabbitMQ Dashboard.

Congratulations! You have finished the installation of the RabbitMQ web interface.