Would you like to learn how to install a Sonarqube plugin? In this tutorial, we are going to show you how to install Sonarqube plugins on a computer running Ubuntu Linux.
• Ubuntu version: 18
• Ubuntu version: 19
• Sonarqube version: 7.9.1
Hardware List:
The following section presents the list of equipment used to create this Sonarqube tutorial.
Every piece of hardware listed above can be found at Amazon website.
Sonarqube Related Tutorial:
On this page, we offer quick access to a list of tutorials related to Sonarqube installation.
Tutorial Sonarqube - Plugin Installation
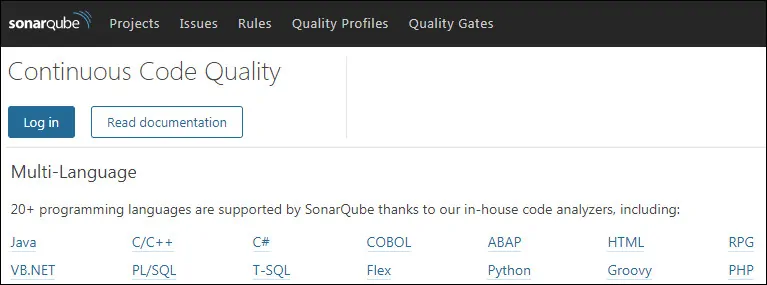
Open your browser and enter the IP address of your web server plus :9000
In our example, the following URL was entered in the Browser:
• http://192.168.15.10:9000

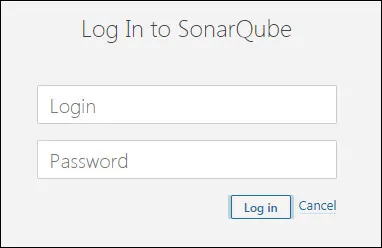
Click on the Login button and use the Sonarqube default username and password.
• Default Username: admin
• Default Password: admin

Access the Administration menu and select the Marketplace option.

On the Plugin area, access the All tab.
Search for the desired Sonarqube plugin and click on the Install button.

After finishing the sonarqube plugin installation, you will need to restart the Sonarqube server.
On the top of the screen, click on the Restart server button.

Congratulations! You have finished the SonarQube plugin installation.
