Would you like to learn how to configure the Squid proxy basic authentication? In this tutorial, we are going to show you how to configure the basic authentication on the proxy server Squid.
• Ubuntu 18
• Ubuntu 19
• Ubuntu 20
Equipment list
Here you can find the list of equipment used to create this tutorial.
This link will also show the software list used to create this tutorial.
Tutorial SQUID 4 - Configure the basic authentication
Install the required packages.
Search for the proxy server configuration file.
Edit the Squid configuration file.
Here is the file content, before our configuration.
Here is the file content, after our configuration.
These lines were used to enable the proxy basic authentication.
Create the proxy authentication file.
Create additional accounts.
Configure the correct file permissions.
Stop the SQUID service.
Start the proxy service.
In our example, we configured the SQUID server basic authentication.
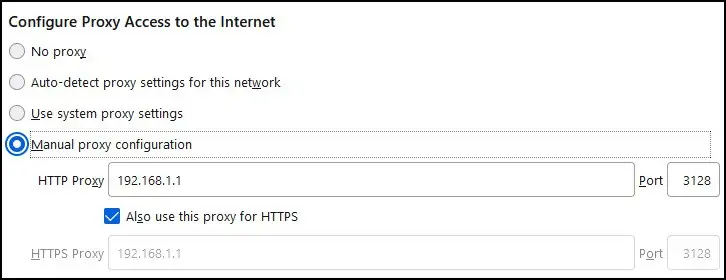
On a local computer, configure the browser proxy settings.

The browser will request user authentication on the proxy server.

Congratulations! You learned how to configure the basic proxy authentication on the SQUID server.
