Would you like to learn how to disable system shared folders using the command-line? In this tutorial, we are going to show you how to disable system shared folders on a computer running Windows.
• Windows 2012 R2
• Windows 2016
• Windows 2019
• Windows 10
Windows Playlist:
On this page, we offer quick access to a list of videos related to Windows installation.
Don't forget to subscribe to our youtube channel named FKIT.
Windows Tutorial:
On this page, we offer quick access to a list of Windows tutorials.
Tutorial Windows - Disable system shared folders
As an administrator, start an elevated command-line prompt.

List the existing shared folders.
Here is the command output.
Disable the administrative shared folders using the command-line.
Here is the command output.
List the existing shared folders.
Here is the command output.
In our example, we disabled the following administrative shared folders.
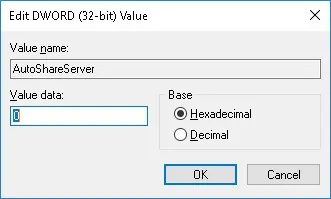
To permanently disable the administrative shared folders, you need to create a registry entry.
Here is the command output.
Here is the entry created on the Windows registry.

Reboot the computer and verify the list of shares available.
Here is the command output.
This does not apply to the IPC share.
The IPC share is fundamental to the System and cannot be permanently removed.
Congratulations! You are able to disable administrative shared folders using the command-line.
