Would you like to learn how to create a bootable Windows USB Stick? In this tutorial, we are going to show you how to use a Windows ISO image to create a bootable flash drive on a computer running Microsoft Windows.
In our example, we are going to create a bootable USB stick containing the Windows 10 installer.
This installation also works to create a bootable USB stick containing the Windows 7 installer.
Hardware List:
The following section presents the list of equipment used to create this Windows tutorial.
Every piece of hardware listed above can be found at Amazon website.
Windows Playlist:
On this page, we offer quick access to a list of videos related to Windows.
Don't forget to subscribe to our youtube channel named FKIT.
Windows Related Tutorial:
On this page, we offer quick access to a list of tutorials related to Windows.
Tutorial - Bootable Windows USB Stick
Before we start, you need to have a Windows installation media image .ISO
In our example, we used the Windows 10 ISO installation media.
Insert a USB Stick on the computer and format as FAT32 or NTFS.
In our example, we used a 30GB USB stick.
Open a browser, access the official website and download the RUFUS software.
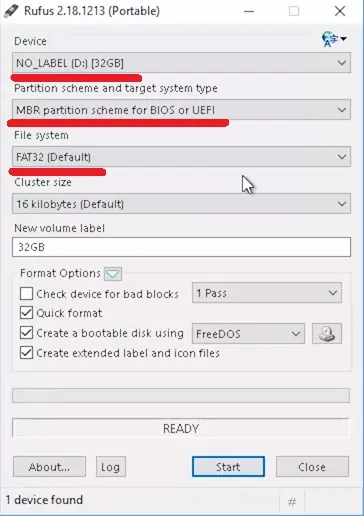
Open the Rufus software, select the following options:
• Device: The USB driver unity.
• Partition Scheme: MBR Partition Scheme for BIOS or UEFI.
• Filesystem: FAT32

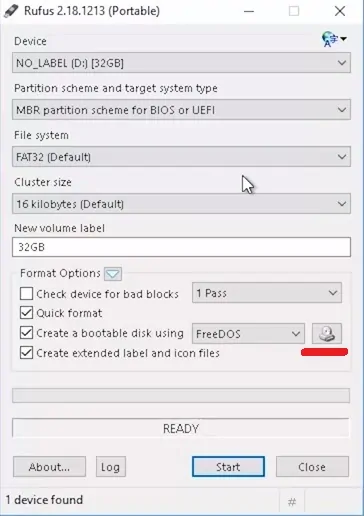
Select the image button and locate the Windows ISO image.
In our example, we selected the file: SW_DVD5_WIN_ENT_10_1607.1_64BIT_English_MLF_X21-27030.iso

Click on the Start button and wait for the process to finish
The system will start to create a bootable USB stick using the Windows 10 image.
This process can take a while.
After the process is finished, you should remove the USB stick.
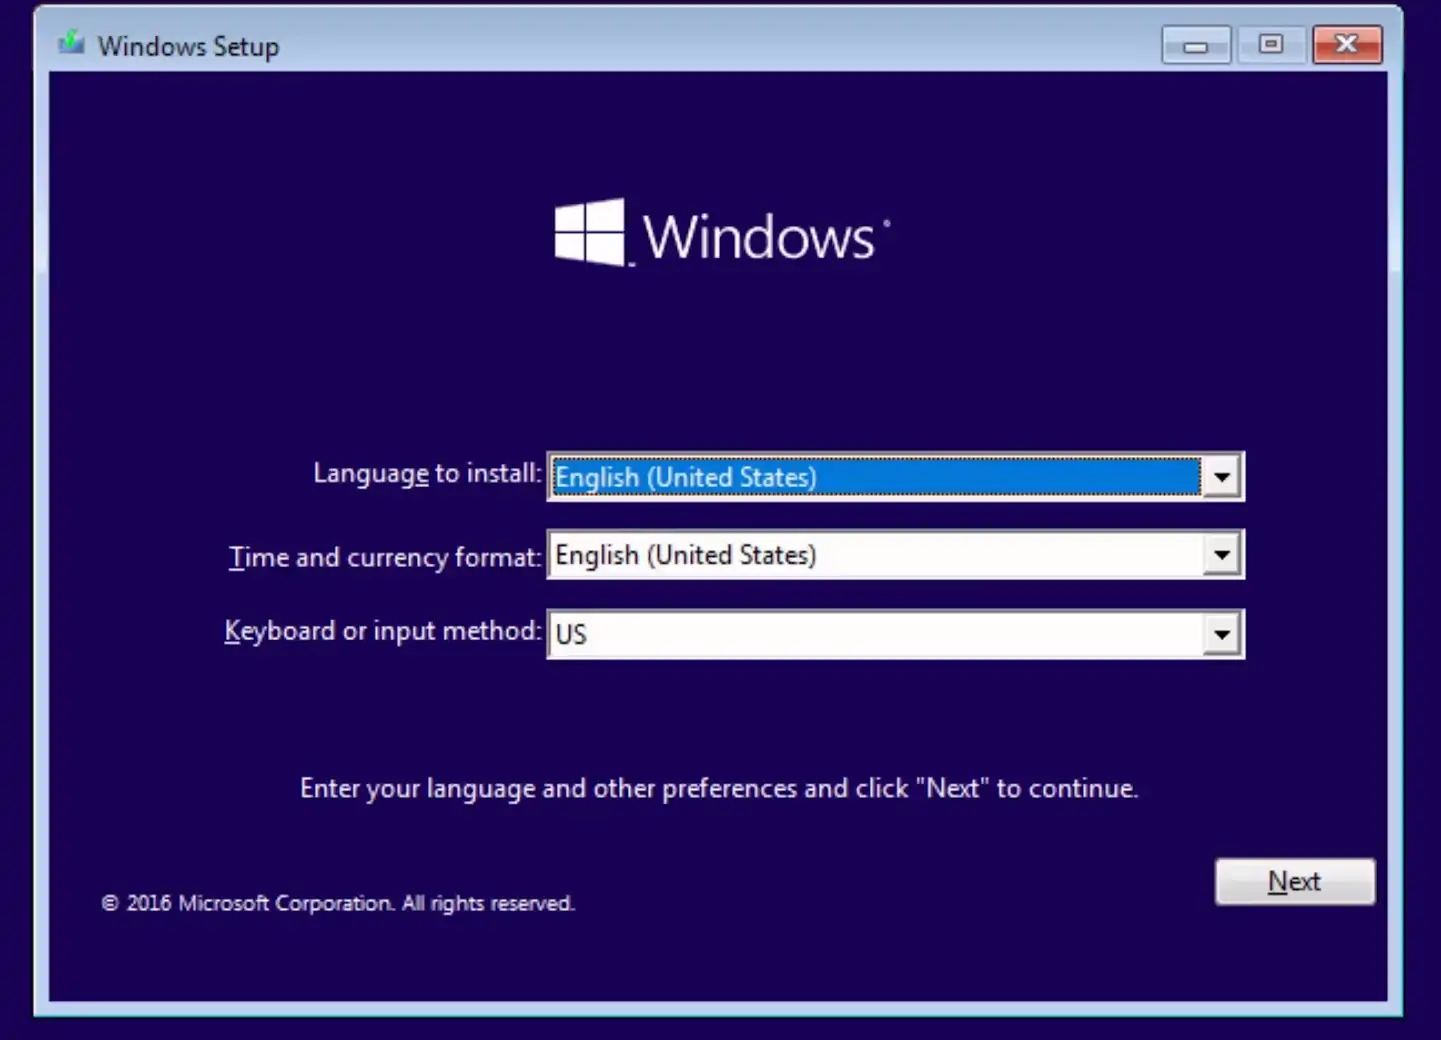
Now, you could try to boot another computer using your band new bootable Windows USB Stick.

