Would you like to learn how to install PhpMyAdmin on a computer running Ubuntu Linux? In this tutorial, we are going to install and configure PhpMyAdmin using the Nginx server on a computer running Ubuntu Linux.
• Ubuntu 18
• Ubuntu 19
• Ubuntu 20
• Nginx 1.18.0
• PhpMyAdmin 4.9.5
Equipment list
The following section presents the list of equipment used to create this tutorial.
As an Amazon Associate, I earn from qualifying purchases.
Related tutorial - MySQL
On this page, we offer quick access to a list of tutorials related to MySQL.
Tutorial PhpMyAdmin - MySQL installation
Install the MySQL database service.
Access the MySQL service command-line.
Set a password to the MySQL root user.
In our example, we set the Mysql password: Kamisama123
Try to access the MySQL service using the new password.
Create a database named phpmyadmin.
Create a Mysql user account named PMA
In our example, we set the Mysql password: Kamisama123
Grant the PMA user account permission over the database named PHPMYADMIN.
Download the PhpMyAdmin installation package.
Import the PhpMyAdmin's database template using the account named PMA.
You have finished the PhpMyAdmin database installation.
Tutorial PhpMyAdmin - Nginx installation
Install the Nginx web server and all the required packages.
Install the PHP package.
Install other PHP modules.
Find the location of the PHP configuration file on your system.
Edit the configuration file named: PHP.INI.
Your PHP version may not be the same as ours.
Your PHP configuration file location may not be the same as ours.
Enable and configure the following items of the PHP configuration file.
Set the correct timezone to your location.
Edit the Nginx configuration file for the default website.
Enable the PHP support for Nginx.
Here is the original file, before our configuration.
Here is the new file with our configuration.
Verify if your Nginx configuration file has no error.
Here is the command output.
Restart the PHP service.
Restart the Nginx service.
You have finished the Nginx service installation with PHP support.
Tutorial PhpMyAdmin - Installation on Ubuntu
Move the PhpMyAdmin directory to the Nginx root directory.
Create the list of required directories.
Set the correct permissions.
Create the PhpMyAdmin's configuration file.
Edit the configuration file.
Enable and configure the following items of the configuration file.
Use the following command to generate the random key used on the parameter named: BLOWFISH_SECRET
Open your browser and enter the IP address of your web server plus /phpmyadmin.
In our example, the following URL was entered in the Browser:
• http://172.31.8.195/phpmyadmin
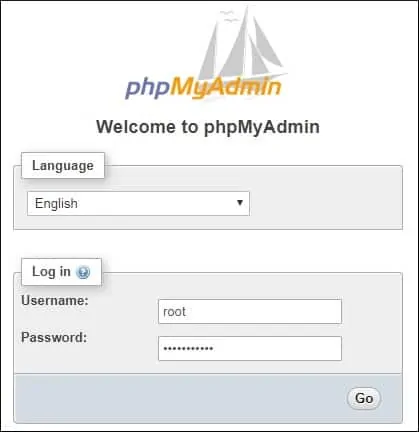
The PhpMyAdmin login screen will be displayed.
On the Login screen, enter the MySQL's ROOT account information.

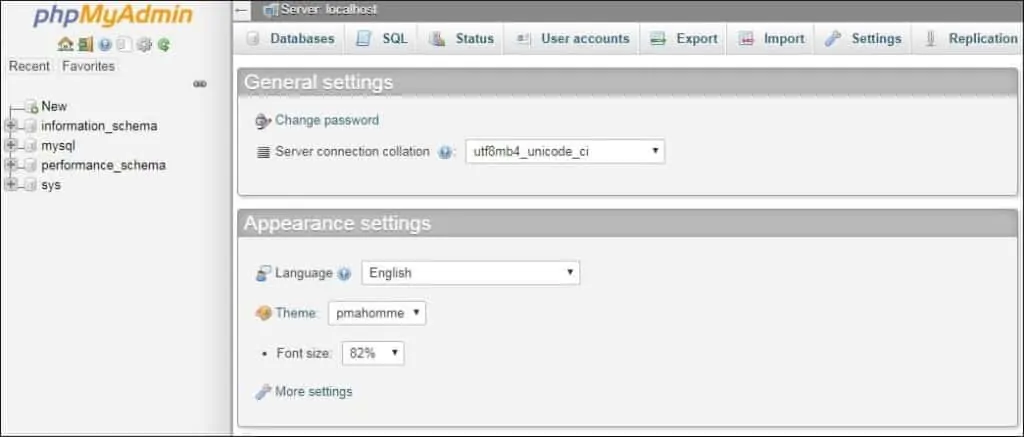
After a successful login, The PhpMyAdmin dashboard will be displayed.

Congratulations! You have finished the installation of PhpMyAdmin.
Tutorial PhpMyAdmin - Basic authentication
The PhpMyAdmin software provides a direct interface to the MySQL service.
We are going to configure an extra layer of authentication to protect the initial access to PhpMyAdmin.
Create the password file and add the first user account.
The system will request you to enter the password to the new user account.
Here is the file content.
To create additional user accounts, use the following command.
Edit the Nginx configuration file for the default website.
Create a new location named PHPMYADMIN.
Here is the file after our configuration.
Restart the Nginx service.
Open your browser and enter the IP address of your web server plus /phpmyadmin.
In our example, the following URL was entered in the Browser:
• http://172.31.8.195/phpmyadmin
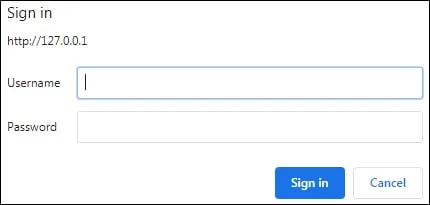
The Nginx server will require you to perform the user authentication.

After a successful login, The PhpMyAdmin login screen will be presented.

After a successful login, the PhpMyAdmin dashboard will be displayed.

Congratulations! You have finished the installation of PhpMyAdmin.
