Would you like to learn how to perform a Freeradius installation with MySQL integration on Ubuntu Linux? In this tutorial, we are going to show you how to install Freeradius on Ubuntu Linux and how to access your radius server for the first time.
• Ubuntu 18.04
• Ubuntu 19.04
• FreeRadius 3.0.16
FreeRadius Tutorial:
On this page, we offer quick access to a list of Grafana tutorials.
Tutorial - FreeRadius Installation on Ubuntu Linux
On the Linux console, use the following commands to install the FreeRadius and the MySQL service.
# apt-get update
# apt-get install freeradius freeradius-mysql mysql-server mysql-client
After finishing the installation, use the following command to access the MySQL database server.
# mysql -u root -p
On the MySQl server console, we need to perform the following tasks:
• Create a database named radius.
• Create a MySQL user named radius.
• Give permission over the radius database to the radius user.
Locate the correct schema.sql file and the import radius database template inside MySQL.
Locate the correct setup.sql file and the import radius database template inside MySQL.
The system will request the password of the radius SQL user every time you try to import a file.
# updatedb
# locate main/mysql/schema.sql | grep freeradius
# mysql -u radius -p radius < /etc/freeradius/3.0/mods-config/sql/main/mysql/schema.sql
Create a symbolic link to enable the Freeradius MySQL module.
# ln -s /etc/freeradius/3.0/mods-available/sql /etc/freeradius/3.0/mods-enabled/
You have enabled the FreeRadius MySQL module successfully.
Freeradius Configuration - MySQL Authentication
Now, we need to configure FreeRadius and enable MySQL authentication.
Edit the SQL file inside the /etc/freeradius/3.0/mods-enabled directory.
# vi /etc/freeradius/3.0/mods-enabled/sql
Here is the content of the SQL file before our configuration.
Edit the SQL configuration file and insert the Radius MYSQL database information.
Here is the file after our configuration.
After finishing the configuration, restart the Freeradius service.
# service freeradius restart
You have finished the FreeRadius server installation successfully.
Daloradius Installation on Ubuntu Linux
Now, we are going to install a web administration tool named Daloradius.
Use the following commands to install the Apache web server and the required modules.
# apt-get install apache2 php libapache2-mod-php php-mysql unzip
# apt-get install php-pear php-db php-mail php-gd php-common php-mail-mime
Download and extract the Daloradius software.
Move the Daloradius installation files inside the Apache web server root directory.
# mkdir /downloads/daloradius -p
# cd /downloads/daloradius
# wget https://github.com/lirantal/daloradius/archive/master.zip
# unzip master.zip
# mv daloradius-master /var/www/html/daloradius
Import the Daloradius database template inside MySQL.
Use the following commands to import the database template inside MySQL.
The system will request the password of the radius SQL user every time you try to import a file.
# cd /var/www/html/daloradius/contrib/db/
# mysql -u radius -p radius < fr2-mysql-daloradius-and-freeradius.sql
# mysql -u radius -p radius < mysql-daloradius.sql
Edit the file daloradius.conf.php configuration file.
# vi /var/www/html/daloradius/library/daloradius.conf.php
Configure the file to connect to your Radius MySQL database.
Here is the daloradius.conf.php file before our configuration.
Here is the daloradius.conf.php file with our configuration.
Set the correct file permission on the Daloradius folder.
Restart the Apache web server.
# chown www-data.www-data /var/www/html/daloradius/* -R
# service freeradius restart
# service apache2 restart
You have finished the DaloRadius installation successfully.
Accessing DaloRadius
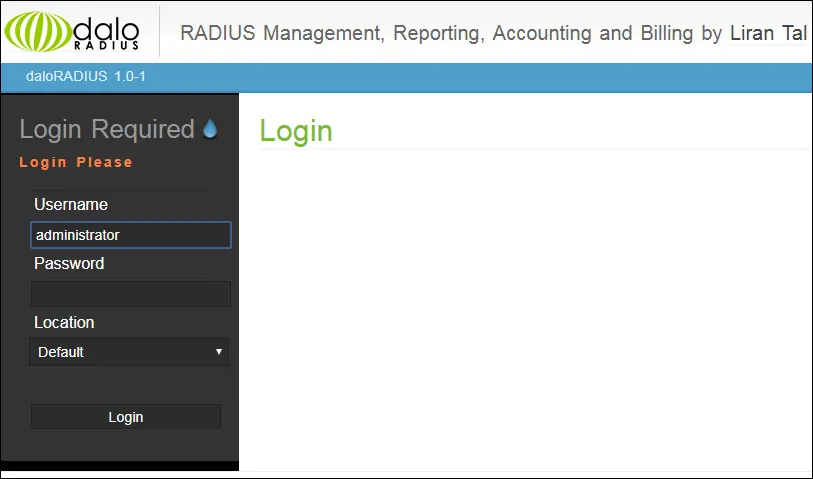
Open your browser and enter the IP address of your web server plus /daloradius.
In our example, the following URL was entered in the Browser:
• http://35.162.85.57/daloradius
The Daloradius web interface should be presented.
On the login screen, use the default username and default password.
• Default Username: administrator
• Default Password: radius

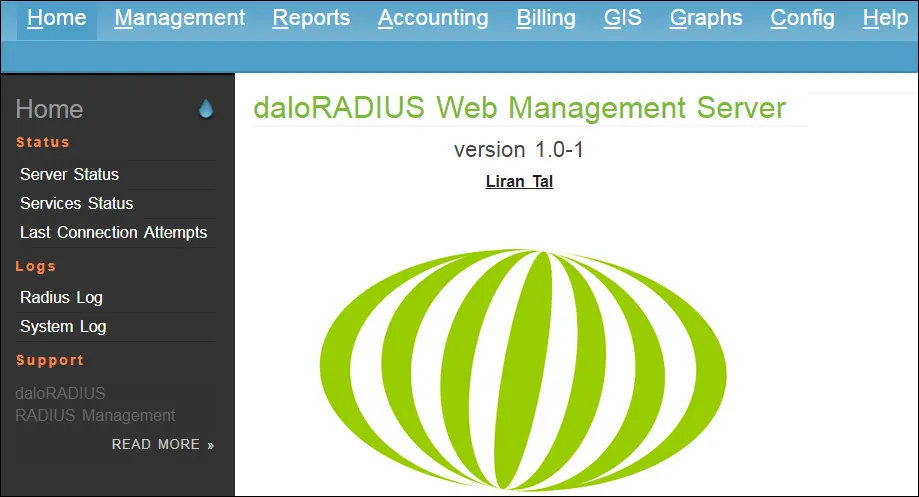
After a successful login, you will be sent to the Daloradius Dashboard.

Congratulations! You were able to access the Daloradius web interface.
DaloRadius - Adding a User Account
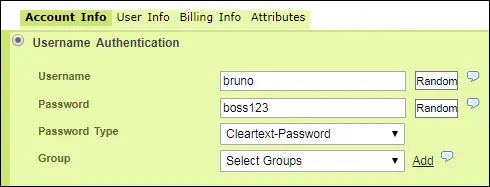
Let's use Daloradius to create a new user account that will be stored on the MySQL database.
On the Daloradius dashboard, access the Management Menu and click on the New User option.

After finishing the configuration click on the Apply button.
Freeradius Authentication Test
Test your radius authentication locally on the Radius server using the following commands:
# radtest bruno boss123 localhost 0 testing123
Here is an example of a successful radius authentication:
We are using the Bruno username and the boss123 password to authenticate the user account.
The testing123 is a default device password included in the clients.conf file for local tests.
