Would you like to learn how to configure an Apache webserver to use Freeradius as the authentication server? In this tutorial, we are going to show you how to authenticate the Apache service using a Freeradius server installed on a computer running Ubuntu Linux.
• Ubuntu 18
• Ubuntu 19
• Ubuntu 20
• Apache 2.4.41
• Freeradius 3.0.17
Copyright © 2018-2021 by Techexpert.tips.
All rights reserved. No part of this publication may be reproduced, distributed, or transmitted in any form or by any means without the prior written permission of the publisher.
Equipment list
The following section presents the list of equipment used to create this tutorial.
As an Amazon Associate, I earn from qualifying purchases.
Apache - Related Tutorial:
On this page, we offer quick access to a list of tutorials related to Apache.
Tutorial - FreeRadius Server Installation on Ubuntu Linux
• IP - 192.168.15.10
• Operacional System - Ubuntu 19
• Hostname - FREERADIUS
On the Linux console, use the following commands to install the FreeRadius service.
Now, we need to add FreeRadius clients to the clients.conf;.
Locate and edit the clients.conf.
Add the following lines at the end of the clients.conf file.
In our example, we are adding 1 client device:
The device was named APACHE and has the IP address 192.168.15.11.
Now, we need to add FreeRadius users to the USERS configuration file.
Locate and edit the Freeradius users configuration file.
Add the following lines at the end of the file
In our example, we are adding 2 user accounts.
The first user account was named Admin.
The second user account was named Bruno.
Restart the Freeradius server.
Test your radius server configuration file.
You have finished the Freeradius installation on Ubuntu Linux.
Freeradius Authentication Test
Test your radius authentication locally using the following commands:
Here is the command output:
As you can see, the Bruno Account was able to successfully authenticate on the Radius server.
Test the user account named Admin.
Here is the command output:
As you can see, the Admin Account was able to successfully authenticate on the Radius server.
Apache - Radius Authentication on FreeRadius
• IP - 192.168.15.11
• Operational System - Ubuntu 19.10
• Hostname - APACHE
Install the Apache server and the Radius module.
Enable the Apache2 Radius module.
In our example, we are going to request authentication to users trying to access a directory named Test.
Create a directory named Test and give the user named www-data permission over this directory.
Configure the Apache server to request the Radius authentication to users trying to access the Test directory.
Edit the Apache 000-default.conf configuration file.
Here is the 000-default.conf file before our configuration.
Here is the 000-default.conf file after our configuration.
The Apache server was configured to request password authentication to acess the directory /var/www/html/test.
The Apache web server was configured to authenticate user accounts using the Radius server 192.168.15.10.
Restart the Apache service.
Congratulations! You successfully configured the Apache authentication.
Apache - Radius Authentication Test
Open your browser and enter the IP address of your Apache web server.
In our example, the following URL was entered in the Browser:
• http://192.168.15.11
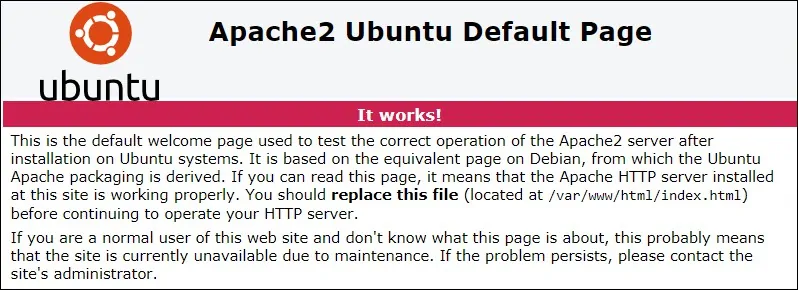
The Apache default page will be displayed.

Open your browser and enter the IP address of your web server plus /test.
In our example, the following URL was entered in the Browser:
• http://192.168.15.11/test
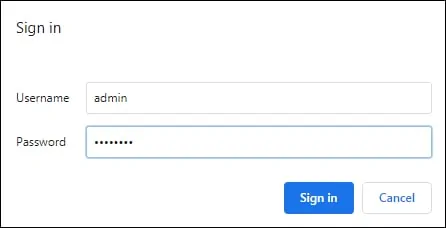
On the login screen, Enter a Radius username and its password.
• Username: admin
• Password: 123qwe..

After a successful login, you will be authorized to access the directory named Test.

Congratulations! You have configured the Radius authentication on an Apache server.
