Would you like to learn how to configure Mikrotik to use Freeradius as the authentication server?In this tutorial, we are going to show you how to authenticate Mikrotik users using a Freeradius server installed on a computer running Ubuntu Linux.
MikroTik Tutorial:
On this page, we offer quick access to a list of tutorials related to MikroTik.
Tutorial - FreeRadius Server Installation on Ubuntu Linux
• IP - 192.168.15.10.
• Operacional System - Ubuntu 19.10
• Hostname - UBUNTU
On the Linux console, use the following commands to install the FreeRadius service.
Now, we need to add FreeRadius clients to the clients.conf;.
Locate and edit the clients.conf.
Add the following lines at the end of the clients.conf file.
In our example, we are adding 1 client device:
The client device was named MIKROTIK and has the IP address 192.168.15.20.
Now, we need to add FreeRadius users to the USERS configuration file.
Locate and edit the Freeradius users configuration file.
Add the following lines at the end of the file
Edit the FreeRadius dictionary file.
Add the following lines at the end of the dictionary file
The default Freeradius installation comes with a dictionary file named dictionary.mikrotik that includes all the feature required to enable the Mikrotik installation.
Here is the content of the dictionary.mikrotik file that will be included on the Freeradius dictionary file.
Restart the Freeradius server.
Test your radius server configuration file.
You have finished the Freeradius installation on Ubuntu Linux.
Tutorial - MikroTik Radius Authentication
• IP - 192.168.15.20.
• Operacional System - RouterOS 6.45.7
• Hostname - MikroTik
On the Mikrotik router console, use the following command to
Perform the following Radius configuration:
• Radius IP address - 192.168.15.10
• Radius Shared Secret - The Radius Client shared secret (kamisama123)
You need to change IP address of the Radius server to reflect your Radius server IP address.
You need to change the Shared secret to reflect your Radius client shared secret.
Here is the command output:
Enable the local user authorization to use Radius.
Here is the command output:
Congratulations! You have configured the Mikrotik authentication to use the FreeRadius database.
Tutorial MikroTik - Radius Authentication Test
Now, you need to test the Mikrotik Radius authentication.
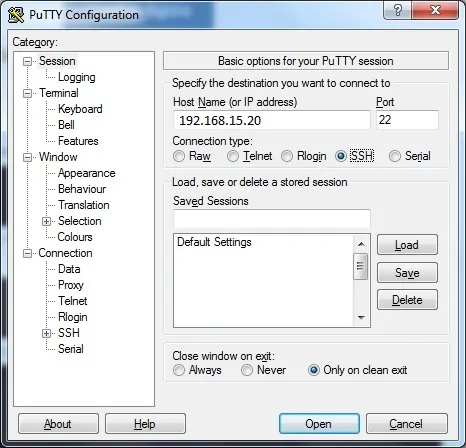
Download the PUTTY software and try to authentication on the Mikrotik using the SSH protocol.

If you authenticate using the account named bruno you will have read-only permissions.
If you authenticate using the account named administrator you will have read-write permissions.

Congratulations! You have tested the Mikrotik radius authentication.
