Would you like to learn how to install the Tomcat service on a computer running Windows? In this tutorial, we are going to show you how to install Tomcat on a computer running Windows.
• Windows 2012 R2
• Windows 2016
• Windows 2019
Windows Playlist:
On this page, we offer quick access to a list of videos related to Windows installation.
Don't forget to subscribe to our youtube channel named FKIT.
Windows Tutorial:
On this page, we offer quick access to a list of Windows tutorials.
Tutorial Tomcat - Requirements installation
Access the Java website and download the latest version of Java JDK.
In our example, we downloaded the file named: jdk-14.0.1_windows-x64_bin.exe

Start the Java JDK installation.
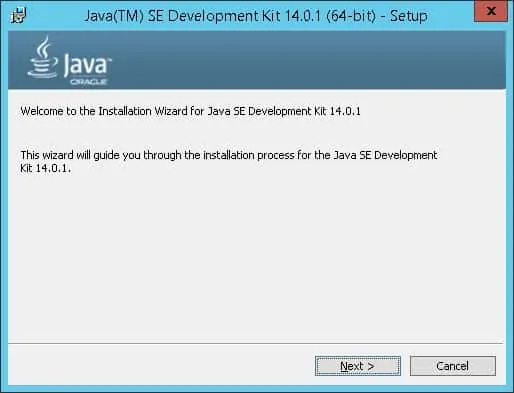
Click on the Next button.
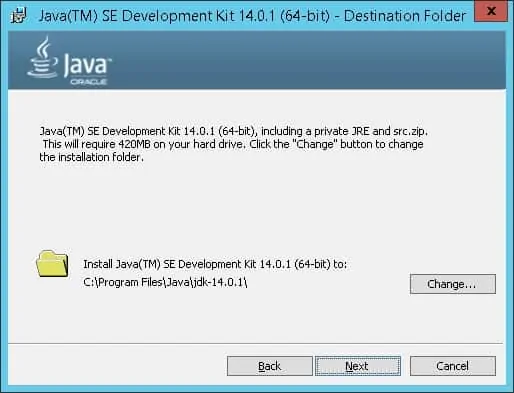
Wait for the Java JDK installation to finish.
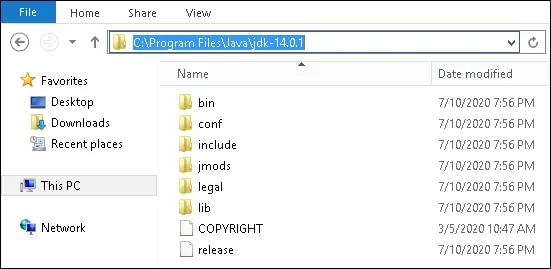
In our example, the Java JDK software was installed on the following directory.
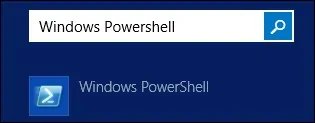
As an Administrator, start a new POWERSHELL command-line prompt.
Create a system environment variable named JAVA_HOME.
Change the command above to reflect your JDK installation path.
Now, we need to edit the PATH environment variable.
Include the Java SDK directory named BIN on the PATH environment variable.
Reboot the computer.
Congratulations! You have finished the Java JDK installation on Windows.
Tutorial Tomcat - Testing the Java SDK Installation
Start a new DOS command-line prompt.

Verify the existence of the variable JAVA_HOME.
Here is the command output.
Test the Java application using the variable named JAVA_HOME.
Here is the command output.
Verify if the PATH environment variable includes the Java SDK directory named BIN.
Here is the command output.
Test the Java application without using the environment variable.
Here is the command output.
Congratulations! You have tested the Java JDK installation on Windows.
Tutorial Windows - Tomcat installation
Access the Apache Tomcat website and download the latest version of Tomcat.
In our example, we downloaded the file named: Apache-tomcat-9.0.37.exe
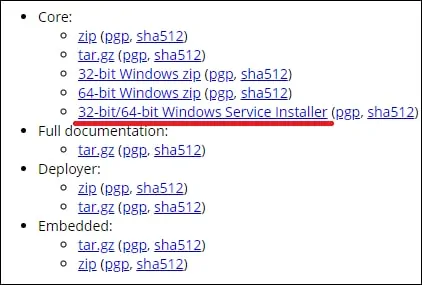
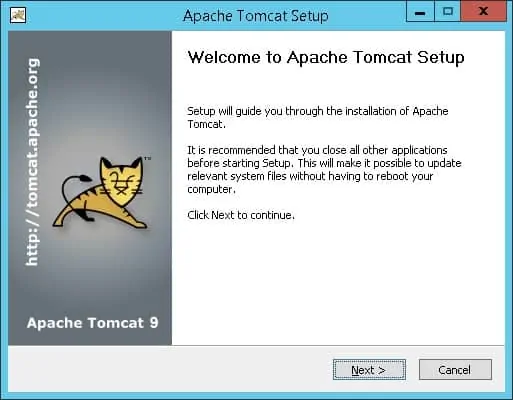
Start the Tomcat installation.
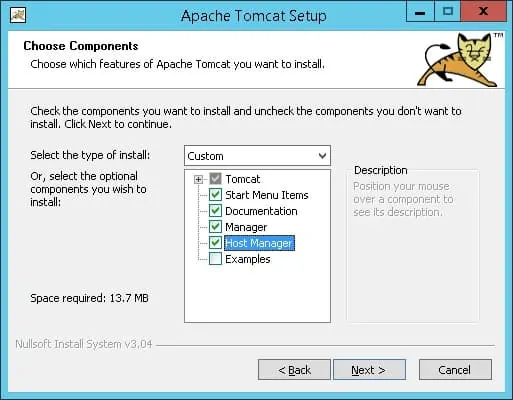
Select the Hostmanager option and click on the Next button.
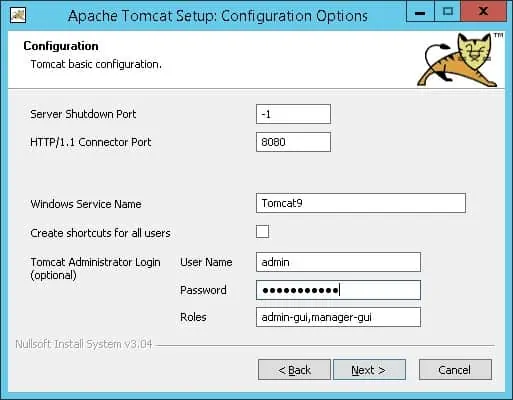
Set the Tomcat administrator username and password.
Optionally, you may change the TCP port.
Set the Java JDK installation path and click on the Next button.
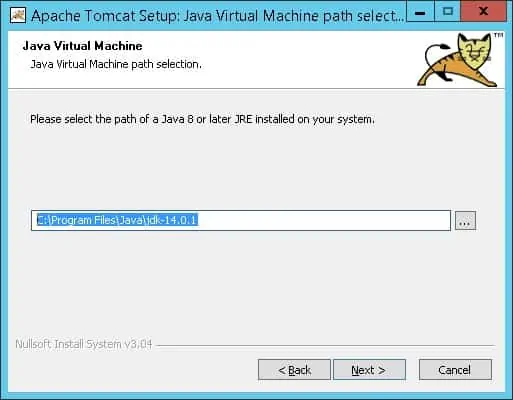
In our example, the Tomcat installer detected automatically the Java SDK installation directory.
Verify the Tomcat installation path and click on the Next button.
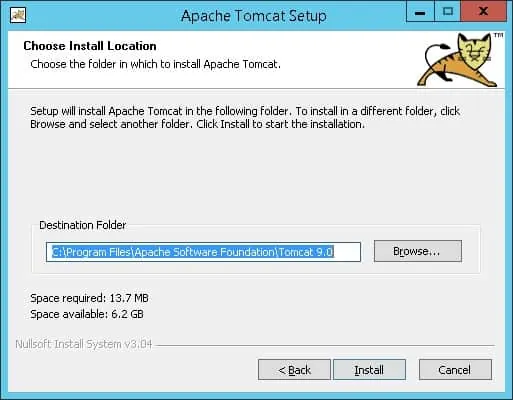
In our example, the Tomcat software was installed on the following directory.
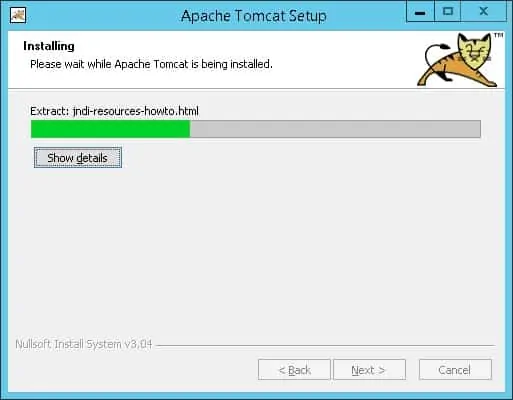
Click on the Install button and wait for the Tomcat installation to finish.
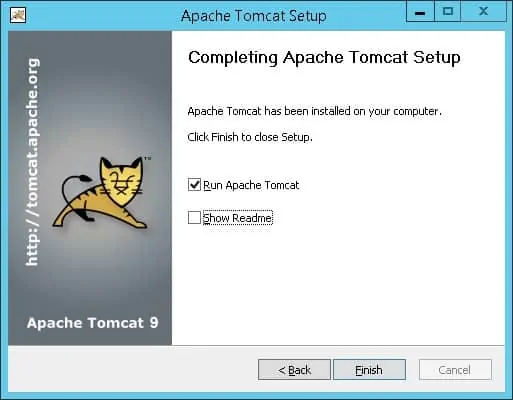
Select the option to start the Tomcat service and click on the Finish button.
Open your browser and enter the IP address of your Tomcat server plus :8080.
In our example, the following URL was entered in the Browser:
• http://172.31.7.220:8080
The Tomcat page should be presented.
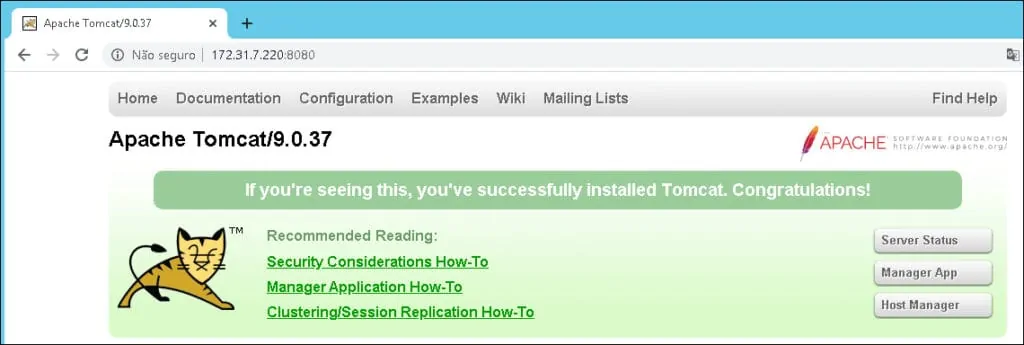
Congratulations! You have finished the Tomcat installation on Windows.
Tutorial - Accessing the Tomcat Manager application
On the Tomcat server, open your browser and enter the following URL:
• http://127.0.0.1:8080/host-manager
Enter the username and password created during the Tomcat installation.
After a successful login, the Host manager dashboard will be presented.

Congratulations! You are able to access the Tomcat host manager.