Would you like to learn how to use a group policy to disable the Autorun and Autoplay features of Microsoft Windows? In this tutorial, we will show you how to create a group policy to disable the Autoplay and Autorun configuration on all computers in the domain.
• Windows 2012 R2
• Windows 2016
• Windows 2019
• Windows 10
• Windows 7
Hardware List:
The following section presents the list of equipment used to create this tutorial.
Every piece of hardware listed above can be found at Amazon website.
Windows Related Tutorial:
On this page, we offer quick access to a list of tutorials related to Windows.
Tutorial GPO - Disable Autorun and Autoplay
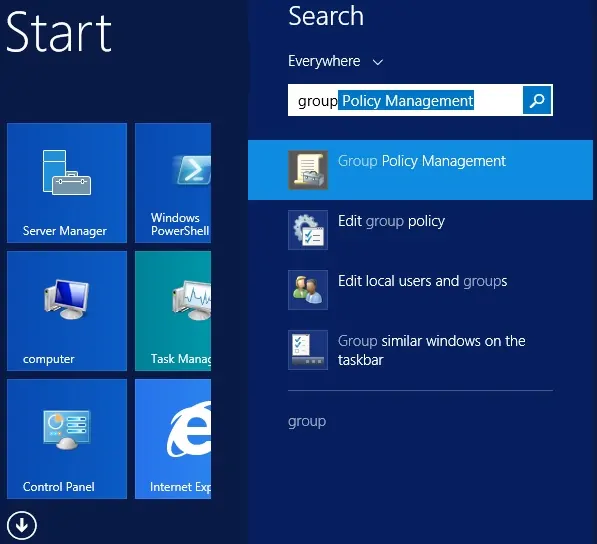
On the domain controller, open the group policy management tool.
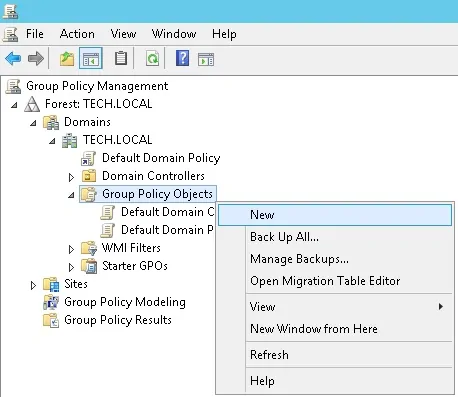
Create a new group policy.
Enter a name for the new group policy.
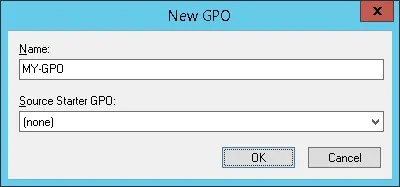
In our example, the new GPO was named: MY-GPO.
On the Group Policy Management screen, expand the folder named Group Policy Objects.
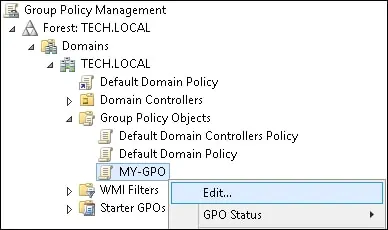
Right-click your new Group Policy Object and select the Edit option.
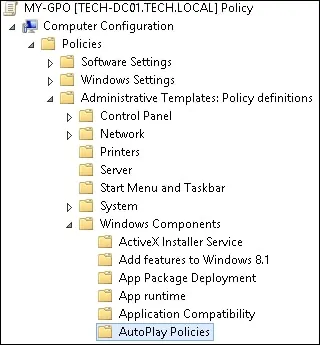
On the group policy editor screen, expand the Computer configuration folder and locate the following item.
Access the Autoplay policies configuration folder.
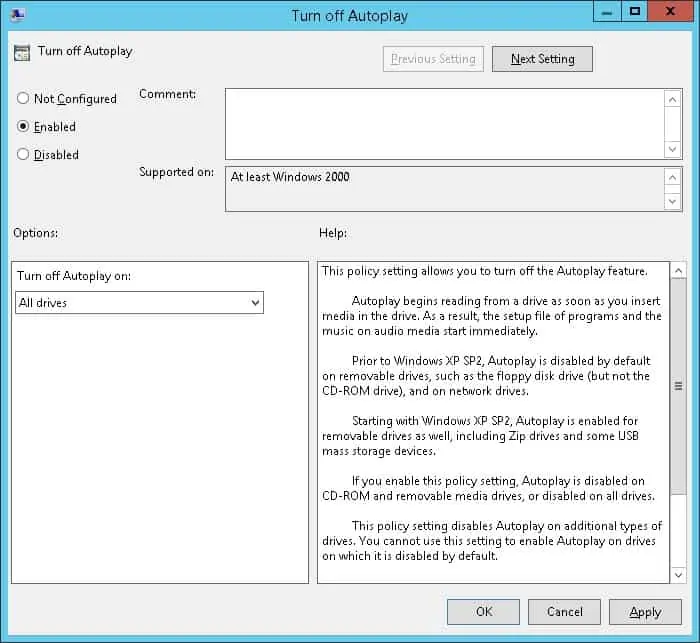
Access and enable the option named Turn off Autoplay.
Select the option to turn off Autoplay on all drives.
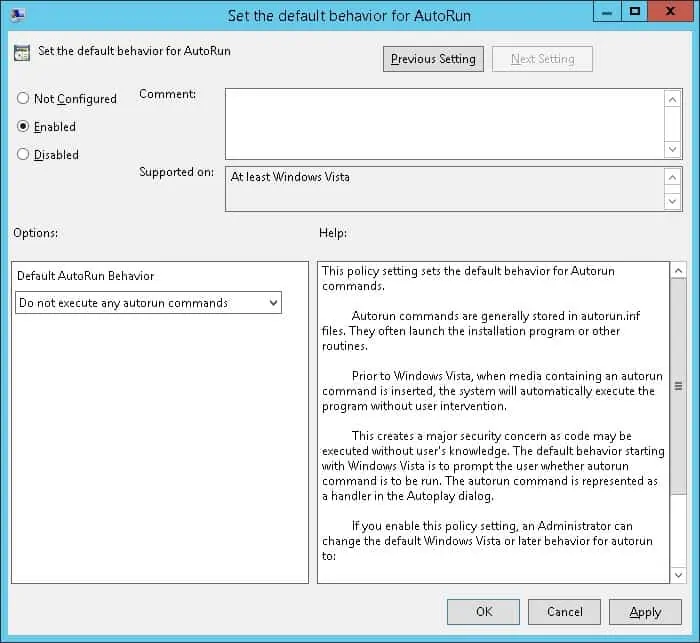
Access and enable the option named Set the default behavior for Autorun.
Select the option to not execute any autorun commands.
To save the group policy configuration, you need to close the Group Policy editor.
Congratulations! You have finished the GPO creation.
Tutorial GPO - Turn Off Autorun and Autoplay
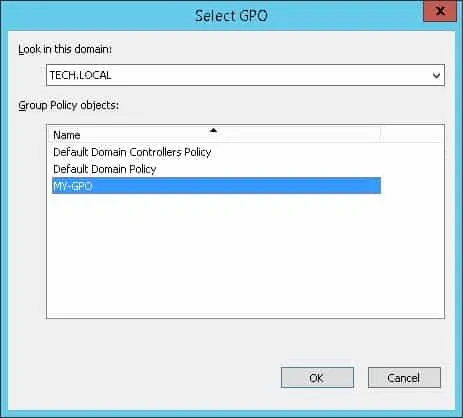
On the Group policy management screen, you need to right-click the Organizational Unit desired and select the option to link an existent GPO.

In our example, we are going to link the group policy named MY-GPO to the root of the domain.
After applying the GPO you need to wait for 10 or 20 minutes.
During this time the GPO will be replicated to other domain controllers.
On a remote computer, verify the Windows autoplay configuration.
