Would you like to learn how to use a group policy to distribute a Proxy Auto-configuration file? In this tutorial, we will show you how to create a Proxy Auto-configuration file.
• Windows 2012 R2
• Windows 2016
• Windows 2019
• Windows 10
• Windows 7
Hardware List:
The following section presents the list of equipment used to create this Zabbix tutorial.
Every piece of hardware listed above can be found at Amazon website.
Windows Related Tutorial:
On this page, we offer quick access to a list of tutorials related to Windows.
Tutorial Windows - IIS Installation
Install an IIS server to make the Proxy configuration script public available.
Open the Server Manager application.
Access the Manage menu and click on Add roles and features.

On the Server Roles screen, select the option named: Web Server IIS.
Click on the Next button.
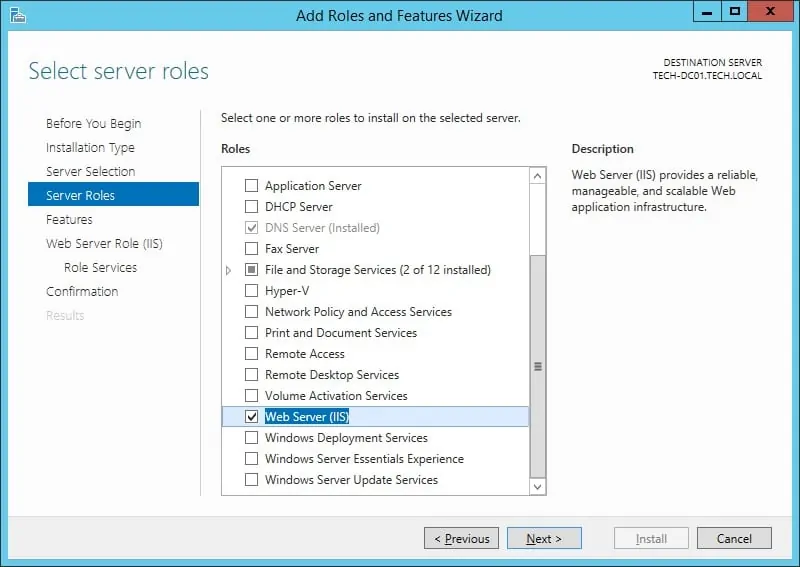
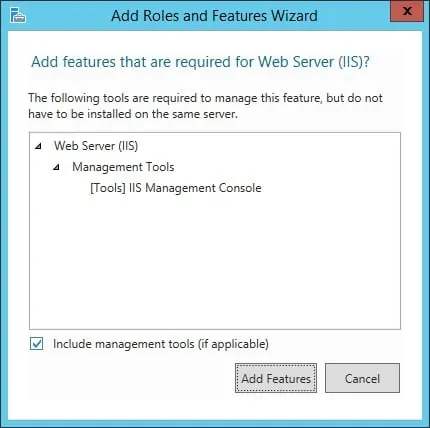
On the following screen, click on the Add features button.
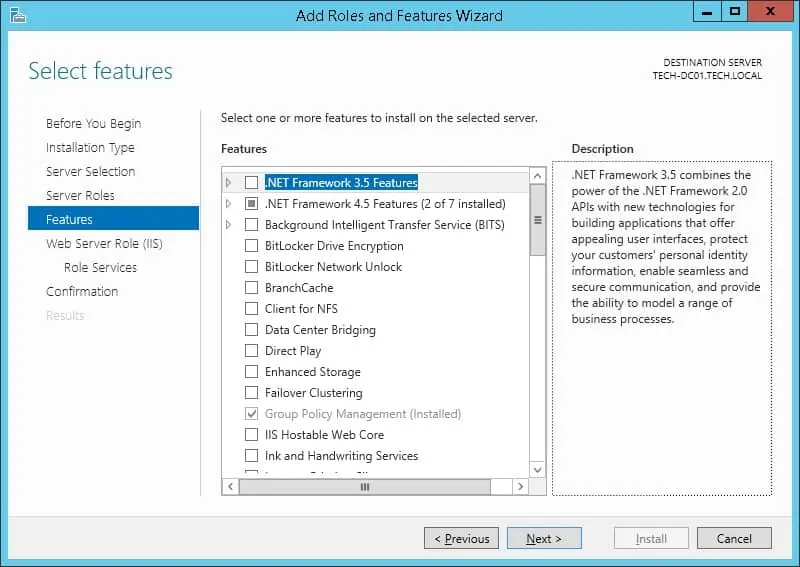
On the Features screen, click on the Next button.
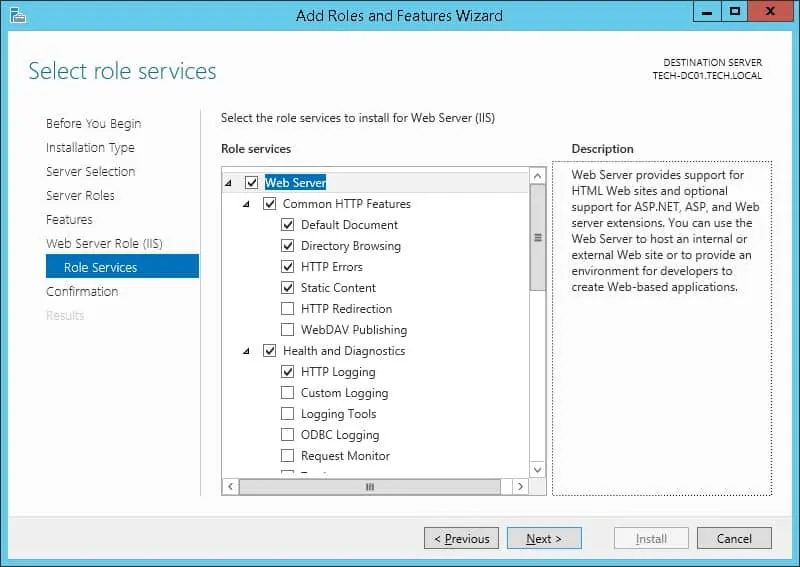
On the Role service screen, click on the Next button.
On the Summary screen, click on the Install button.
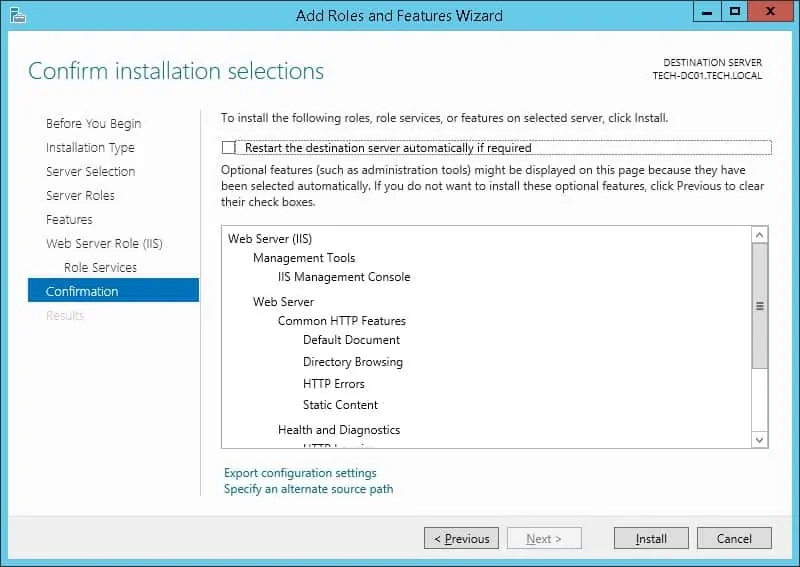
Start the application named: IIS Manager.

On the IIS Manager application, select your IIS server name.
On the right part of the screen, access the option named: MIME Types

Add a new file extension named (.pac) using the following MIME type.
As an example, here is our configuration.
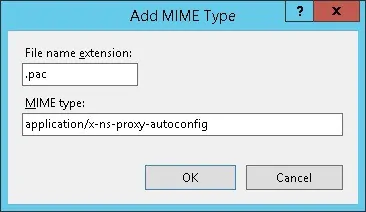
You have finished the IIS service configuration.
Tutorial Windows - Creating a PAC file
Start the Notepad application and create a Proxy Auto-configuration script, also known as PAC.
This Proxy PAC file specifies that access to the internal network 192.168.0.0/24 must be direct.
Access to the internal network should not use a Proxy server.
To all other access, the computer must use the Proxy server 192.168.0.1 and the TCP port 3128.
Save the Proxy Auto-configuration script on the root of the IIS server.
As an example, here is our configuration.

You have finished the creation of the automatic Proxy configuration script.
Tutorial GPO - Automatic Proxy configuration script
On the domain controller, open the group policy management tool.
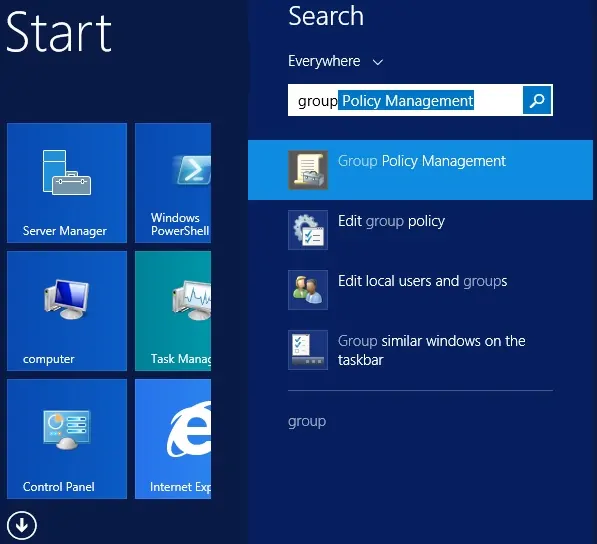
Create a new group policy.
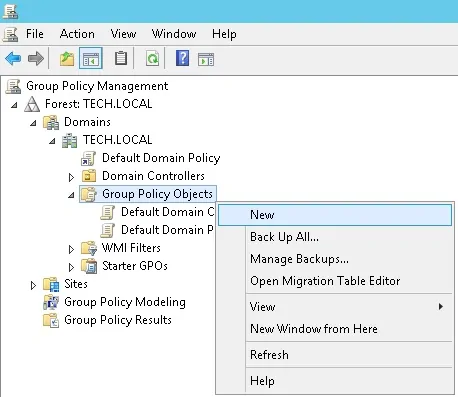
Enter a name for the new group policy.
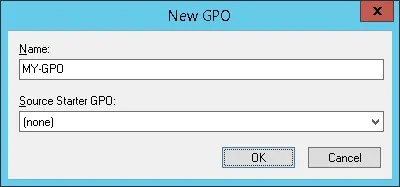
In our example, the new GPO was named: MY-GPO.
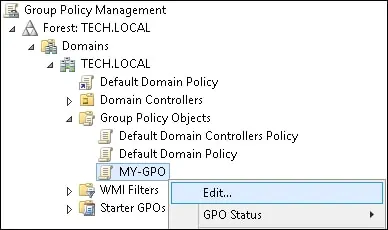
On the Group Policy Management screen, expand the folder named Group Policy Objects.
Right-click your new Group Policy Object and select the Edit option.
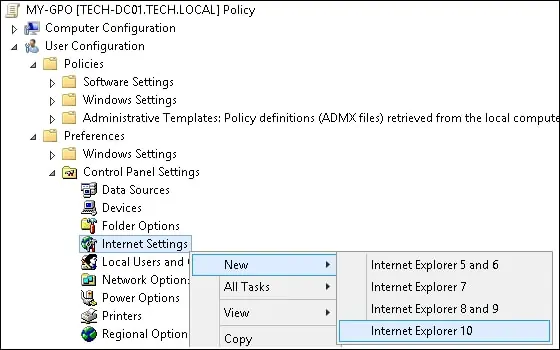
On the group policy editor screen, expand the User configuration folder and locate the following item.
Right-click on Internet Settings option and create a new configuration item to Internet explorer.
Access the Connections tab and click on the LAN settings button.
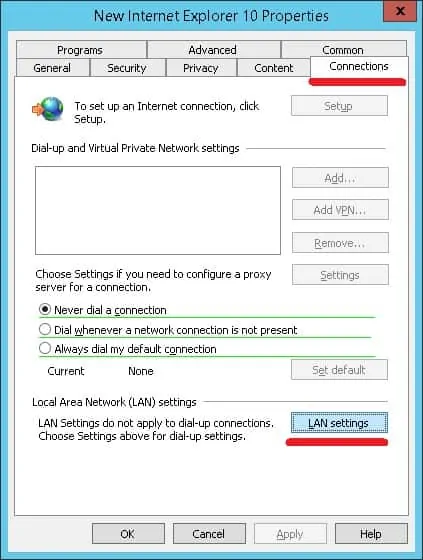
The green line allows the configuration of each item.
F5 activates all the options on the screen.
F6 activates only the chosen setting.
Make sure the configuration you enter has a green line.
Enter the URL to the Proxy automatic configuration Script.
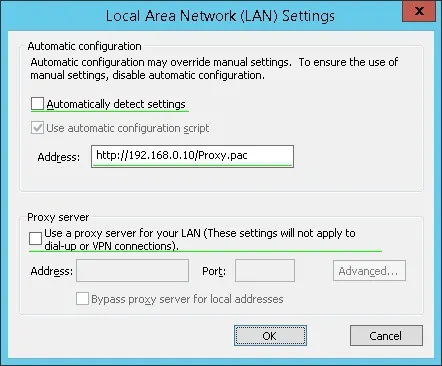
The system will create a Group preference.
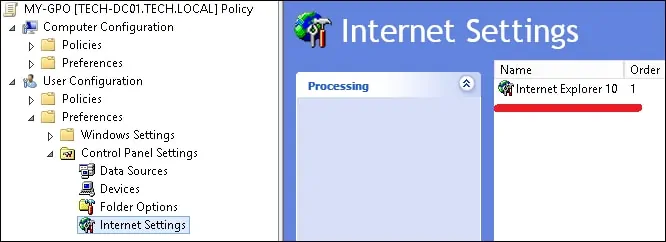
To save the group policy configuration, you need to close the Group Policy editor.
Congratulations! You have finished the GPO creation.
Tutorial GPO - Configure the Proxy
On the Group policy management screen, you need to right-click the Organizational Unit desired and select the option to link an existent GPO.

In our example, we are going to link the group policy named MY-GPO to the root of the domain.
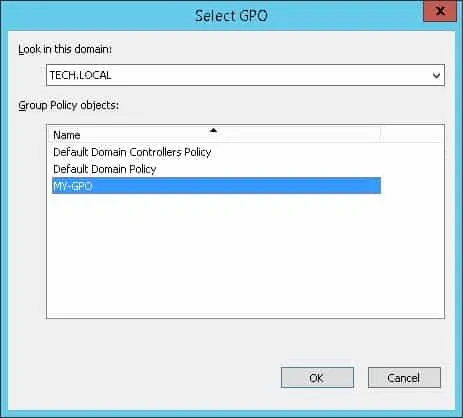
After applying the GPO you need to wait for 10 or 20 minutes.
During this time the GPO will be replicated to other domain controllers.
To test the configuration, open the Internet Explorer Proxy configuration.
Here is the Proxy configuration screen, before our configuration.
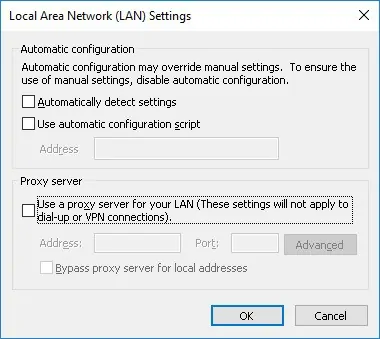
Here is the Proxy configuration screen, after our configuration.
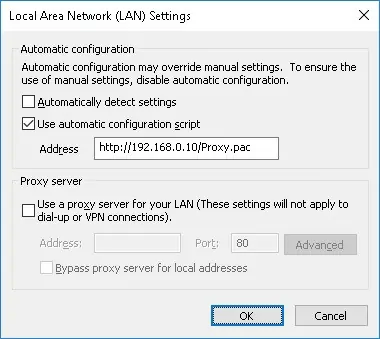
In our example, the Proxy settings were automatically set using a GPO.
