Would you like to learn how to enable the Elasticsearch TLS encryption and HTTPS communication? In this tutorial, we are going to show you how to enable the security feature and how to enable the HTTPS encryption on the ElasticSearch server on a computer running Ubuntu Linux.
• Ubuntu 18
• Ubuntu 19
• ElasticSearch 7.6.2
• Kibana 7.6.2
In our example, The ElastiSearch server IP address is 192.168.100.7.
ElasticSearch Related Tutorial:
On this page, we offer quick access to a list of tutorials related to ElasticSearch installation.
Tutorial ElasticSearch - Upgrading the Basic License
Install the required packages.
Verify the license type installed on the ElasticSearch server.
Here is the command output.
In our example, we have a basic license installed on the ElasticSearch server.
Enable the trial license on the ElasticSearch server.
The security features are not available on the ElasticSearch basic license.
Tutorial ElasticSearch - Enable the TLS Encryption and HTTPS Communication
Stop the ElasticSearch service.
Create a self-signed certificate authority.
Here is the command output.
In our example, no password was set.
Create a certificate for the ElasticSearch node.
Here is the command output.
In our example, no password was set.
Copy the certificates to the proper directory and set the correct permissions.
Create a certificate to enable HTTPS communication.
Here is the command output.
In our example, no password, no DNS, and no IP addresses were set.
In our example, we used the self-signed certificate authority created before.
Copy the certificates to the proper directory and set the correct permissions.
Edit the ElasticSearch configuration file named: elasticsearch.yml
Add the following lines at the end of the file.
Here is the original file, before our configuration.
Here is the file with our configuration.
Start the ElasticSearch service.
Set the password for the ElasticSearch Built-in users.
Here is the command output.
Test your communication with the ElasticSearch server.
Keep in mind that we need to use HTTPS.
Keep in mind that we are using fake certificates, therefore, we need to disable the certificate verification on the CURL command.
Here is the command output.
The ElasticSearch server is requiring user authentication.
Test your communication with the ElasticSearch server using the ELASTIC user account.
Here is the command output.
You may choose to enter the user password on the command-line.
Congratulations! You have finished the ElasticSearch TLS encryption configuration.
Congratulations! You have finished the ElasticSearch HTTPS configuration.
Tutorial ElasticSearch - Kibana Configuration
Stop the Kibana service.
Copy the self-signed certification authority certificate.
Edit the Kibana configuration file named: kibana.yml
Locate and change the Elasticsearch connection from HTTP to HTTPS.
Add the following lines at the end of the file.
Here is the original file, before our configuration.
Here is the file with our configuration.
Keep in mind that you need to change the Kibana password to reflect your environment.
Start the Kibana service.
Open your browser and enter the IP address of your Kibana server plus :5601.
In our example, the following URL was entered in the Browser:
• http://192.168.100.7:5601
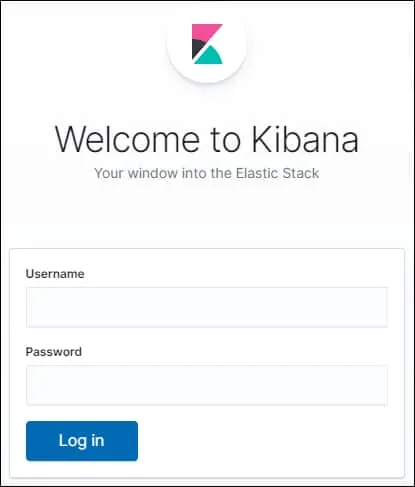
The Kibana web interface should be presented

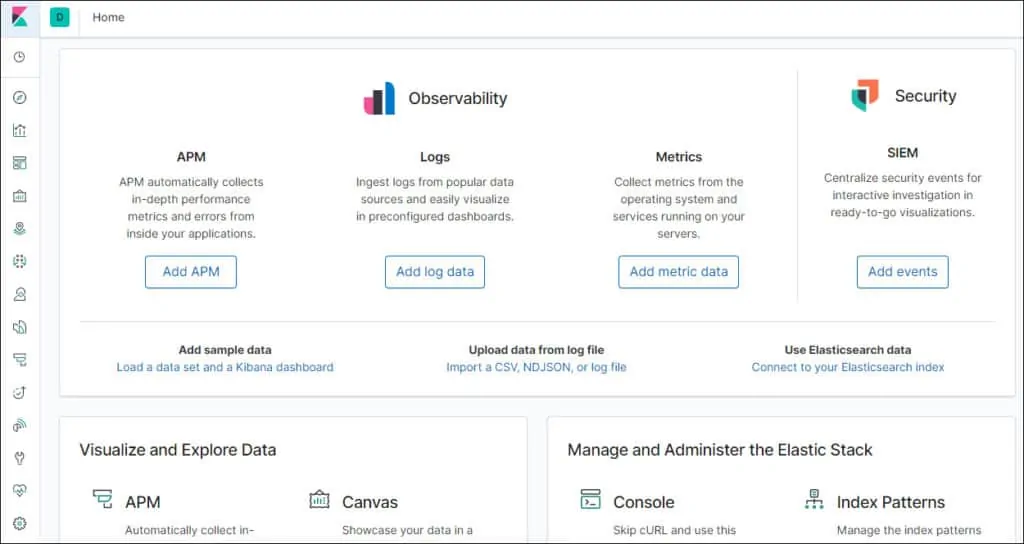
After a successful login, the Kibana dashboard should be presented.

Congratulations! You have finished the Kibana integration to ElasticSearch.
