Would you like to learn how to configure Mikrotik E-mail Notification? In this tutorial, we are going to show you how to configure Mikrotik to send e-mails.
MikroTik Tutorial:
On this page, we offer quick access to a list of tutorials related to MikroTik.
Tutorial - Gmail Integration
First, we need to enable your Gmail account to receive connections from external programs.
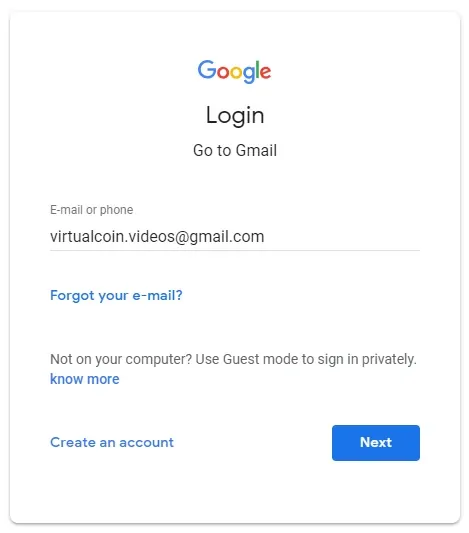
Open your browser and access your Gmail account.
In our example, the following URL was entered in the Browser:
On the login screen, enter your Gmail username and password.

After the login, you need to access the following URL:
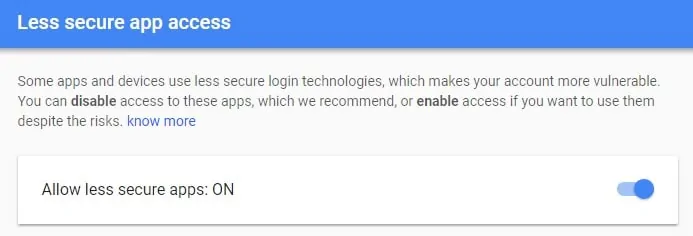
• https://myaccount.google.com/lesssecureapps
Select the option to enable the use of less secure applications.

Now, we need to perform the Mikrotik Email configuration and try to send a message.
Tutorial - MikroTik Email Notification Configuration
First, you need to access the console of your MikroTik router.
On the prompt screen, enter the administrative login information.
Factory default access information:
• Username: admin
• Password: (No password)
After a successful login, the console command-line will be displayed.
Use the following command to enable the SNMP service on the MikroTik router.
Use the following command to configure DNS server to enable the mikrotik router to perform DNS queries.
Use the following commands to perform the Mikrotik email configuration.
In our example, we are using the Gmail account virtualcoin.videos@gmail.com.
In our example, the Gmail account virtualcoin.videos@gmail.com is using the password kamisama123.
You need to change the Gmail account and password to reflect your account.
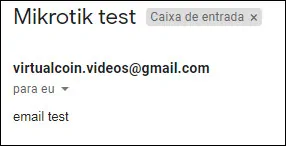
Use the following command to send an email using the command-line.
Check your Gmail inbox for the test message that you just sent.

If the test was successful you may advance to the next section of this tutorial.
If the test was unsuccessful, you need to access the following URL .
• https://accounts.google.com/DisplayUnlockCaptcha
Select the option to unblock your account.

Try again to send the email using the command-line.
If the test was successful you may advance to the next section of this tutorial.
Use the following command to verify the Mikrotik log to see if the message was sent.
MikroTik Email Alert
Use the following commands to create a scheduled task to create and send a log at 00:01:00.
You need to edit the start time, date and interval to fit your needs.
You have successfully performed the Mikrotik email alert Configuration.
