Would you like to learn how to configure a group policy to disable a user account for 5 minutes after 3 incorrect login attempts? In this tutorial, we are going to show you how to create a group policy to lock a user account after wrong login attempts on a computer running Windows.
• Windows 2012 R2
• Windows 2016
• Windows 2019
• Windows 10
Hardware List:
The following section presents the list of equipment used to create this Windows tutorial.
Every piece of hardware listed above can be found at Amazon website.
Windows Related Tutorial:
On this page, we offer quick access to a list of tutorials related to Windows.
Tutorial - Creating the GPO to lock user accounts
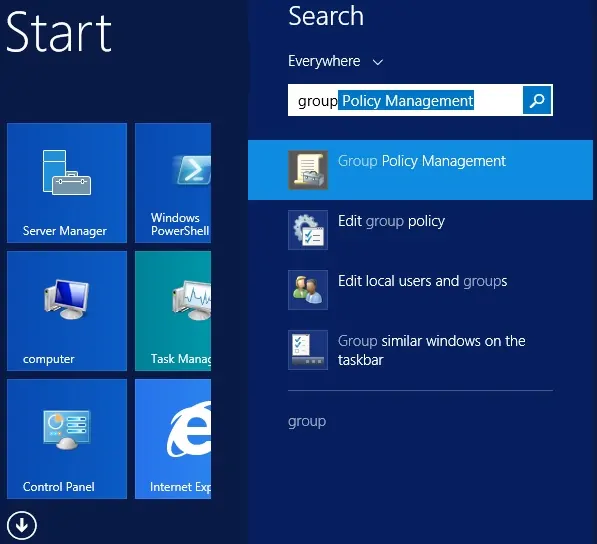
On the domain controller, open the group policy management tool.
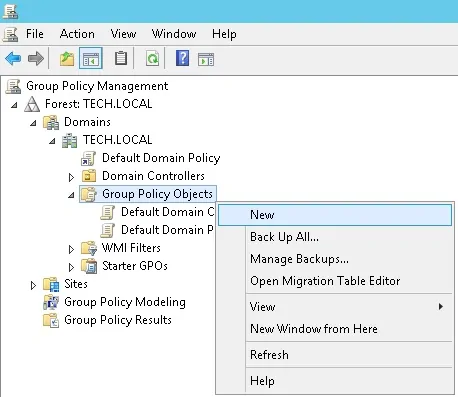
Create a new group policy.
Enter a name for the new group policy.
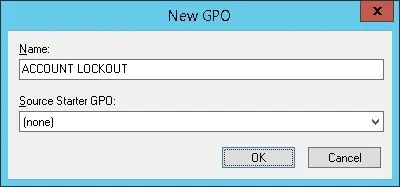
In our example, the new GPO was named: ACCOUNT LOCKOUT.
On the Group Policy Management screen, expand the folder named Group Policy Objects.
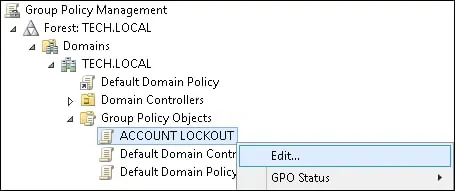
Right-click your new Group Policy Object and select the Edit option.
On the group policy editor screen, expand the Computer configuration folder and locate the following item.
We will change only Computer configurations.
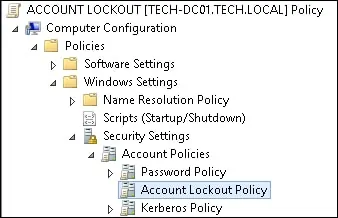
On the right, the list of available configuration options will be presented.

Access the item named: Account lockout threshold.
Set the number of invalid login attempts before the user account is locked.
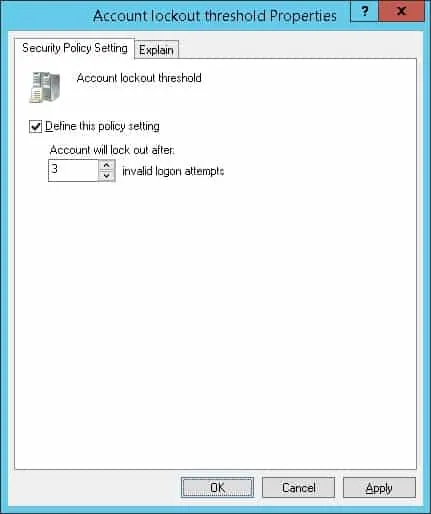
In our example, the fourth incorrect login attempt will block the user account.
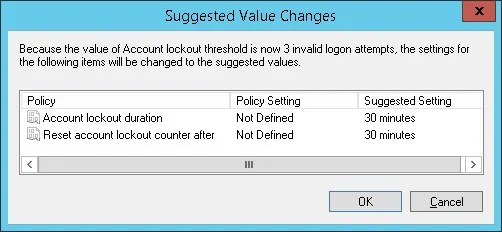
The system will automatically configure the lockout duration time to 30 minutes.
Access the item named: Account lockout duration.
Set the number of minutes a locked-out account remains locked.
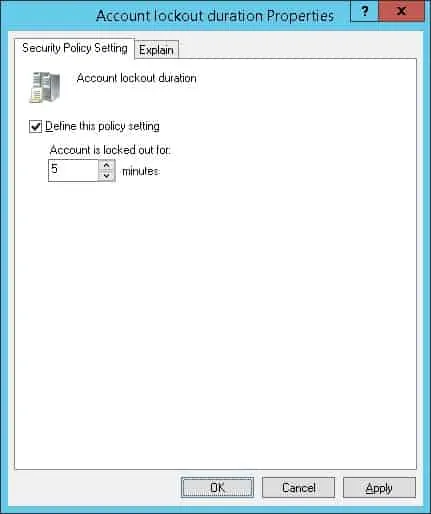
In our example, the account will remain locked for 5 minutes.
After 5 minutes, the account will automatically become unlocked.
The system will automatically configure the lockout counter to be reset after the same amount of time.
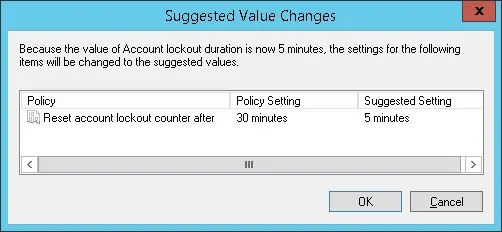
If the account lockout duration is set to 0, the user account will remain blocked.
To save the group policy configuration, you need to close the Group Policy editor.
Only when you close the group policy editor, the system will save your configuration.
The default domain policy already has a configuration to the account lockout policy.
The default domain policy is set to never block a user account.
Before enabling your account lockout policy, you need to disable this part of the configuration on the default domain policy.
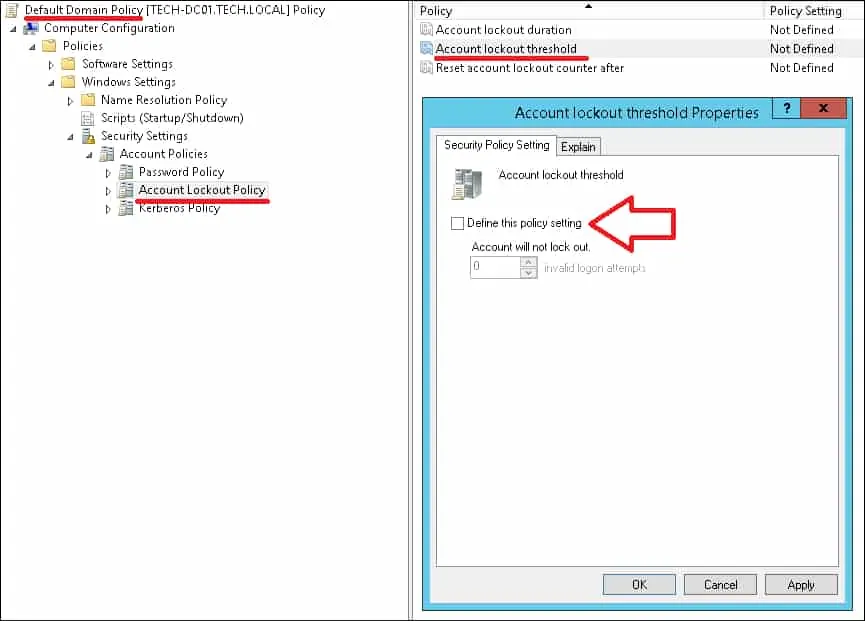
Congratulations! You have finished the GPO creation.
Tutorial - Applying the GPO to force the account lockout
On the Group policy management screen, you need to right-click the Organizational Unit desired and select the option to link an existent GPO.

In our example, we are going to link the group policy named ACCOUNT LOCKOUT to the root of the domain.
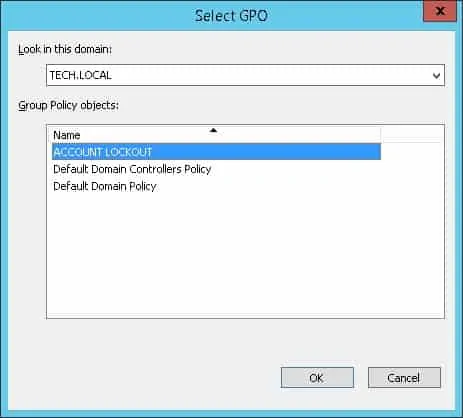
After applying the GPO you need to wait for 10 or 20 minutes.
During this time the GPO will be replicated to other domain controllers.
To test the configuration, you need to perform 4 incorrect login attempts.
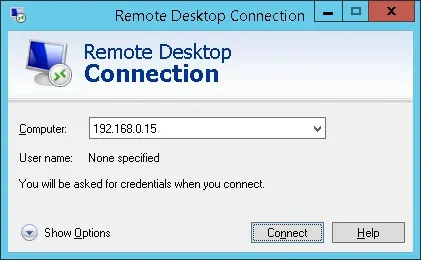
Your user account should be automatically blocked after 4 incorrect login attempts.
