Would you like to learn how to remove Live tiles from the Start menu of Windows 10? In this tutorial, we are going to show you how to disable the tiles animations displayed on the Start menu of a computer running Windows.
• Windows 10
Hardware List:
The following section presents the list of equipment used to create this tutorial.
Every piece of hardware listed above can be found at Amazon website.
Windows Tutorial:
On this page, we offer quick access to a list of Windows tutorials.
Tutorial Windows - Disable Live tiles
As an administrator, start the local group policy editor.
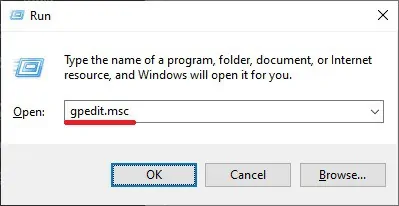
Here is the command we used.
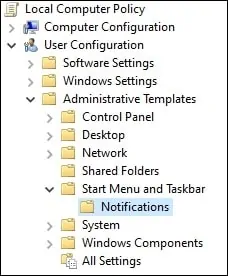
On the group policy editor screen, expand the User configuration folder and locate the following item.
Access the folder named Notifications.
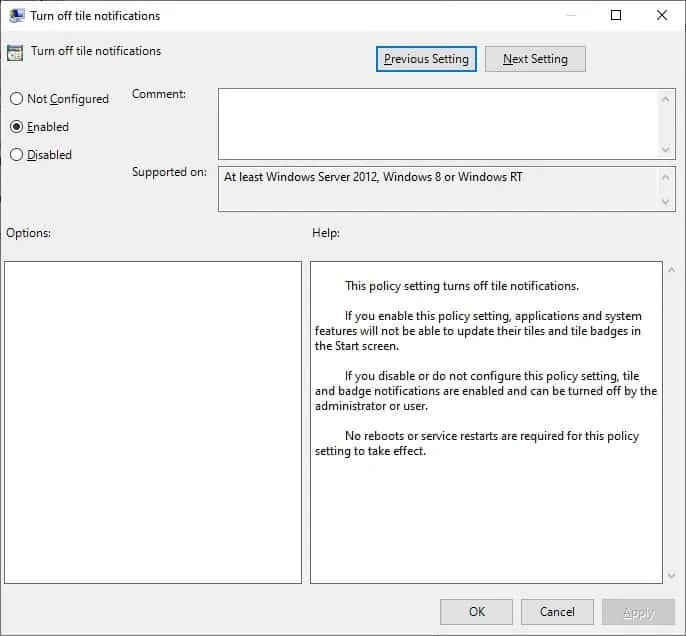
Enable the item named Turn off tile notifications.
Reboot the computer.
Open the Start menu and verify that Live tiles are disabled.
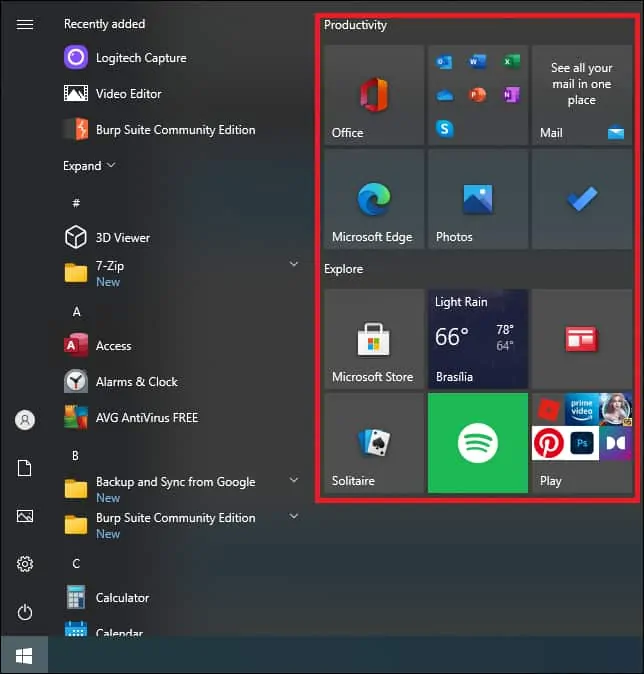
Congratulations! You have disabled the Live tiles feature of Windows 10.
Tutorial Windows - Disable Live tiles using the command-line
For this to work, the user account being used must be a local administrator.
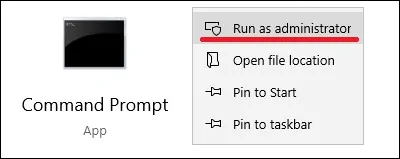
As an administrator, start an elevated command prompt.
Create an entry on the Windows registry to disable the Live tiles on the Start menu
This will disable the Live tiles on the Start menu only to the current user account.
Reboot the computer.
Open the Start menu and verify that Live tiles are disabled.

Congratulations! You have disabled the Live tiles feature for the current user.
Tutorial Windows - Remove Live tiles manually
Access the Start menu and right-click on the desired title.
Access the More menu and select the option to turn off the Live tile.
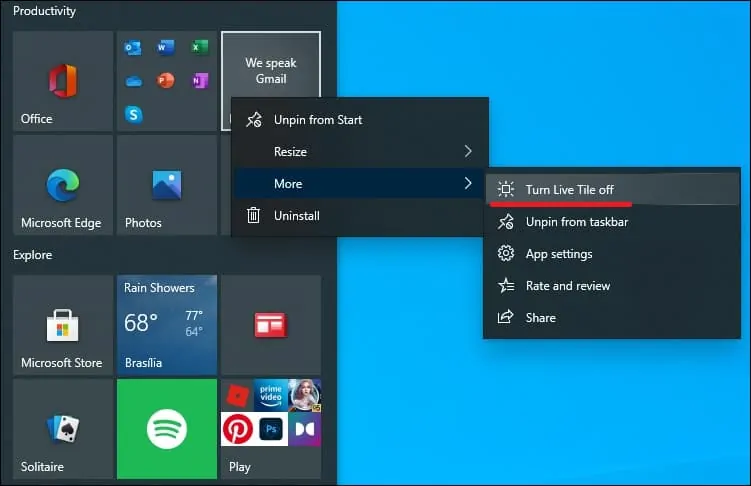
Repeat this process to remove all tiles from the Start menu.
Congratulations! You have manually disabled a Live tile on the Start menu.
