Would you like to learn how to install Nginx and configure the HTTPS feature to use a self-signed certificate on a computer running Ubuntu Linux? In this tutorial, we are going to enable the use of HTTPS on the Nginx server and create a self-signed certificate.
• Ubuntu 18
• Ubuntu 19
• Ubuntu 20
• Nginx 1.18.0
Equipment list
The following section presents the list of equipment used to create this tutorial.
As an Amazon Associate, I earn from qualifying purchases.
Nginx - Related Tutorial:
On this page, we offer quick access to a list of tutorials related to Nginx.
Tutorial Nginx - Enable HTTPS
Install the Nginx server and the required packages.
Create a private key and the website certificate using the OpenSSL command.
Enter the requested information.
On the option named COMMON_NAME, you need to enter the IP address or hostname.
In our example, we used the IP address 200.200.200.2000.
Edit the Nginx configuration file for the default website.
Here is the file, before our configuration.
Here is the file, after our configuration.
Optionally, you may want to redirect HTTP users to the HTTPS version of your website.
In this case, use the following configuration.
Restart the Nginx service.
Open your browser and access the HTTPS version of your website.
In our example, the following URL was entered in the Browser:
• https://200.200.200.200
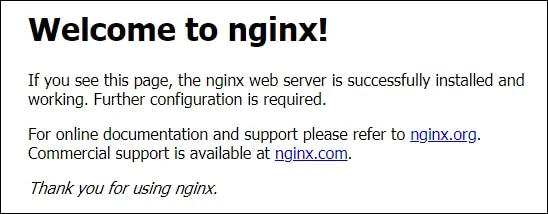
The Nginx server will display the HTTPS version of your website.

Congratulations! You have finished the configuration of HTTPS on the Nginx server.
