Would you like to learn how to create a Restore point using Powershell? In this tutorial, we are going to show you how to use Powershell to create restore points on a computer running Windows.
• Windows 2012 R2
• Windows 2016
• Windows 2019
• Windows 10
• Windows 8
• Windows 7
Equipment list
The following section presents the list of equipment used to create this tutorial.
As an Amazon Associate, I earn from qualifying purchases.
Related tutorial - PowerShell
On this page, we offer quick access to a list of tutorials related to PowerShell.
Tutorial Powershell - Create Restore points
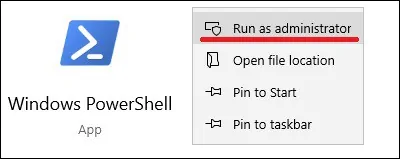
As an Administrator, start an elevated Powershell command-line.

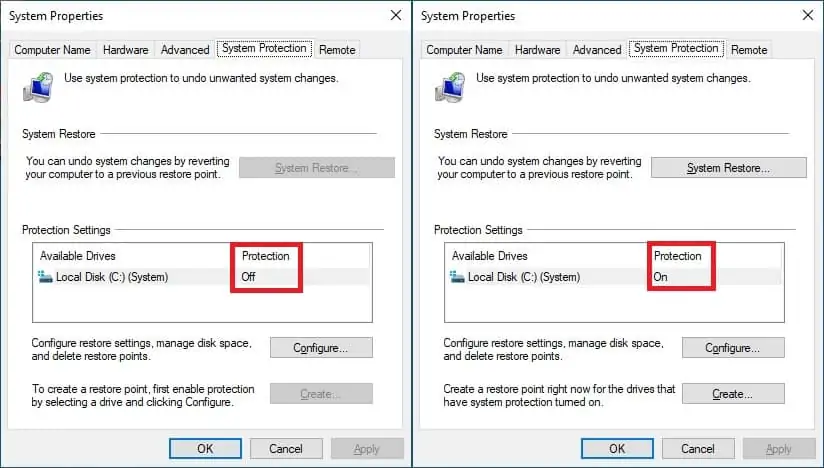
Enable the use of Restore points on the C drive.
The System Restore feature was enabled on drive C.

Optionally, enable the use of Restore points on multiple drives.
Create a restore point using Powershell.
There are multiple restore point types.
The default restoration point type is APPLICATION_INSTALL.
List the Restore points available on the system.
Here is the command output.
Restore a system checkpoint using the sequence number.
Restart the computer.
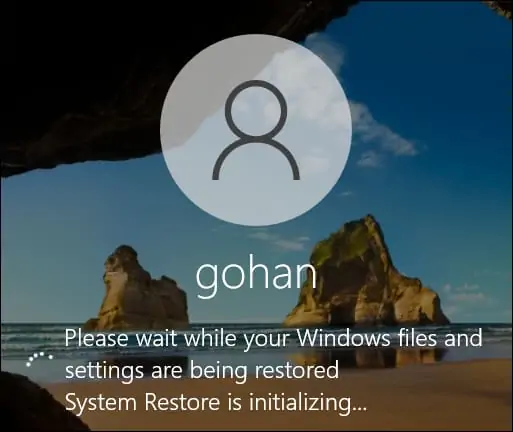
The system will apply the restore point.

Congratulations! You are able to create Restore points on Windows using Powershell.
Restore point - Daily limitation
By default, the system is limited to the creation of 1 restore point per day.
Disable the restore point limitation.
Restart the computer.
Create multiple restore points using Powershell.
List the Restore points available on the system.
Here is the command output.
Congratulations! You disabled the Restore point daily limitation.
