Would you like to learn how to start a Powershell command-line as NT AUTHORITY SYSTEM? In this tutorial, we are going to show you how to use Powershell as the account NT AUTHORITY SYSTEM on a computer running Windows.
• Windows 2012 R2
• Windows 2016
• Windows 2019
• Windows 10
• Windows 7
Equipment list
The following section presents the list of equipment used to create this tutorial.
As an Amazon Associate, I earn from qualifying purchases.
Related tutorial - PowerShell
On this page, we offer quick access to a list of tutorials related to PowerShell.
Tutorial Powershell - Start a command prompt as NT AUTHORITY SYSTEM
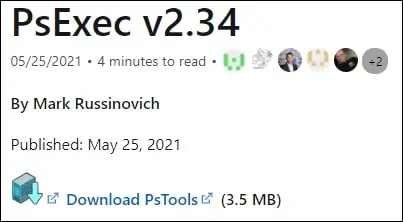
Download and extract the application named PSEXEC.

In our example, this is the path to the PSEXEC command.
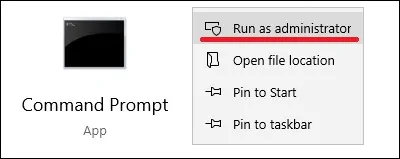
As an Administrator, start an elevated command line.

Access the application directory.
Start a Powershell command-line as NT AUTHORITY SYSTEM.
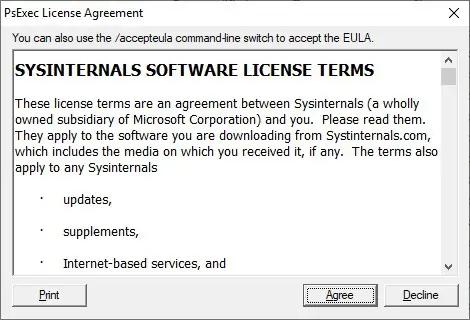
Accept the license agreement.

Optionally, accept the license agreement using the command line.
The Powershell command line will start in a new window.
Verify the user account running the Powershell.
Here is the command output.
In our example, we used the PSEXEC application to start a Powershell command line as the NT AUTHORITY SYSTEM account.
Congratulations! You are able to start a Powershell command prompt as NT AUTHORITY SYSTEM.
Tutorial Powershell - Run a command as NT AUTHORITY SYSTEM
Download and extract the application named PSEXEC.

In our example, this is the path to the PSEXEC command.
As an Administrator, start an elevated command line.

Access the application directory.
Start a Powershell command as NT AUTHORITY SYSTEM.
Optionally, hide the Powershell window.
Run multiple Powershell commands as NT AUTHORITY SYSTEM.
Run a Powershell script as NT AUTHORITY SYSTEM.
In our example, we used the PSEXEC application to run a Powershell command as the NT AUTHORITY SYSTEM account.
Congratulations! You are able to run a Powershell command as NT AUTHORITY SYSTEM.
