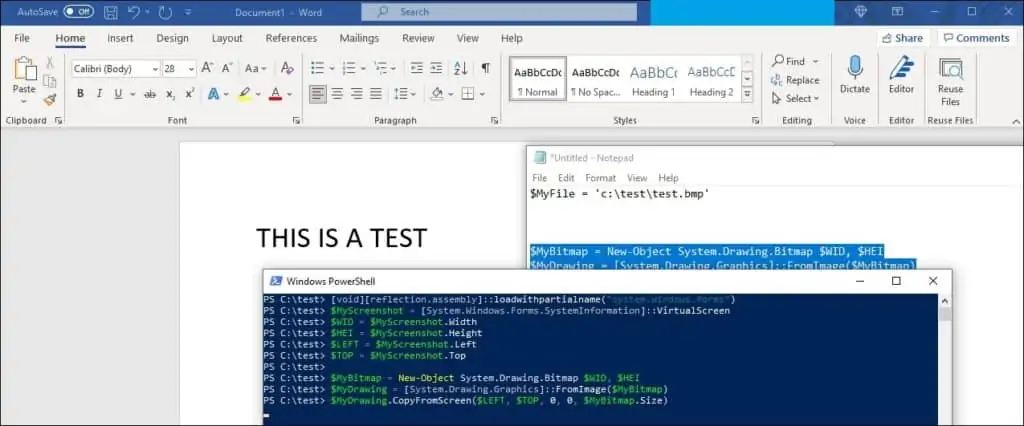
Would you like to learn how to take a screenshot using Powershell? In this tutorial, we are going to show you how to capture the screen of a computer running Windows and save it as a BMP file.
• Windows 2012 R2
• Windows 2016
• Windows 2019
• Windows 10
• Windows 7
Equipment list
The following section presents the list of equipment used to create this tutorial.
As an Amazon Associate, I earn from qualifying purchases.
Related tutorial - PowerShell
On this page, we offer quick access to a list of tutorials related to PowerShell.
Tutorial Powershell - Taking a screenshot
Start a Powershell command-line.

Take a screenshot using Powershell.
Copy to Clipboard
Transform the screenshot into a BMP file.
Copy to Clipboard
Save the screenshot.
Copy to Clipboard
Open the Bitmap file and check the screenshot.

Congratulations! You are able to take a screenshot using Powershell.
