Would you like to learn how to add a WordPress Website to Google Search Console?
This tutorial will teach you all the steps required to add a WordPress Website to Google Search Console.
Google Search Console is a free framework provided by Google that allows you have access to insightful information related to your website performance on Google.
Google Webmaster Tools recently change its name to Google Search Console.
Adding your Website to the Google Search Console will give you access to the following information:
• Your website Google Index Status
• Your website most searched keywords
• Your website most accessed pages
WordPress Related Tutorial:
On this page, we offer quick access to a list of tutorials related to WordPress.
Tutorial - Configure Google Search Console
First, you need to access the Google Webmaster Tools dashboard and add your website.
Open your browser and access the following URL:
• https://www.google.com/webmasters
On the login screen, enter your Google account username and password.
• Username: Your Google Account
• Password: Your Google Password
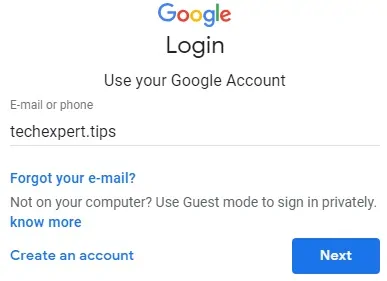
After a successful login, you will be sent to the Google Search Console Dashboard.
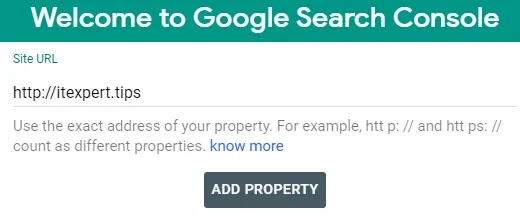
If this is your first time, the system will automatically ask you to enter your website URL.
You will be asked to download a website ownership confirmation file.
In our example, we downloaded a file named google67ccd298ca6edb23.html.
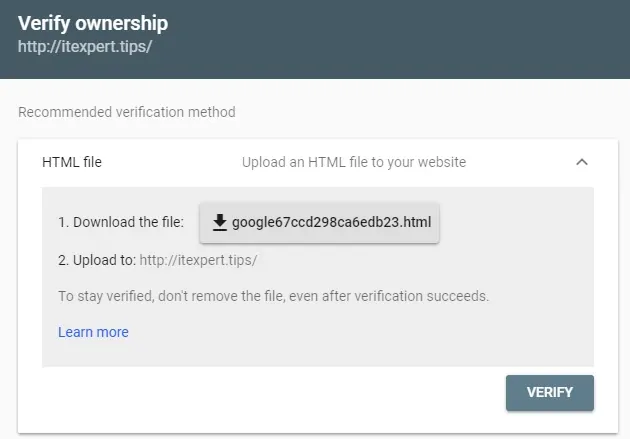
In order to prove that you own this website, you will have to upload this file to the root folder of your website.
Now, you need to access the WordPress dashboard.
We are going to use a plugin named File Manager to upload the required file.
On the WordPress dashboard, you need to access the Plugins menu and select the Add New option.

Search and install the plugin named File Manager.
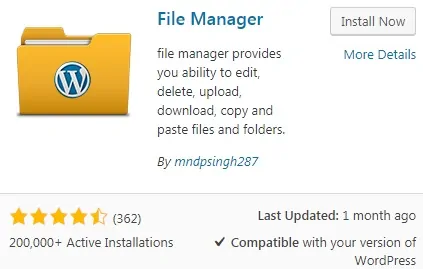
After finishing the installation, click on the Activate button.

On the WordPress dashboard, you need to access the WP File Manager menu.

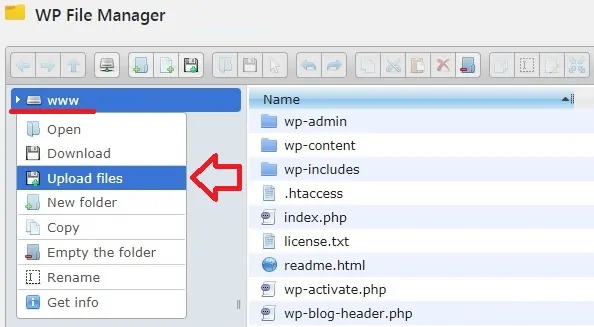
On the File Manager screen, you need to right-click the main folder and select the option Upload Files.
Select the Google website confirmation file and wait for the upload to finish.
Go back to the Seach console dashboard and click on the button to verify your ownership of this website.

Congratulations you added your first website to Google Search console.
Now, you may deactivate and uninstall the WP file manager plugin.
