Would you like to learn how to install WordPress on Windows using IIS instead of Apache? This tutorial will show you how to install WordPress on Windows using the Microsoft Web Platform Installer and IIS.
WordPress is a free and open-source content management system that uses PHP and MySQL
The Microsoft Web Platform Installer is a free tool that makes it simple to download, install and update the latest components of the Microsoft Web Platform.
Internet Information Services is the web server software created by Microsoft.
Hardware List:
The following section presents the list of equipment used to create this Windows tutorial.
Every piece of hardware listed above can be found at Amazon website.
Windows Playlist:
On this page, we offer quick access to a list of videos related to Windows.
Don't forget to subscribe to our youtube channel named FKIT.
Windows Related Tutorial:
On this page, we offer quick access to a list of tutorials related to Windows.
Tutorial - IIS Installation on Windows
Open the Server Manager application.
Access the Manage menu and click on Add roles and features.

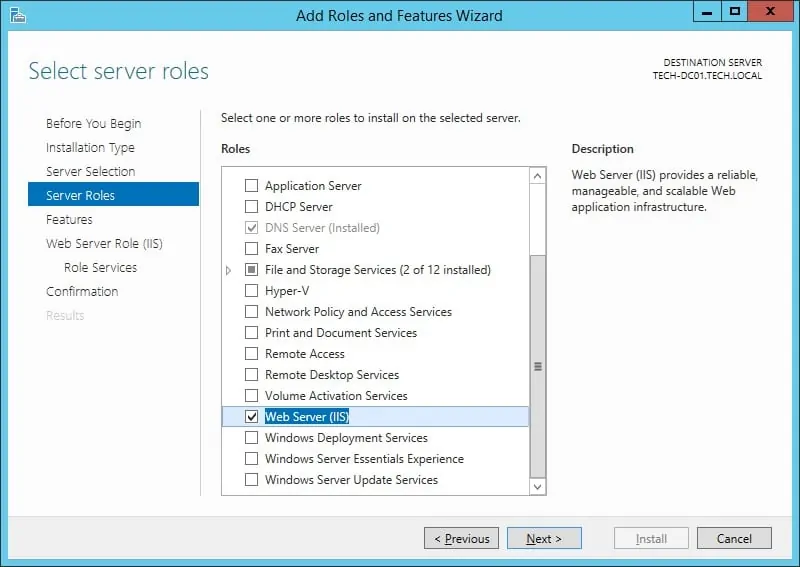
Access the Server roles screen, select the Web Server (IIS) option and click on the Next button.
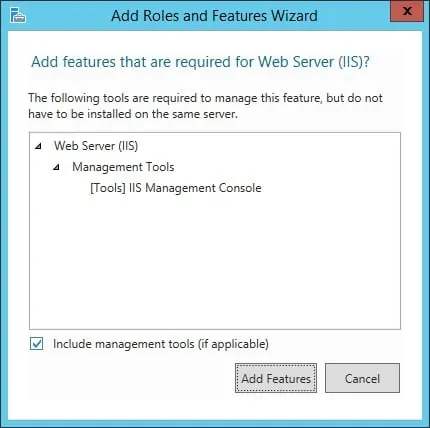
On the following screen, click on the Add features button.
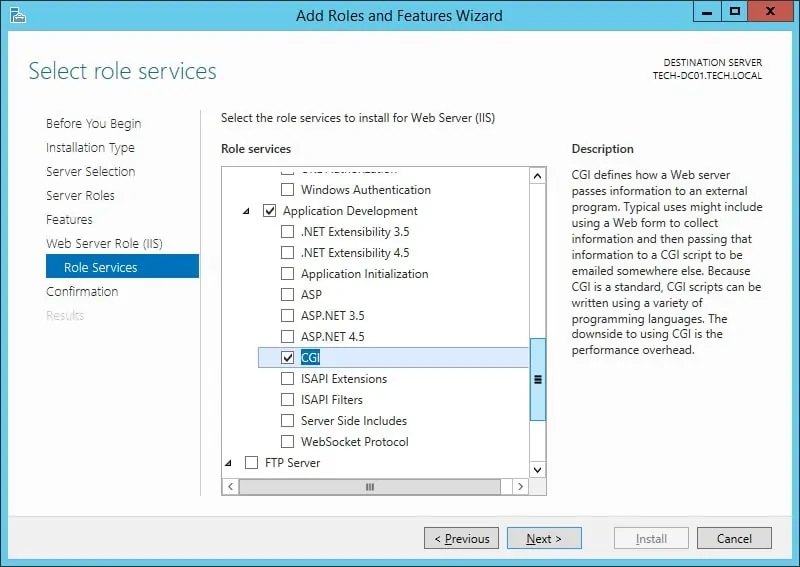
On the IIS service screen, select the CGI option and finish the installation.
The IIS server is now installed on your computer.
Tutorial - Web Platform Installer on Windows
Now we need to install the Microsoft Web Platform Installer.
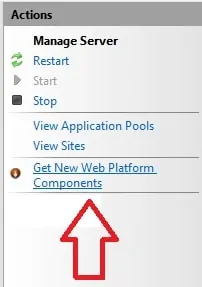
Open the IIS manager application and click on the following option:
• Get New web Platform components
This option is located on the top right part of the screen and will redirect you to the WebPI official website.
Access the Web platform installer website and download the installer.

Double click the Web platform installer and finish the installation.
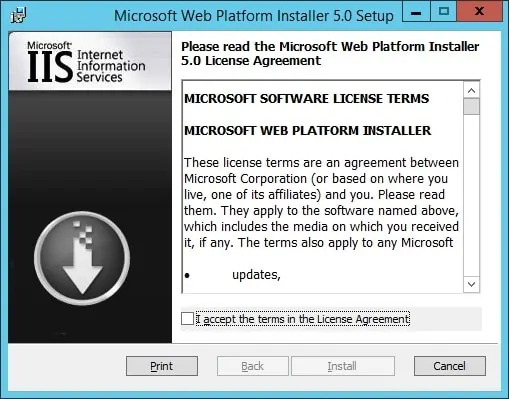
After finishing the installation you are able to use the software.
Tutorial - WordPress Installation on Windows
Now, we need to use the Web Platform Installer to install WordPress on Windows.
There are multiple ways to start the Web platform installer.
Open the start menu and click on the Microsoft Web platform installer option.
Another way to start the software is to access the IIS manager and locate the Web platform installer option.

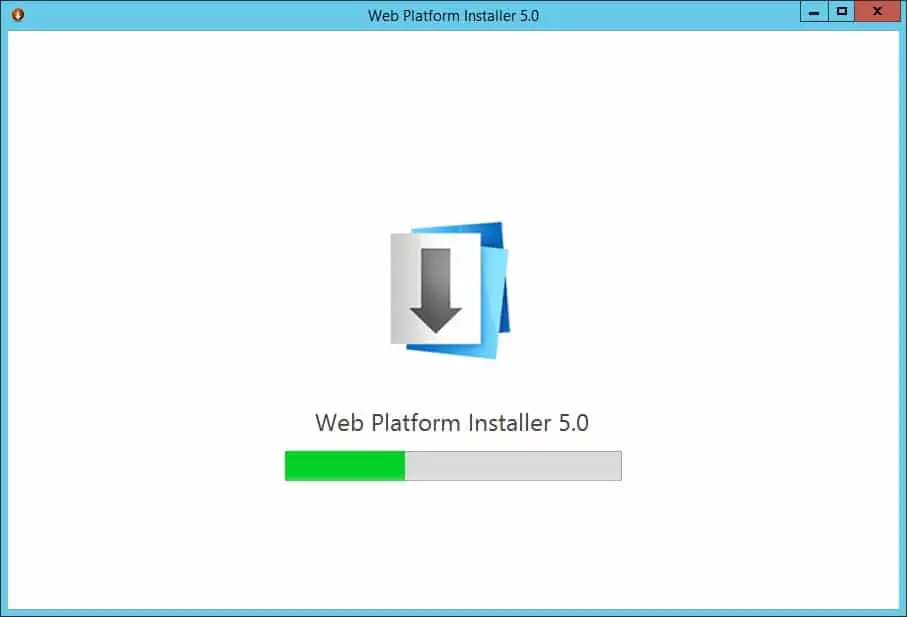
Wait for the Web platform to start.
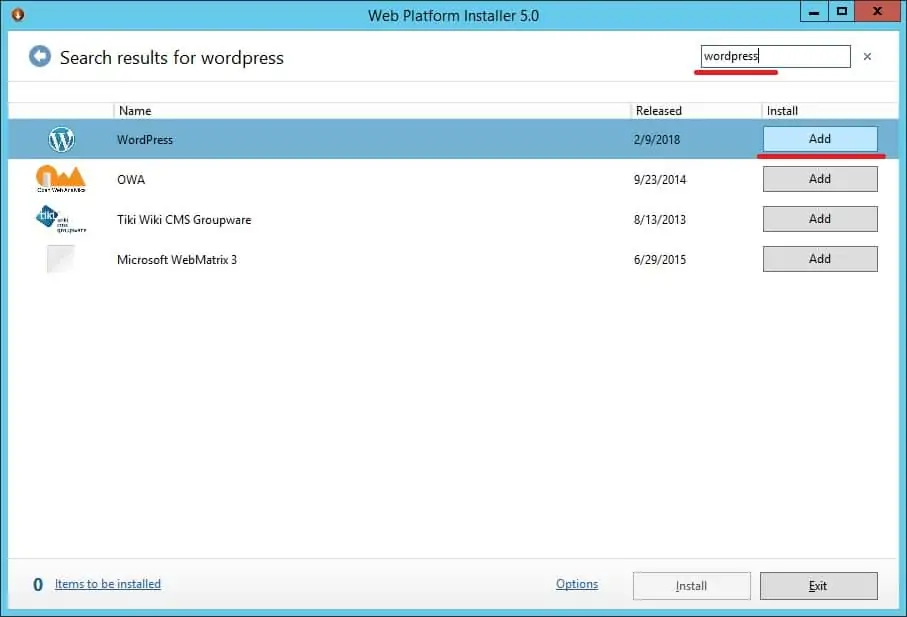
Search for WordPress on the top right part of the screen.
Click on the Add button.
Click on the Install button.
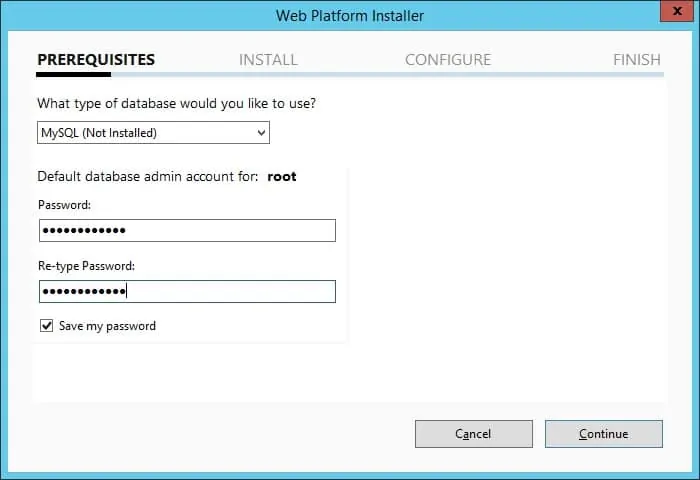
The system will detect that you don't have the MySQL database installed.
It will automatically install the MySQL Database.
Enter a password for the MySQL root user and click on the Continue button.
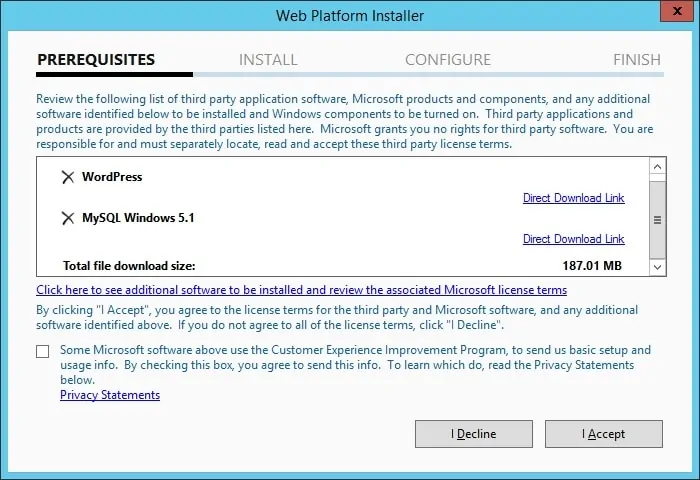
The system will show a list of required software that will be automatically installed.
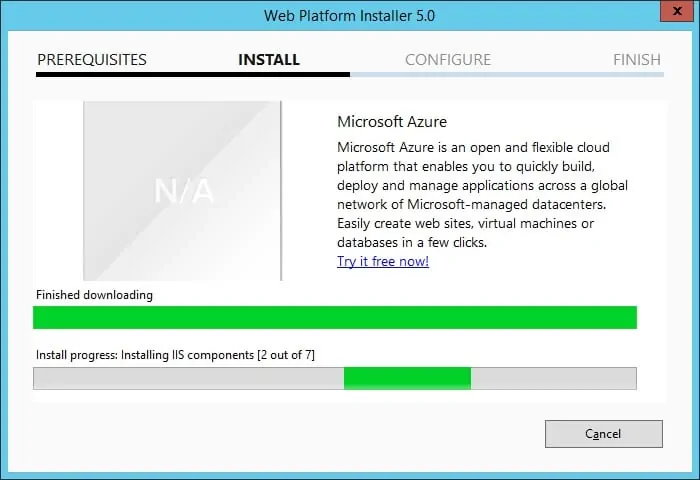
The system will download and install all the required software automatically.
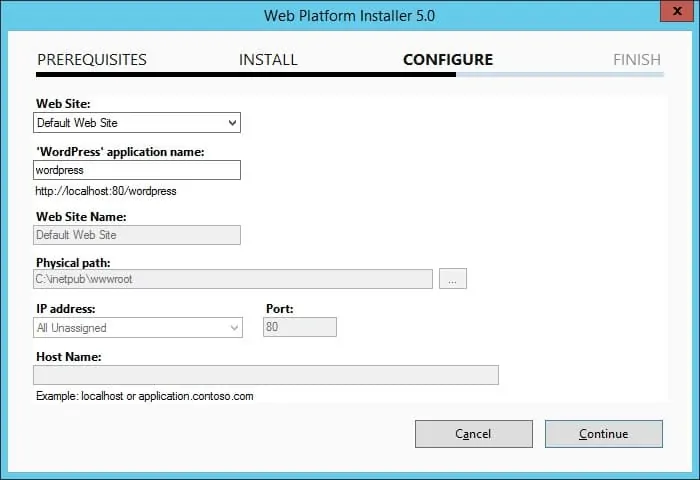
On this screen, you are able to perform IIS customizations.
In our example, we did not perform customizations.
Click on the Continue button.
Here you need to enter random characters to help keep your WordPress installation safe.
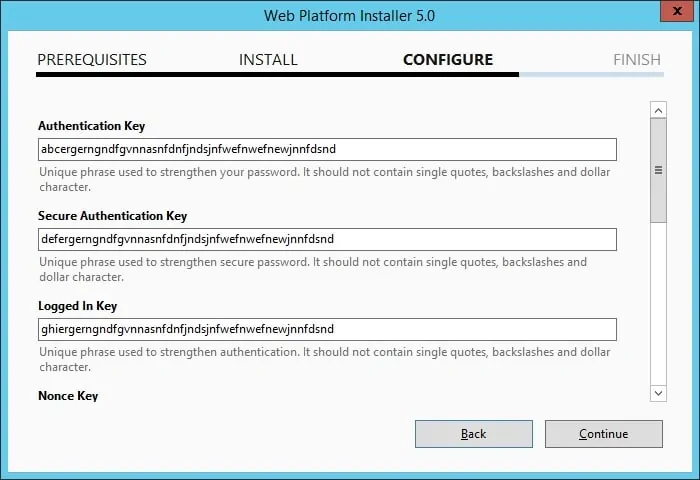
The web installer software will show you a summary of your installation.
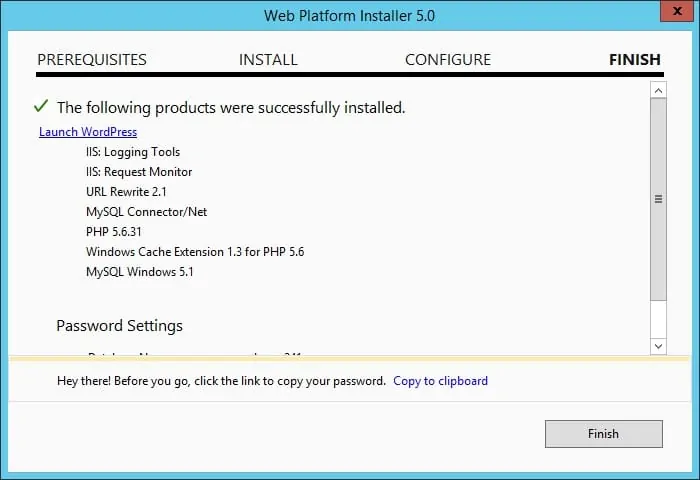
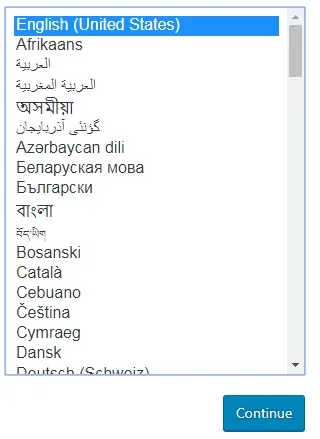
The system will automatically open the WordPress web installation wizard.
Select the desired language and click on the Continue button.
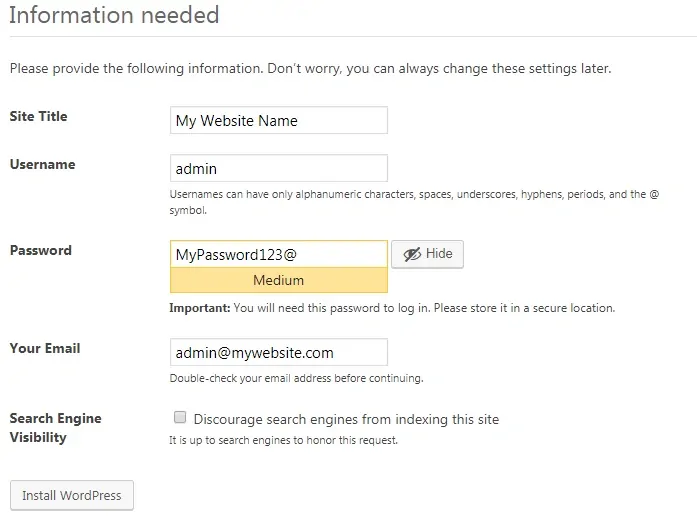
On the next screen you will have to enter the following information:
• Your website Name.
• Your administrator username.
• Your administrator password.
• Your administrator e-mail account.
After entering the desired information you need to click on the Install WordPress button.
On the next screen, you will receive the confirmation of your WordPress installation.
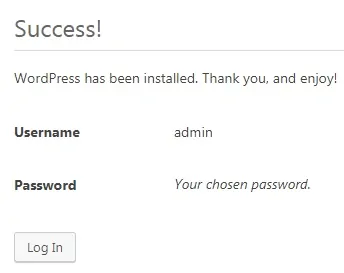
Click on the Log in button to be sent to the official login screen.
On the login screen, you need to enter the administrator account and password.
After a successful login, you will be sent to the WordPress Dashboard.
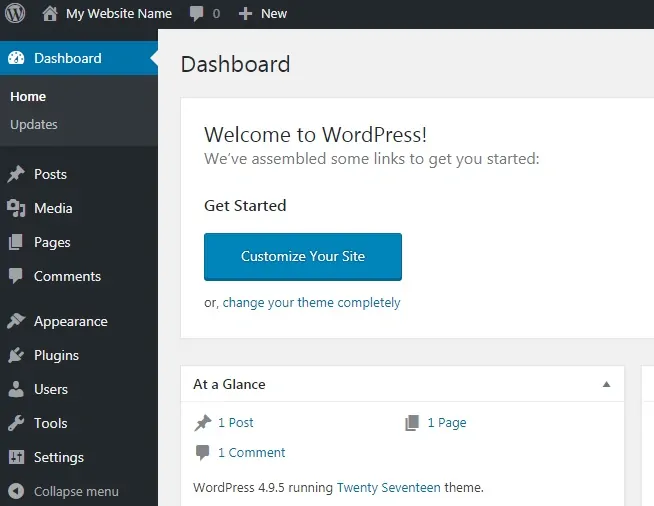
Congratulations, you have installed the WordPress on Windows.
To access your WordPress website:
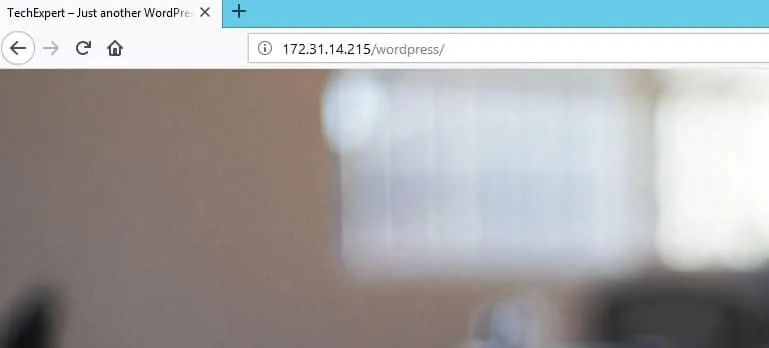
Open your browser and enter the IP address your web server plus /wordpress.
In our example, the following URL was entered in the Browser:
• http://172.31.14.215/wordpress
The WordPress website should be presented.
