Would you like to learn how to use Zabbix Auto Discovery feature to detect computer with the Zabbix agent installed located on the internal network. The system will detect those computers and automatically add them to a specific group of hosts.
• Zabbix version: 3.4.12
The Auto Discovery feature allows the Zabbix server to periodically scan the network for computer or devices using the Zabbix agent and take pre-defined actions upon discovery of those devices.
It is important for you to understand that your Zabbix server will only find devices which the Zabbix agent installed and pre-configured to accept connections from your Zabbix server.
If you don't know how to install and configure the Zabbix agent on a computer running Windows or Linux, please take a look at our Zabbix tutorial list.
Equipment list
Here you can find the list of equipment used to create this tutorial.
This link will also show the software list used to create this tutorial.
Zabbix Playlist:
On this page, we offer quick access to a list of videos related to Zabbix installation.
Don't forget to subscribe to our youtube channel named FKIT.
Zabbix Related Tutorial:
On this page, we offer quick access to a list of tutorials related to Zabbix installation.
Tutorial Zabbix - Auto discovery configuration
Now, we need to access the Zabbix server dashboard and add a new Host.
Open your browser and enter the IP address of your web server plus /zabbix.
In our example, the following URL was entered in the Browser:
• http://35.162.85.57/zabbix
On the login screen, use the default username and default password.
• Default Username: Admin
• Default Password: zabbix
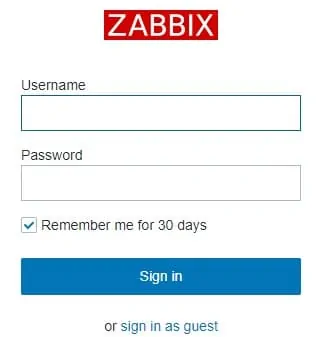
After a successful login, you will be sent to the Zabbix Dashboard.
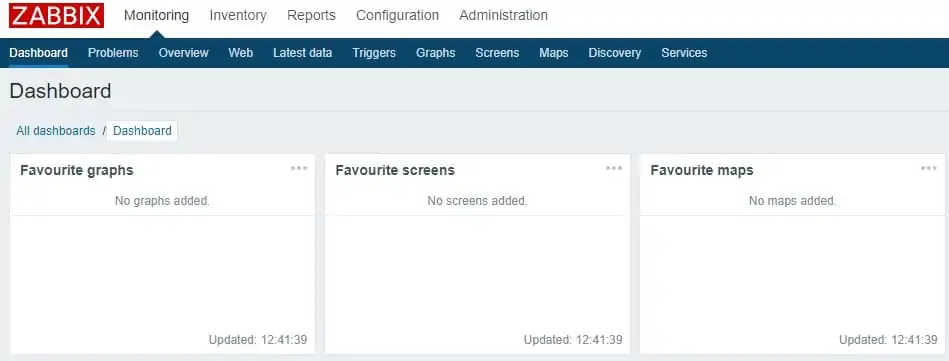
On the dashboard screen, access the Configuration menu and select the Discovery option.

On the top right of the screen, click on the Create discovery rule button.
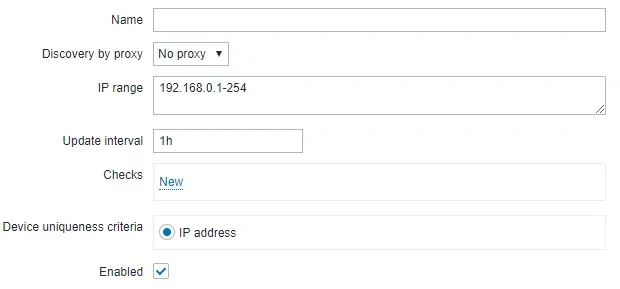
On the Host discovery configuration screen, you will have to enter the following information:
• Name - Enter an Identification to the Discovery Rule.
• Discovery by Proxy - No proxy.
• IP Range - Enter the IP address range that needs to be scanned.
• Update Interval - Time interval between the network scan.
• Checks - Click on the New option.
• Device uniqueness criteria - IP address"
• Enabled - Yes
Here is the original image, before our configuration.
Here is the new image with our configuration.
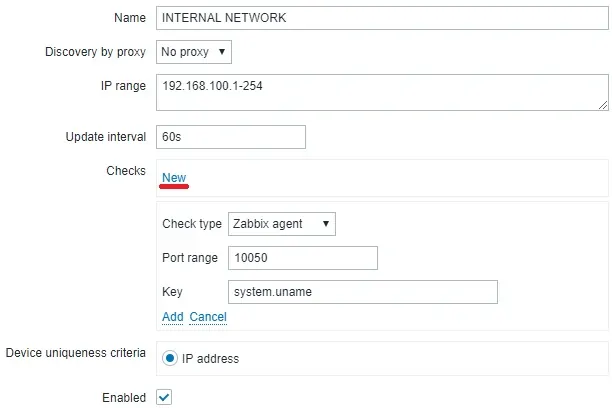
Click on the New option and enter the following configuration.
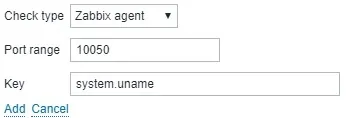
Click on the Add option.
On the Device uniqueness criteria, select the option named: IP address

Click on the Add button to finish the Auto discovery rule configuration.
Tutorial Zabbix - Discovery action configuration
Now, we need to configure the actions that Zabbix needs to execute after discovering a new device using the Agent.
On the dashboard screen, access the Configuration menu and select the Action option.

On the top right of the screen, select the Discovery event source.
Click on the Create action button.
On the Host discovery configuration screen, you will have to enter the following information:
• Name - Enter an Identification to the Discovery Action.
• Conditions - Discovery Rule = INTERNAL NETWORK
• Enabled - Yes
Here is the original image, before our configuration.
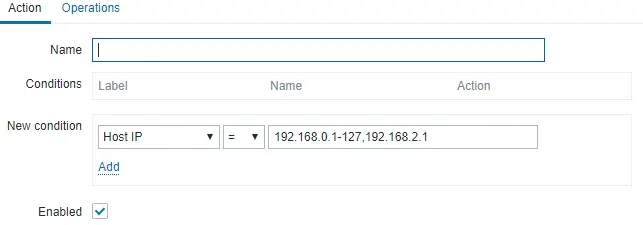
Here is the new image with our configuration.
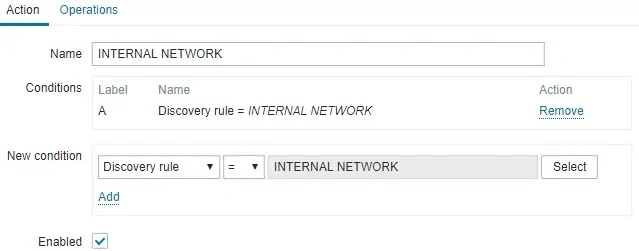
Access the Operations tab and configure the actions that Zabbix should take.
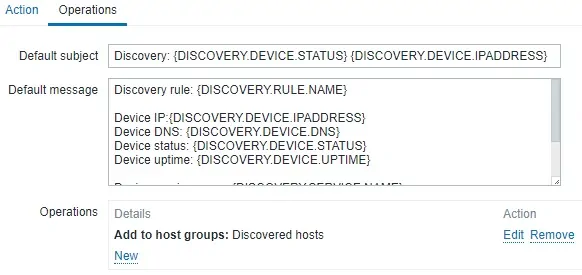
In our example, the Zabbix server will scan the network 192.168.100.0/24 and try to find devices with the Zabbix agent installed every 1 hour.
If the Zabbix server finds a device using the Zabbix agent it will add this device to the Discovered hosts group.

Keep in mind that your Zabbix server Must be able to translate the devices IP address to the device name.
If your Zabbix server is not able to translate the computer IP address to the hostname, it will create a host using the IP address of the device instead of using the hostname.

If you want, you may also configure the Zabbix server to assign a template during the discovery process.
Congratulations! You have configured the Zabbix Auto Discovery feature successfully.
