Would you like to learn how to install a new language on the Zabbix web interface? In this tutorial, we are going to show you how to change the Zabbix language used on the web interface.
Hardware List:
The following section presents the list of equipment used to create this Zabbix tutorial.
Every piece of hardware listed above can be found at Amazon website.
Zabbix Playlist:
On this page, we offer quick access to a list of videos related to Zabbix installation.
Don't forget to subscribe to our youtube channel named FKIT.
Zabbix Related Tutorial:
On this page, we offer quick access to a list of tutorials related to Zabbix installation.
Tutorial - Zabbix Install a New Language
First, we need to install a new language on the Zabbix server Linux.
On the Linux console, use the following commands list the installed languages.
# locale -a
C
C.UTF-8
en_US.utf8
POSIX
In our example, only the English language was installed by default.
Use the following command to list all the languages available.
# cat /usr/share/i18n/SUPPORTED
Take a look at the content of the SUPPORTED file and select the language desired.
Use the following command to install a new language.
After installing a new language, you need to restart the Apache service.
# locale-gen pt_BR.UTF-8
# service apache2 restart
The following command may be used to install a new language instead of the locale-gen command.
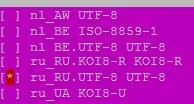
# dpkg-reconfigure locales
Select the new language using the graphical interface.

After installing a new language, you need to restart the Apache service.
# service apache2 restart
In our example, the locale-gen command was used to install the Brazilian Portuguese language.
In our example, the dpkg-reconfigure command was used to install the Russian language.
You can now use the Zabbix server dashboard to change the web interface language.
Tutorial - Zabbix Changing the Web interface Language
Open your browser and enter the IP address of your web server plus /zabbix.
In our example, the following URL was entered in the Browser:
• http://35.162.85.57/zabbix
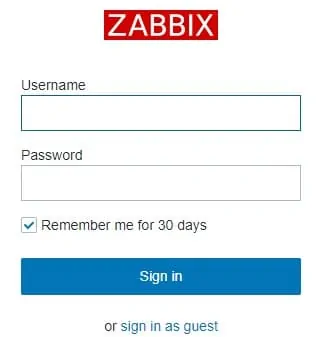
On the login screen, use the default username and default password.
• Default Username: Admin
• Default Password: zabbix

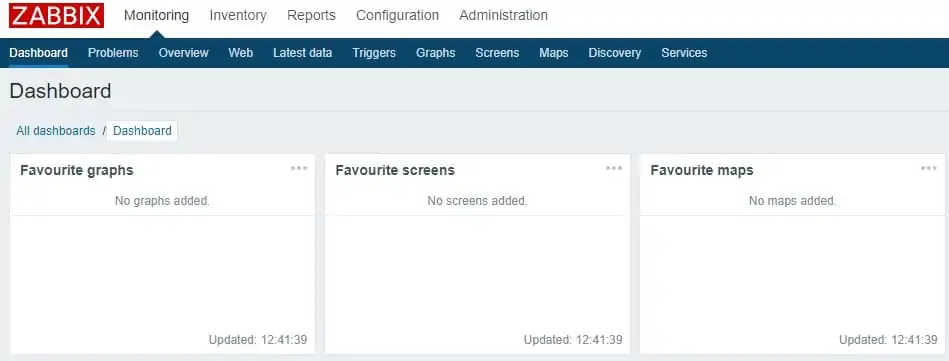
After a successful login, you will be sent to the Zabbix Dashboard.

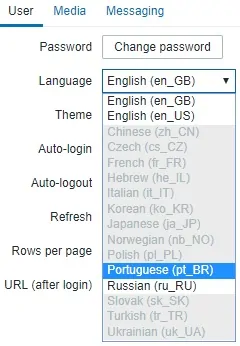
On the top right part of the screen, access the user profile settings.
On the user profile screen, select the desired language and click on the Update button.

Congratulations! You have changed the Zabbix language of the Web interface.
