Would you like to learn how to diable Zabbix guest user account on the Zabbix network monitoring software? In this tutorial, we are going to show you how to disable the Guest account access to the web interface.
Equipment list
Here you can find the list of equipment used to create this tutorial.
This link will also show the software list used to create this tutorial.
Zabbix Playlist:
On this page, we offer quick access to a list of videos related to Zabbix installation.
Don't forget to subscribe to our youtube channel named FKIT.
Zabbix Related Tutorial:
On this page, we offer quick access to a list of tutorials related to Zabbix installation.
Zabbix - Disable Guest Account
Open your browser and enter the IP address of your web server plus /zabbix.
In our example, the following URL was entered in the Browser:
• http://35.162.85.57/zabbix
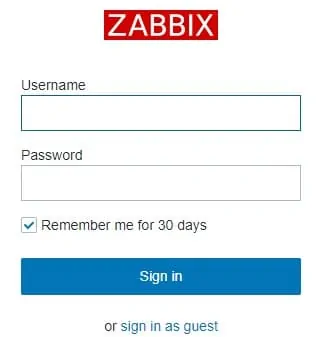
On the login screen, use the default username and default password.
• Default Username: Admin
• Default Password: zabbix
After a successful login, you will be sent to the Zabbix Dashboard.
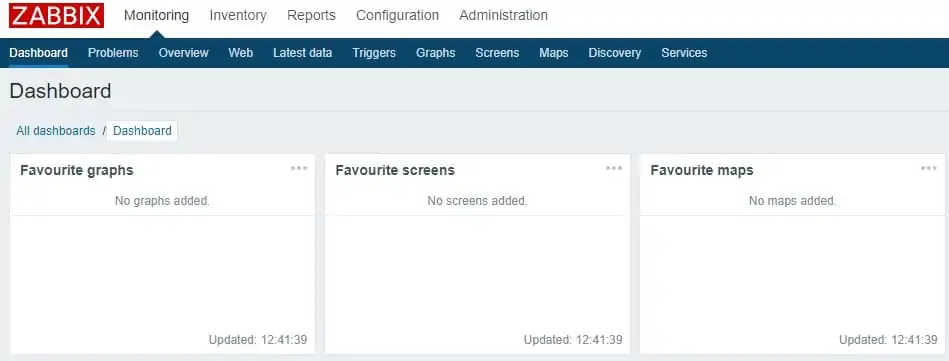
On the dashboard screen, access the Administration menu and select the User groups option.

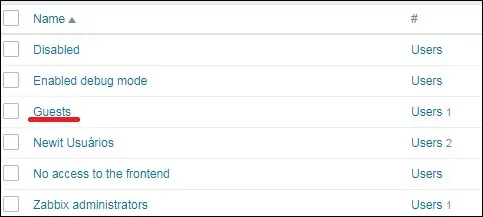
Access the properties of the user group named Guests.
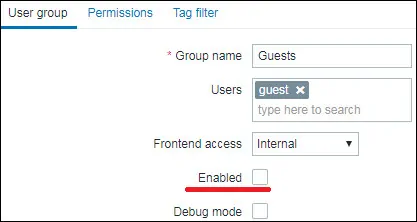
In the group properties, uncheck the checkbox named Enabled and click the Apply button.
To test the configuration, open a new incognito window in your browser.
Access the Zabbix login screen and click on the option named: Sign in as guest
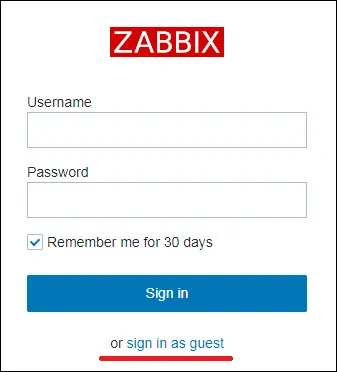
You should see the following error message: No permissions for system access.
Congratulations! You have disabled the guest account access to the Zabbix Web interface.

Leave A Comment
You must be logged in to post a comment.