Would you like to learn how to install an MSI file using Powershell? In this tutorial, we are going to show you how to use Powershell to install an MSI package on a computer running Windows.
• Windows 2012 R2
• Windows 2016
• Windows 2019
• Windows 2022
• Windows 10
• Windows 11
Equipment list
Here you can find the list of equipment used to create this tutorial.
This link will also show the software list used to create this tutorial.
Related tutorial - PowerShell
On this page, we offer quick access to a list of tutorials related to PowerShell.
Tutorial Powershell - Installing an MSI package
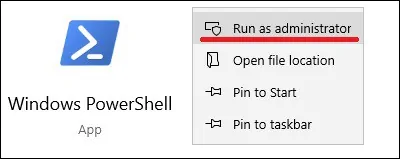
As an Administrator, start a Powershell command-line.

Start the MSI installation using Powershell.
Perform a silent MSI installation.
The quiet MSI installation does not perform elevation of privileges.
Perform a passive installation of the MSI package.
Perform the MSI installation and create a log file.
Install the MSI package as a background job.
Create a Powershell script to perform the MSI installation.
List all applications installed using an MSI package.
Here is the command output.
Repair the MSI installation.
Uninstall an MSI package using Powershell.
Congratulations! You learned how to install an MSI package using Powershell.
