Would you like to learn how to open a TCP port using Powershell? In this tutorial, we are going to show you how to use Powershell to configure a TCP port in listening mode on a computer running Windows.
• Windows 2012 R2
• Windows 2016
• Windows 2019
• Windows 2022
• Windows 10
• Windows 11
Equipment list
Here you can find the list of equipment used to create this tutorial.
This link will also show the software list used to create this tutorial.
Related tutorial - PowerShell
On this page, we offer quick access to a list of tutorials related to PowerShell.
Tutorial Powershell - Opening a TCP port
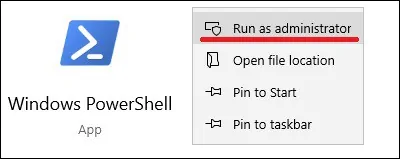
As an Administrator, start a Powershell console.

Create a Powershell script to open a TCP port.
Edit the Powershell script.
Here is the script content.
Execute the Powershell script to open a TCP port.
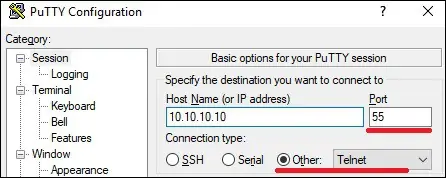
In our example, we configure a Powershell script to open the TCP port 55.
On a remote computer, connect to the TCP port.
Optionally, use a Telnet client application.

Here is the command output.
Type something to send data over the TCP connection.
All information received over the TCP connection will be saved on a text file named TEST.
This file is located on the root of drive C.
To close the TCP connection, enter the QUIT command.
Congratulations! You are able to open a TCP port using Powershell.
