Would you like to learn how to query a MySQL server using Powershell? In this tutorial, we are going to show you how to perform MySQL communication using Powershell on a computer running Windows.
• Windows 2012 R2
• Windows 2016
• Windows 2019
• Windows 10
• Windows 7
Equipment list
The following section presents the list of equipment used to create this tutorial.
As an Amazon Associate, I earn from qualifying purchases.
Related tutorial - PowerShell
On this page, we offer quick access to a list of tutorials related to PowerShell.
Tutorial Powershell - Query a MySQL server
On a computer running Linux, Install the MySQL server.
Access the MySQL service command line.
Create a new user account.
Grant all permissions to the new MySQL user account.
Edit the MySQL configuration file.
Locate the following configuration.
Change the MySQL configuration to allow remote connections.
Restart the MySQL service.
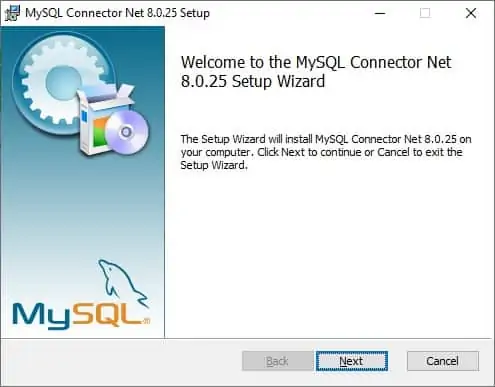
On a computer running Windows, install the MySQL connector for DOTNET.

Start a Powershell command-line.

Search for the required DLL file.
Here is the command output.
Load the required DLL file.
Connect to the MySQL server.
Insert data into MySQL database using Powershell.
Query data from the MySQL database using Powershell.
Here is the command output.
Query multiple columns from the MySQL database using Powershell.
Here is the command output.
Close the MySQL connection.
Congratulations! You are able to query a MySQL server using Powershell.
