Would you like to learn how to rename a local user account using Powershell? In this tutorial, we are going to show you how to rename a local account on a computer running Windows.
• Windows 2012 R2
• Windows 2016
• Windows 2019
• Windows 10
Equipment list
Here you can find the list of equipment used to create this tutorial.
This link will also show the software list used to create this tutorial.
Related tutorial - PowerShell
On this page, we offer quick access to a list of tutorials related to PowerShell.
Tutorial Powershell - Rename a local user account
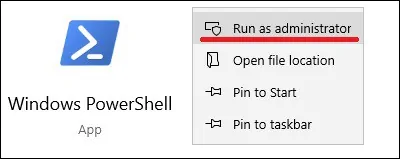
As an Administrator, start an elevated Powershell command-line.

List the local user accounts.
Here is the command output:
Rename a local user account using Powershell.
Verify if the account was renamed.
Here is the command output:
In our example, we renamed a local account named GOHAN to TRUNKS.
Rename a user account using WinRM and Powershell.
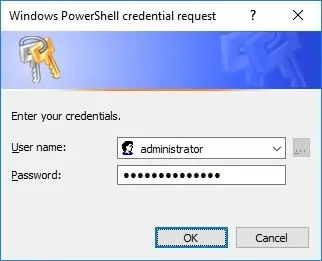
Enter a credential with administrative permissions.

Verify if the account was renamed.
Rename the local account on a remote computer using a stored credential.
There are multiple ways to use Powershell, WinRM, and a stored credential.
Congratulations! You are able to rename a local account using Powershell.
