Would you like to learn how to translate an IP address to the hostname using Powershell? In this tutorial, we are going to show you how to use Powershell to translate a list of IP addresses to the DNS hostname on a computer running Windows.
• Windows 2012 R2
• Windows 2016
• Windows 2019
• Windows 10
Equipment list
The following section presents the list of equipment used to create this tutorial.
As an Amazon Associate, I earn from qualifying purchases.
Related tutorial - PowerShell
On this page, we offer quick access to a list of tutorials related to PowerShell.
Tutorial Powershell - List the open TCP ports
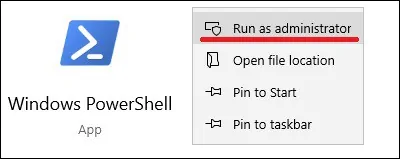
As an Administrator, start a new POWERSHELL command-line prompt.

Translate an IP address to a hostname.
Here is the command output.
Optionally, use a filter to get only the desired columns.
Here is the command output.
Translate an IP address to a hostname.
Here is the command output.
Optionally, use a filter to get only the desired columns.
Here is the command output.
Translate an IP address to a hostname and include the IP address.
Here is the command output.
In our example, we translated an IP address to a Hostname using Powershell.
Congratulations! You are able to translate an IP address to a DNS hostname using Powershell.
Tutorial Powershell - Translate a list of IP addresses
As an Administrator, start a new POWERSHELL command-line prompt.

Create a file containing a list of IP addresses.
In our example, we create a file named IP in the root of drive C.
Translate all IP addresses to the hostname.
Here is the command output.
Optionally, change the result order to show the IP address first.
Here is the command output.
In our example, we translated a list of IP addresses to hostname using a Powershell script.
Congratulations! You are able to translate a list of IP addresses to hostname using a Powershell script.
