Would you like to learn how to install Zabbix using Docker on Ubuntu Linux? In this tutorial, we are going to show you all the steps required to perform the Zabbix installation using Docker on a computer running Ubuntu Linux in 10 minutes or less.
• Ubuntu 18.04
• Ubuntu 19.04
• Ubuntu 20.04
• Zabbix 5.0.0
Zabbix Playlist:
On this page, we offer quick access to a list of videos related to Zabbix installation.
Don't forget to subscribe to our youtube channel named FKIT.
Zabbix Related Tutorial:
On this page, we offer quick access to a list of tutorials related to Zabbix installation.
Tutorial Zabbix - Docker Installation on Ubuntu Linux
Install the Docker service.
Download the Zabbix Docker images from the online repository.
List the Docker images installed on your system.
Here is the command output:
Start a new Mysql container.
In our example, the MySQL password for the user named Zabbix is kamisama123.
In our example, the MySQL password for the Root account is YjA0OTYwZDBiN2EwNWFjMTRjZGU3Yjcy.
Keep in mind that you need to change both passwords.
Start a new container for the Zabbix java gateway.
Start a new container for the Zabbix server.
Keep in mind that you need to change the Mysql password for the users: Zabbix and Root.
Wait 2 minutes before proceeding, to give the container time to create the required database infrastructure.
Start a new container for the Zabbix web interface.
Keep in mind that you need to change the Mysql password for the users: Zabbix and Root.
Start a new container for the Zabbix agent.
Verify the list of containers running.
Here is the command output:
Inspect the Zabbix agent container and take note of its IP address.
Here is the command output:
In our example, the IP address of the Zabbix agent container is: 172.17.0.6
Open your browser and enter the IP address of your web server.
In our example, the following URL was entered in the Browser:
• http://192.168.100.10
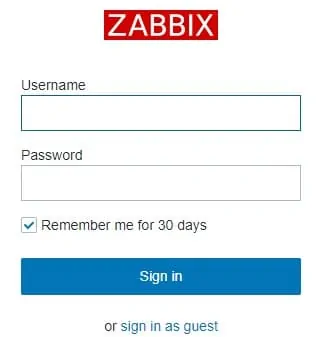
The Zabbix web interface should be presented.

On the login screen, use the default username and default password.
• Default Username: Admin
• Default Password: zabbix
After a successful login, you will be sent to the Zabbix Dashboard.

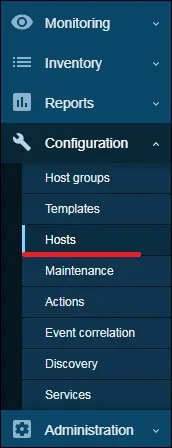
On the dashboard screen, access the Configuration menu and select the Host option.

Edit the host named Zabbix server.
Change the IP address from 127.0.0.1 to the IP address of the Zabbix agent container.
Click on the Update button.

Congratulations! You have finished the Zabbix installation on Ubuntu Linux using Docker.
